My son wanted us to build an automated Nerf blaster targeting mechanism that will detect humans in motion and shoot them. Now that’s what I call a succinct user requirement 😂. So began a saga of multiple experiments and projects. I promised him that I will build the tracking and aiming mechanism and he will have to carry the slack of building the weapon triggering mechanism. I honestly think his part would be the more complicated build considering we have to find a way to mount a custom triggering mechanism on a Nerf CS-18 N-Strike Elite Rapidstrike (more on this in a future blog).
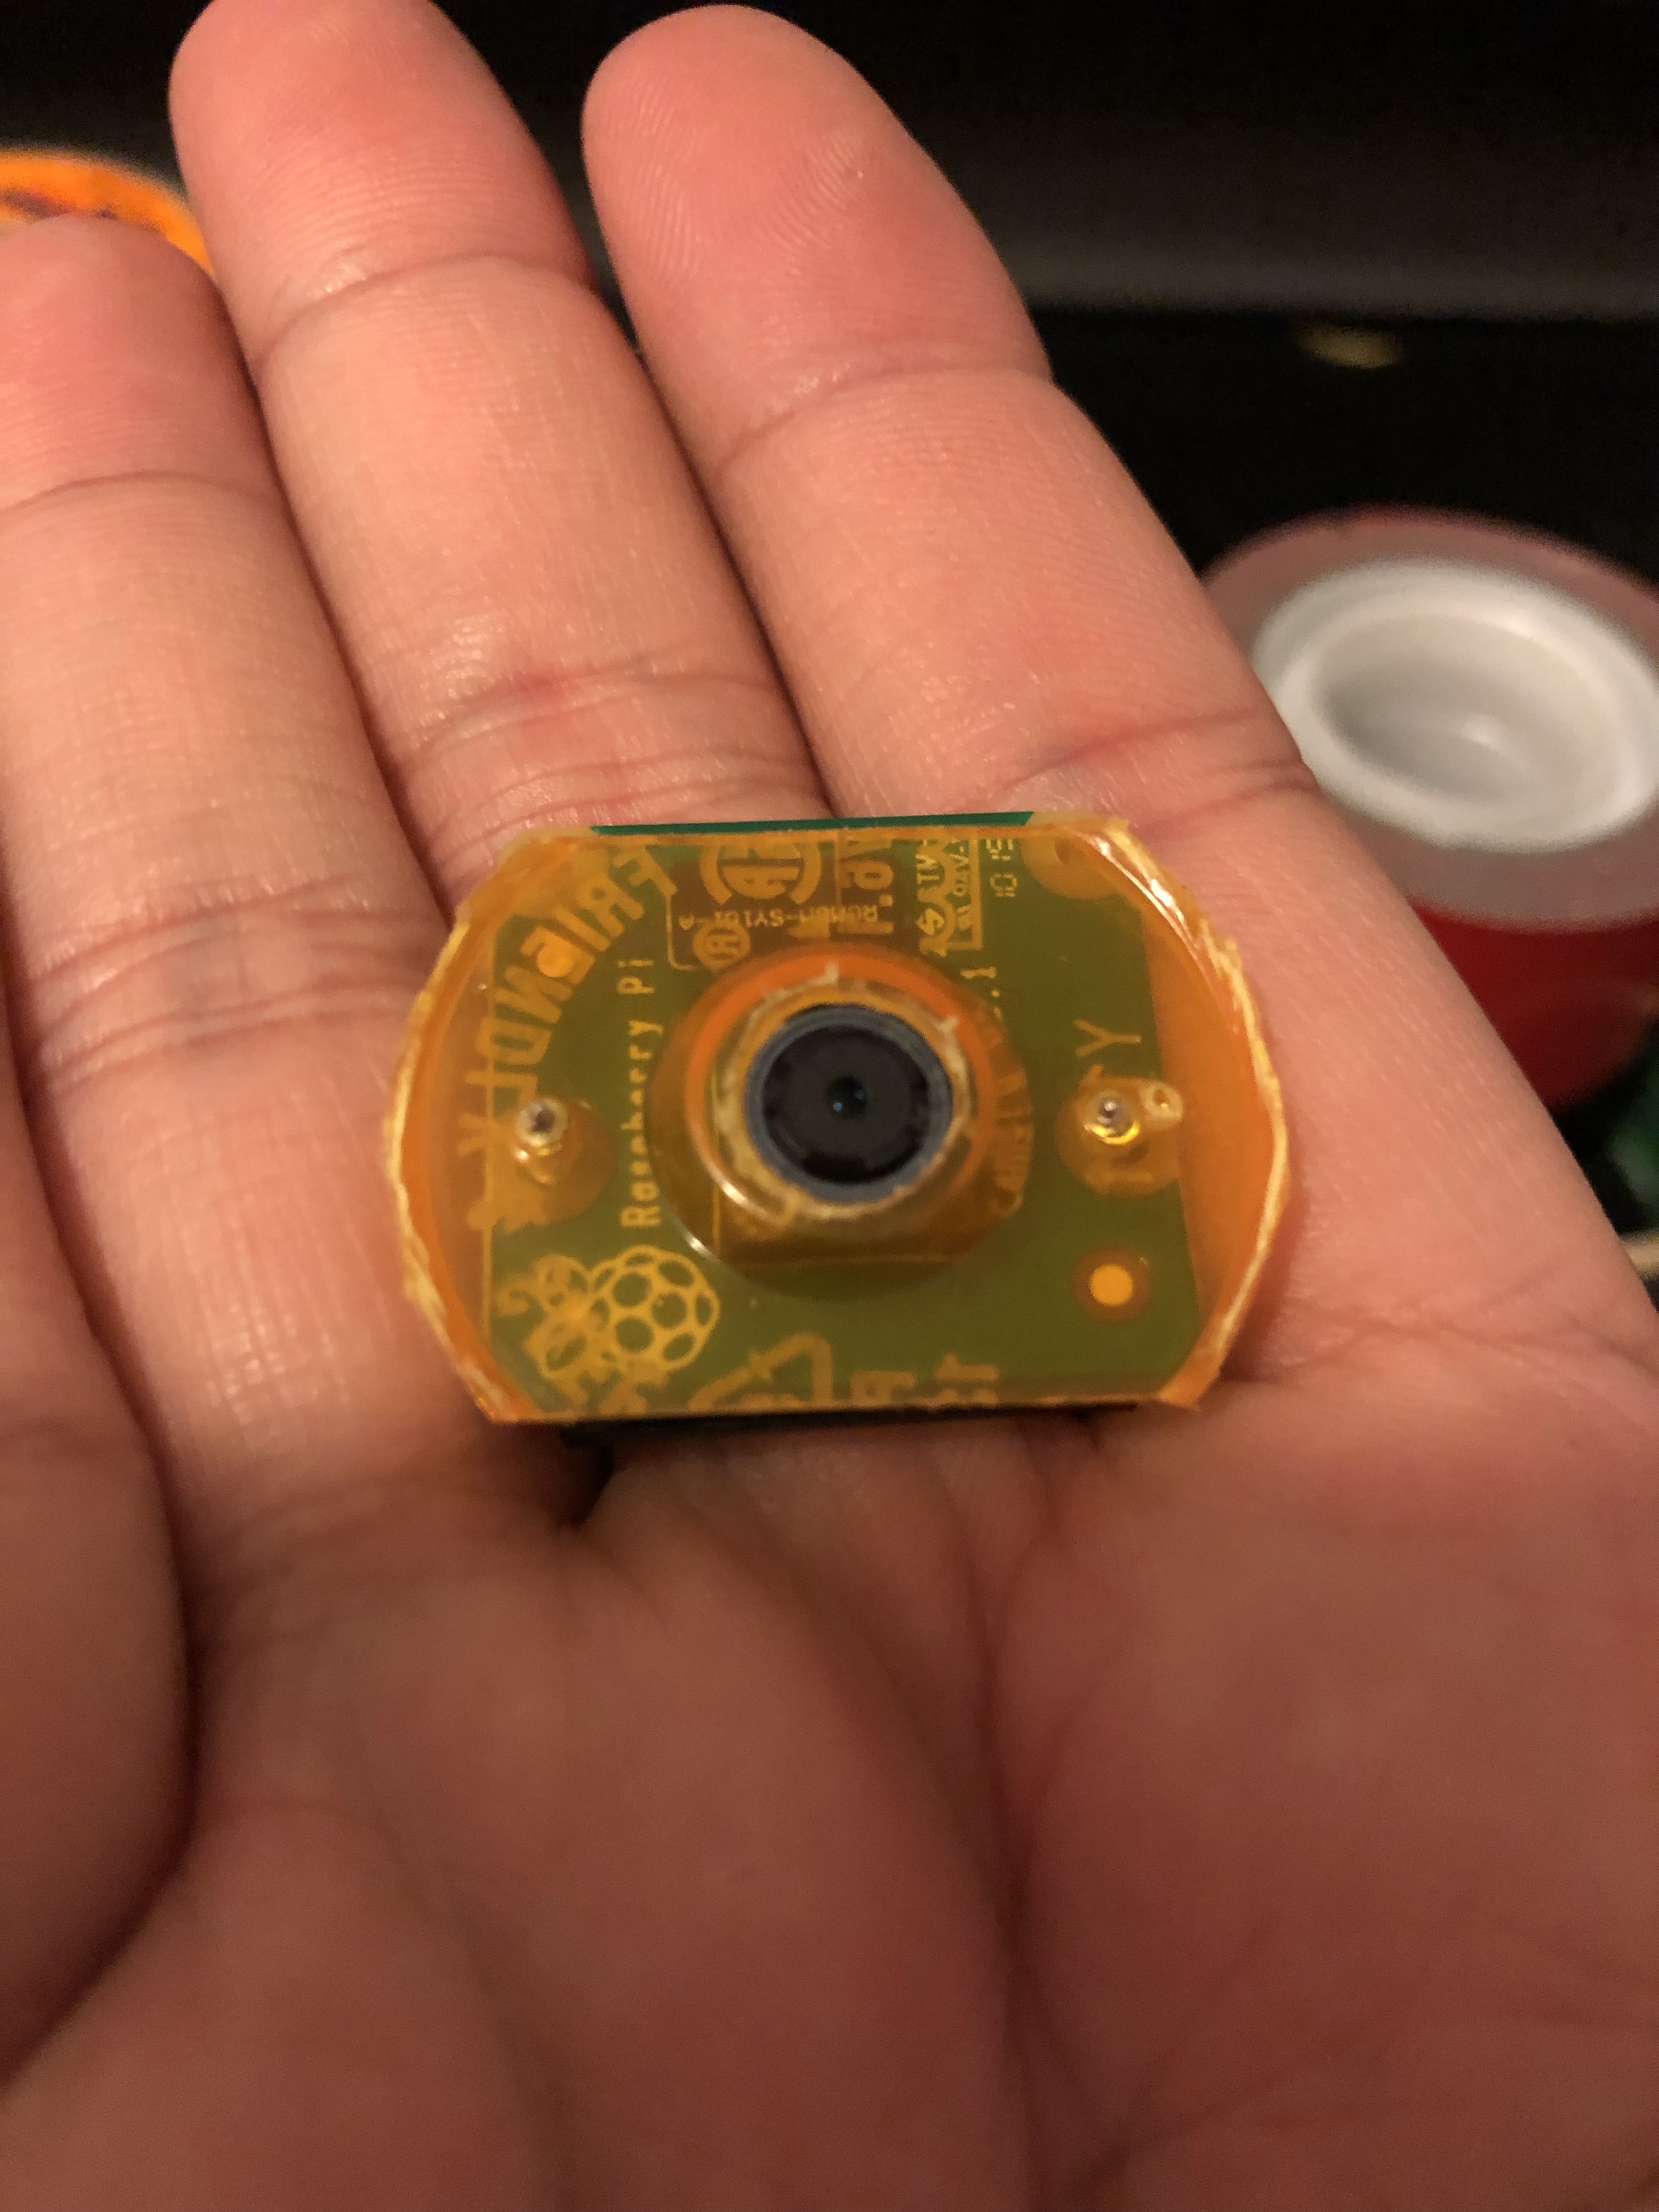
I had previously worked on a vision based machine learning project that used the Google AIY Vision kit and two raspberry pis. I designed it to use 2 raspberry pis so that one can focus on the tracking and the other did the targeting. The targeting pi used a pan-tilt hat that allowed the camera to be remotely controlled by the tracking pi for centering the desired target. I even had plans of mounting that contraption on top of my old pi-racer and turning it into a navigation system.

As with every cool project blog post from the internet, what was left out of was what happened once you actually tried to apply the experiment to a real life use case. The Google AIY Vision Kit uses a Myriad 2 2450 chip that is basically a low power vision processing unit that is capable of running neural network models locally. This chip was designed to be small and portable to be attached to a diminutive raspberry pi zero. It just sounds perfect for those projects that require neural compute capabilities on the edge with an extremely portable build. After running all the different demos for face, expression and object detection one thing is obvious. It is too slow to do real time inferencing. This was the primary reason I have configured it with 2 different raspberry pis so that I can offload the aiming computational load to the second pi while keeping all the tracking on the one that had the vision bonnet. Unfortunately even this approach was too slow to be reliable on a regular speed moving target. Don’t get me wrong, I was thoroughly impressed with what this tiny little thing can do with such low power consumption. But this was only really practical for post processing images instead of real time inferencing.
Just because you can do something with a piece of technology, doesn’t mean you should.
Mad Computer Scientist Ninja
That might sound hypocritical for me to say considering I build things that have zero practical use just for the enjoyment of it. Maybe a better way to say it is:
Just because you can do something with a piece of technology, doesn’t mean it would be useful.
Mad Computer Scientist Ninja
There, that sounds a lot more like me 🤣. So having failed at using the Google AIY Vision Kit as the brains for the human detection algorithm I decided to just turn it into something still useless but a lot more practical-ish. Like the rest of my contraptions I decided to make something that already exists but make it less useful for the sake of technology.
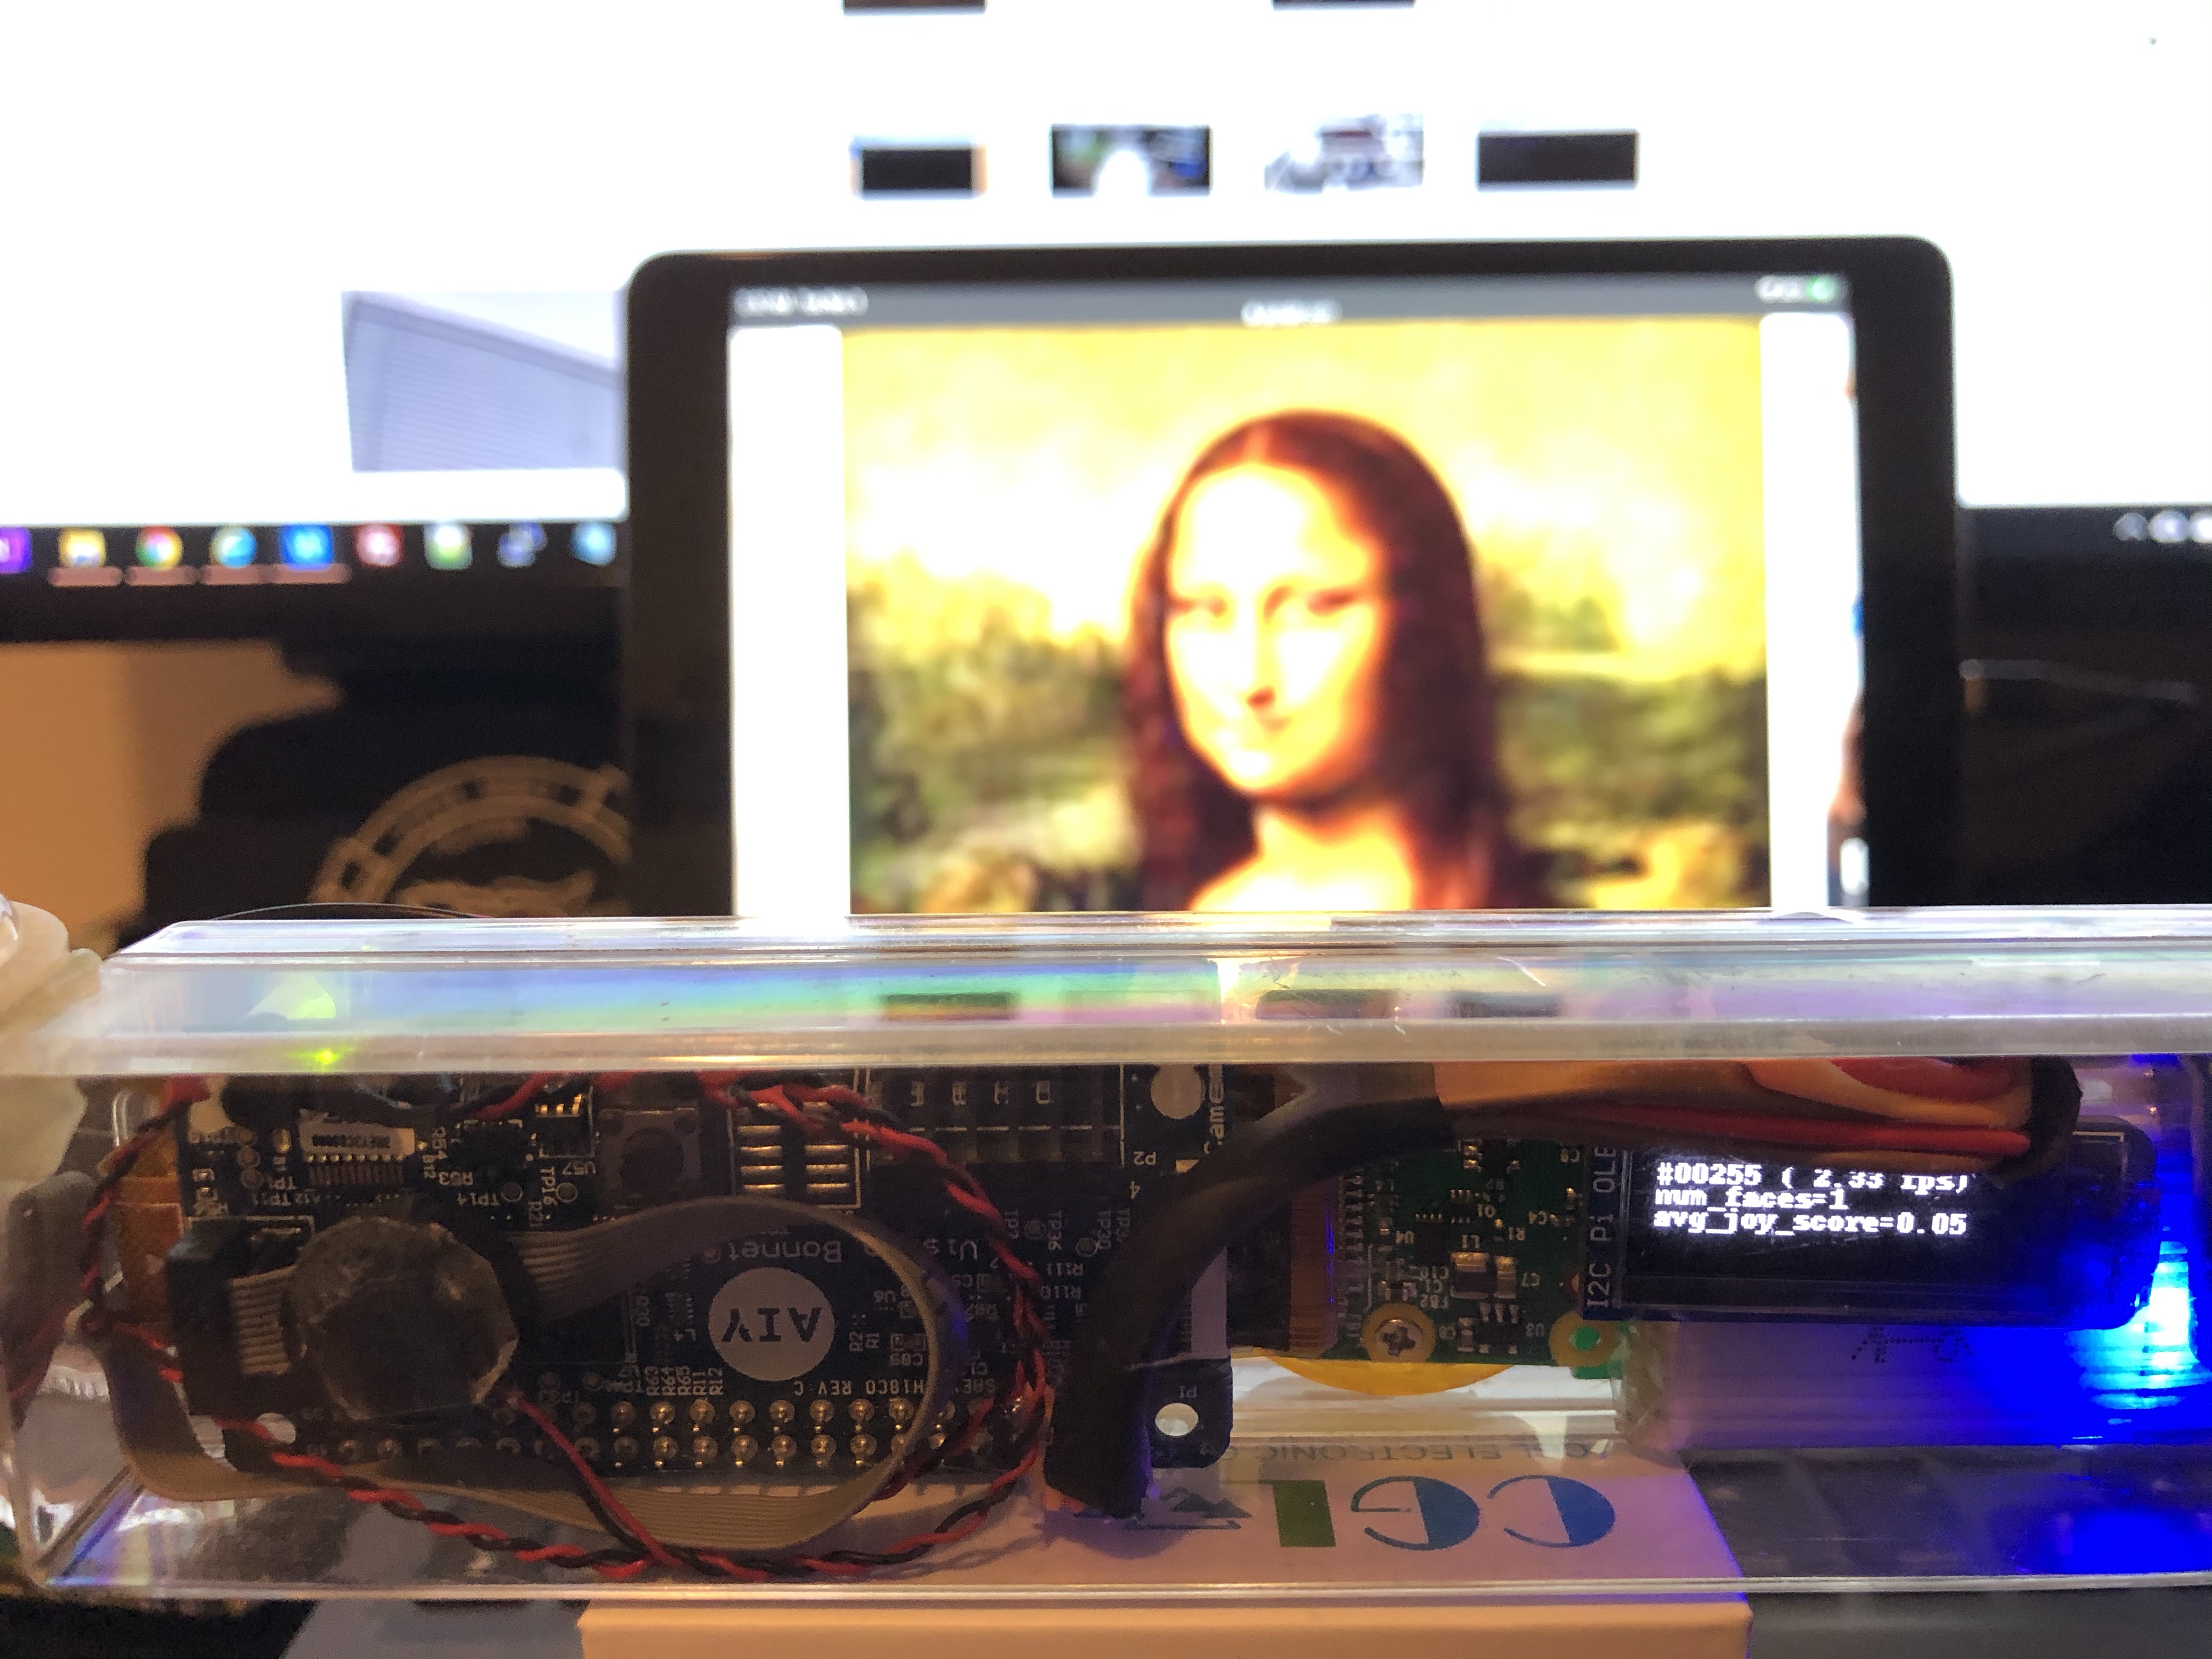
Text Based Digital Still Camera
You know what I’ve always wanted? A camera that tells me what it sees instead of just showing it to me. Don’t you sometimes ask yourselves: “If only this camera tells me what I took a picture of instead of showing me the picture, that would be so awesome!” 😂.
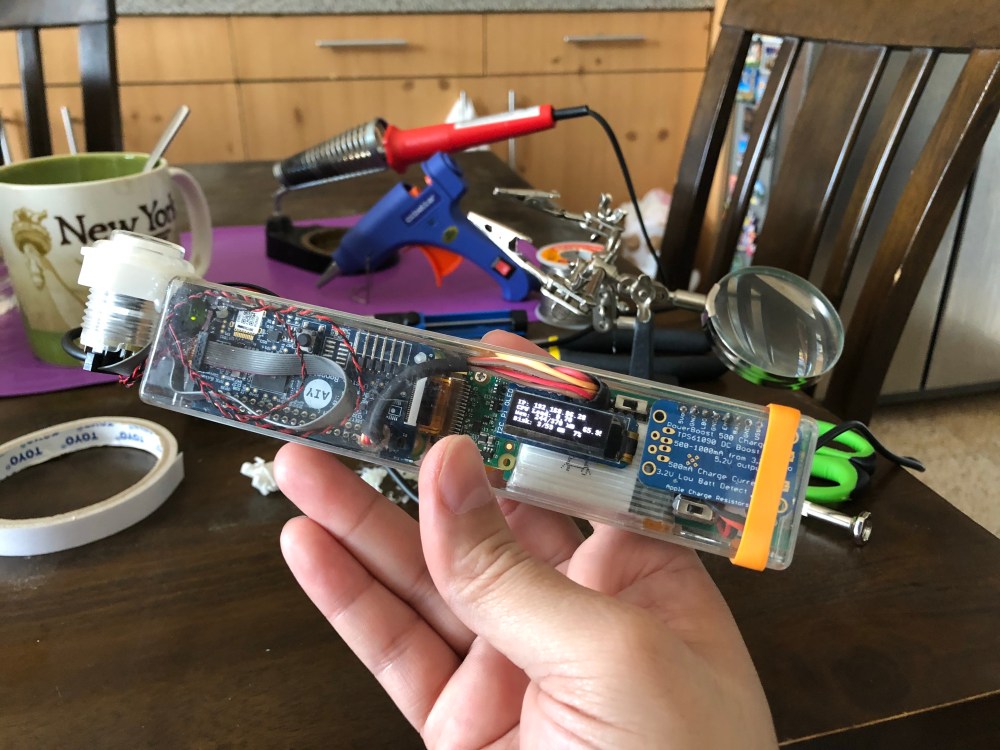
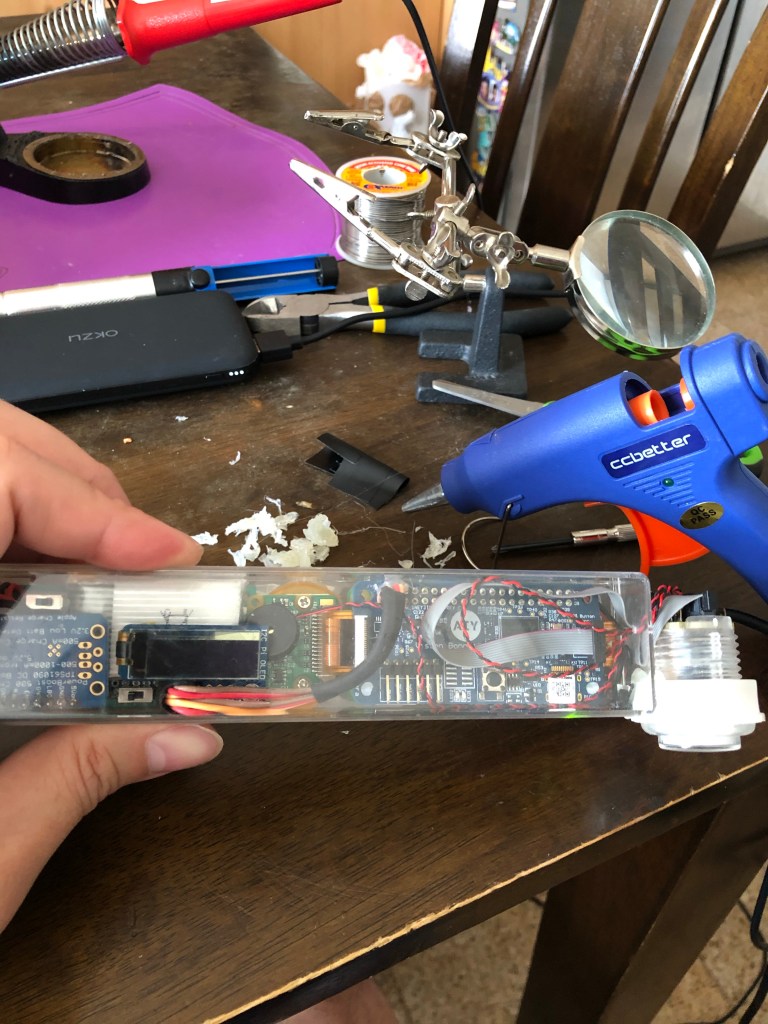


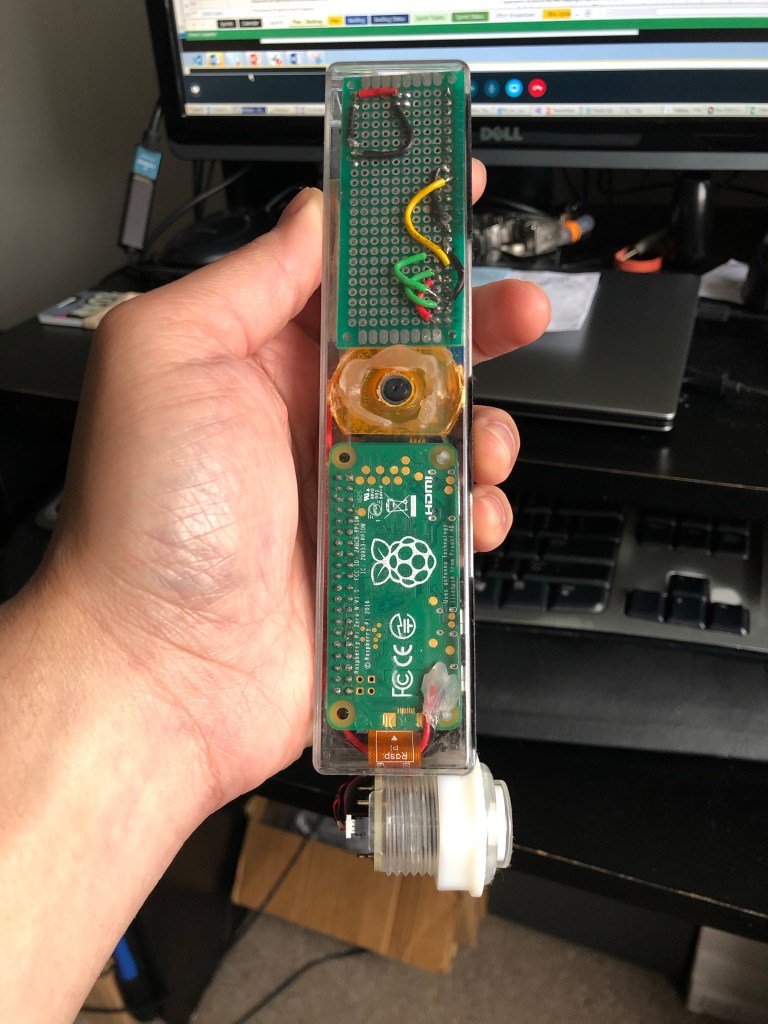
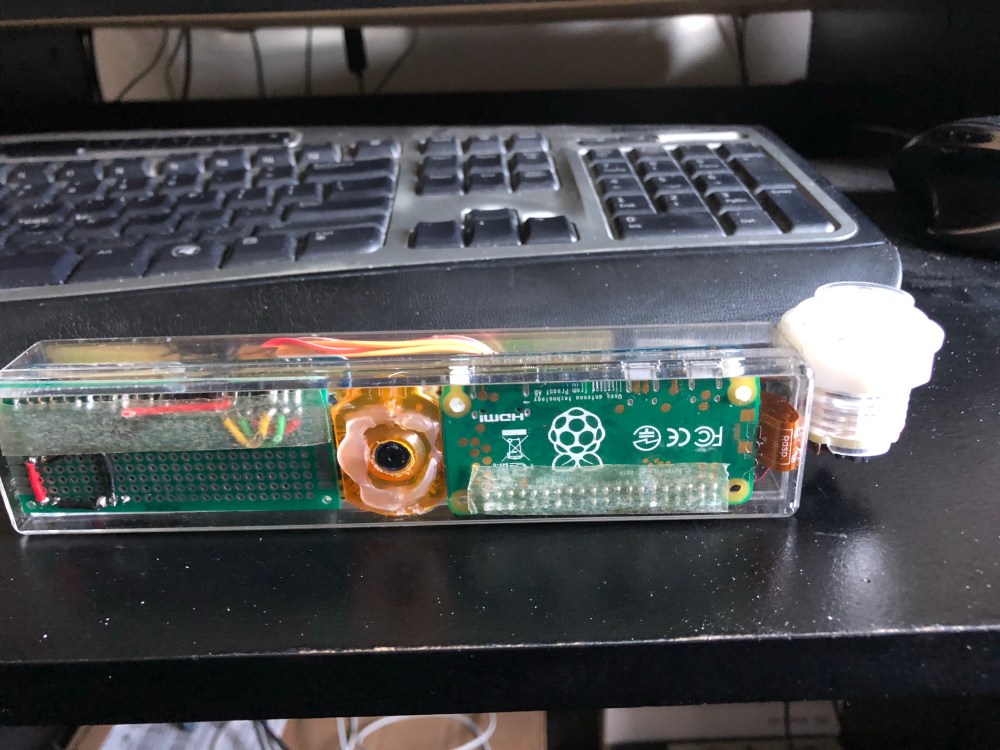

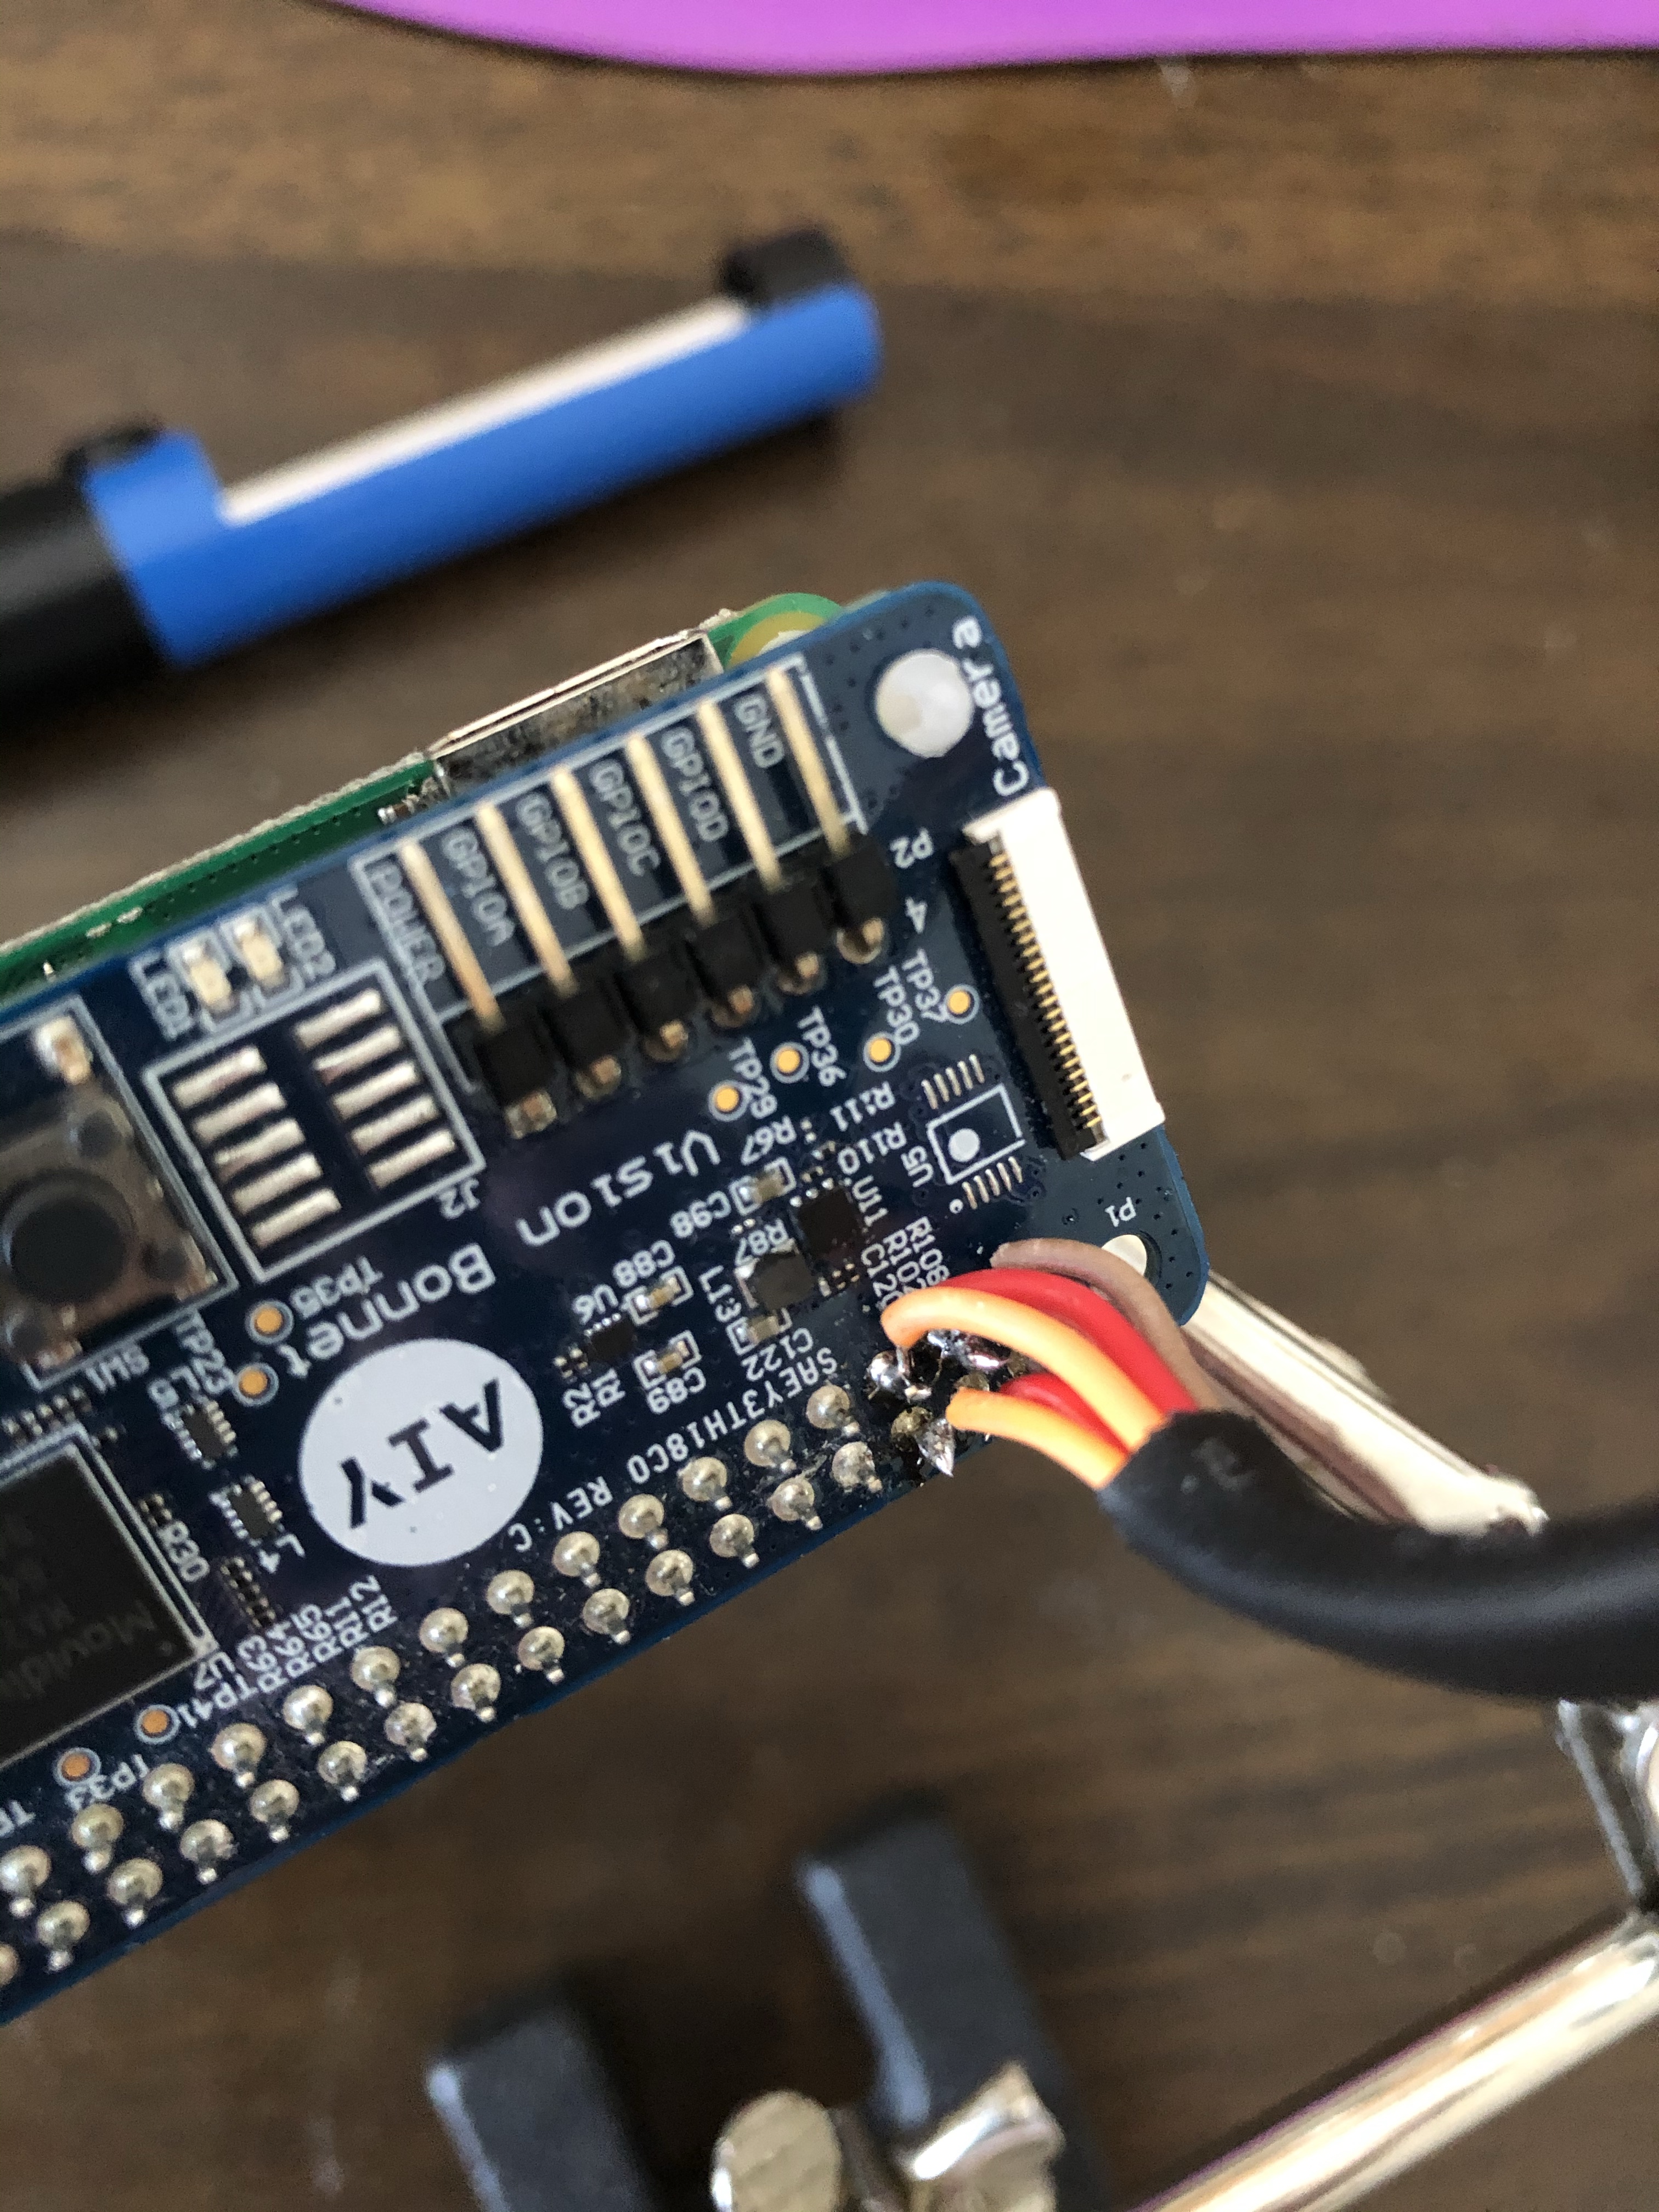
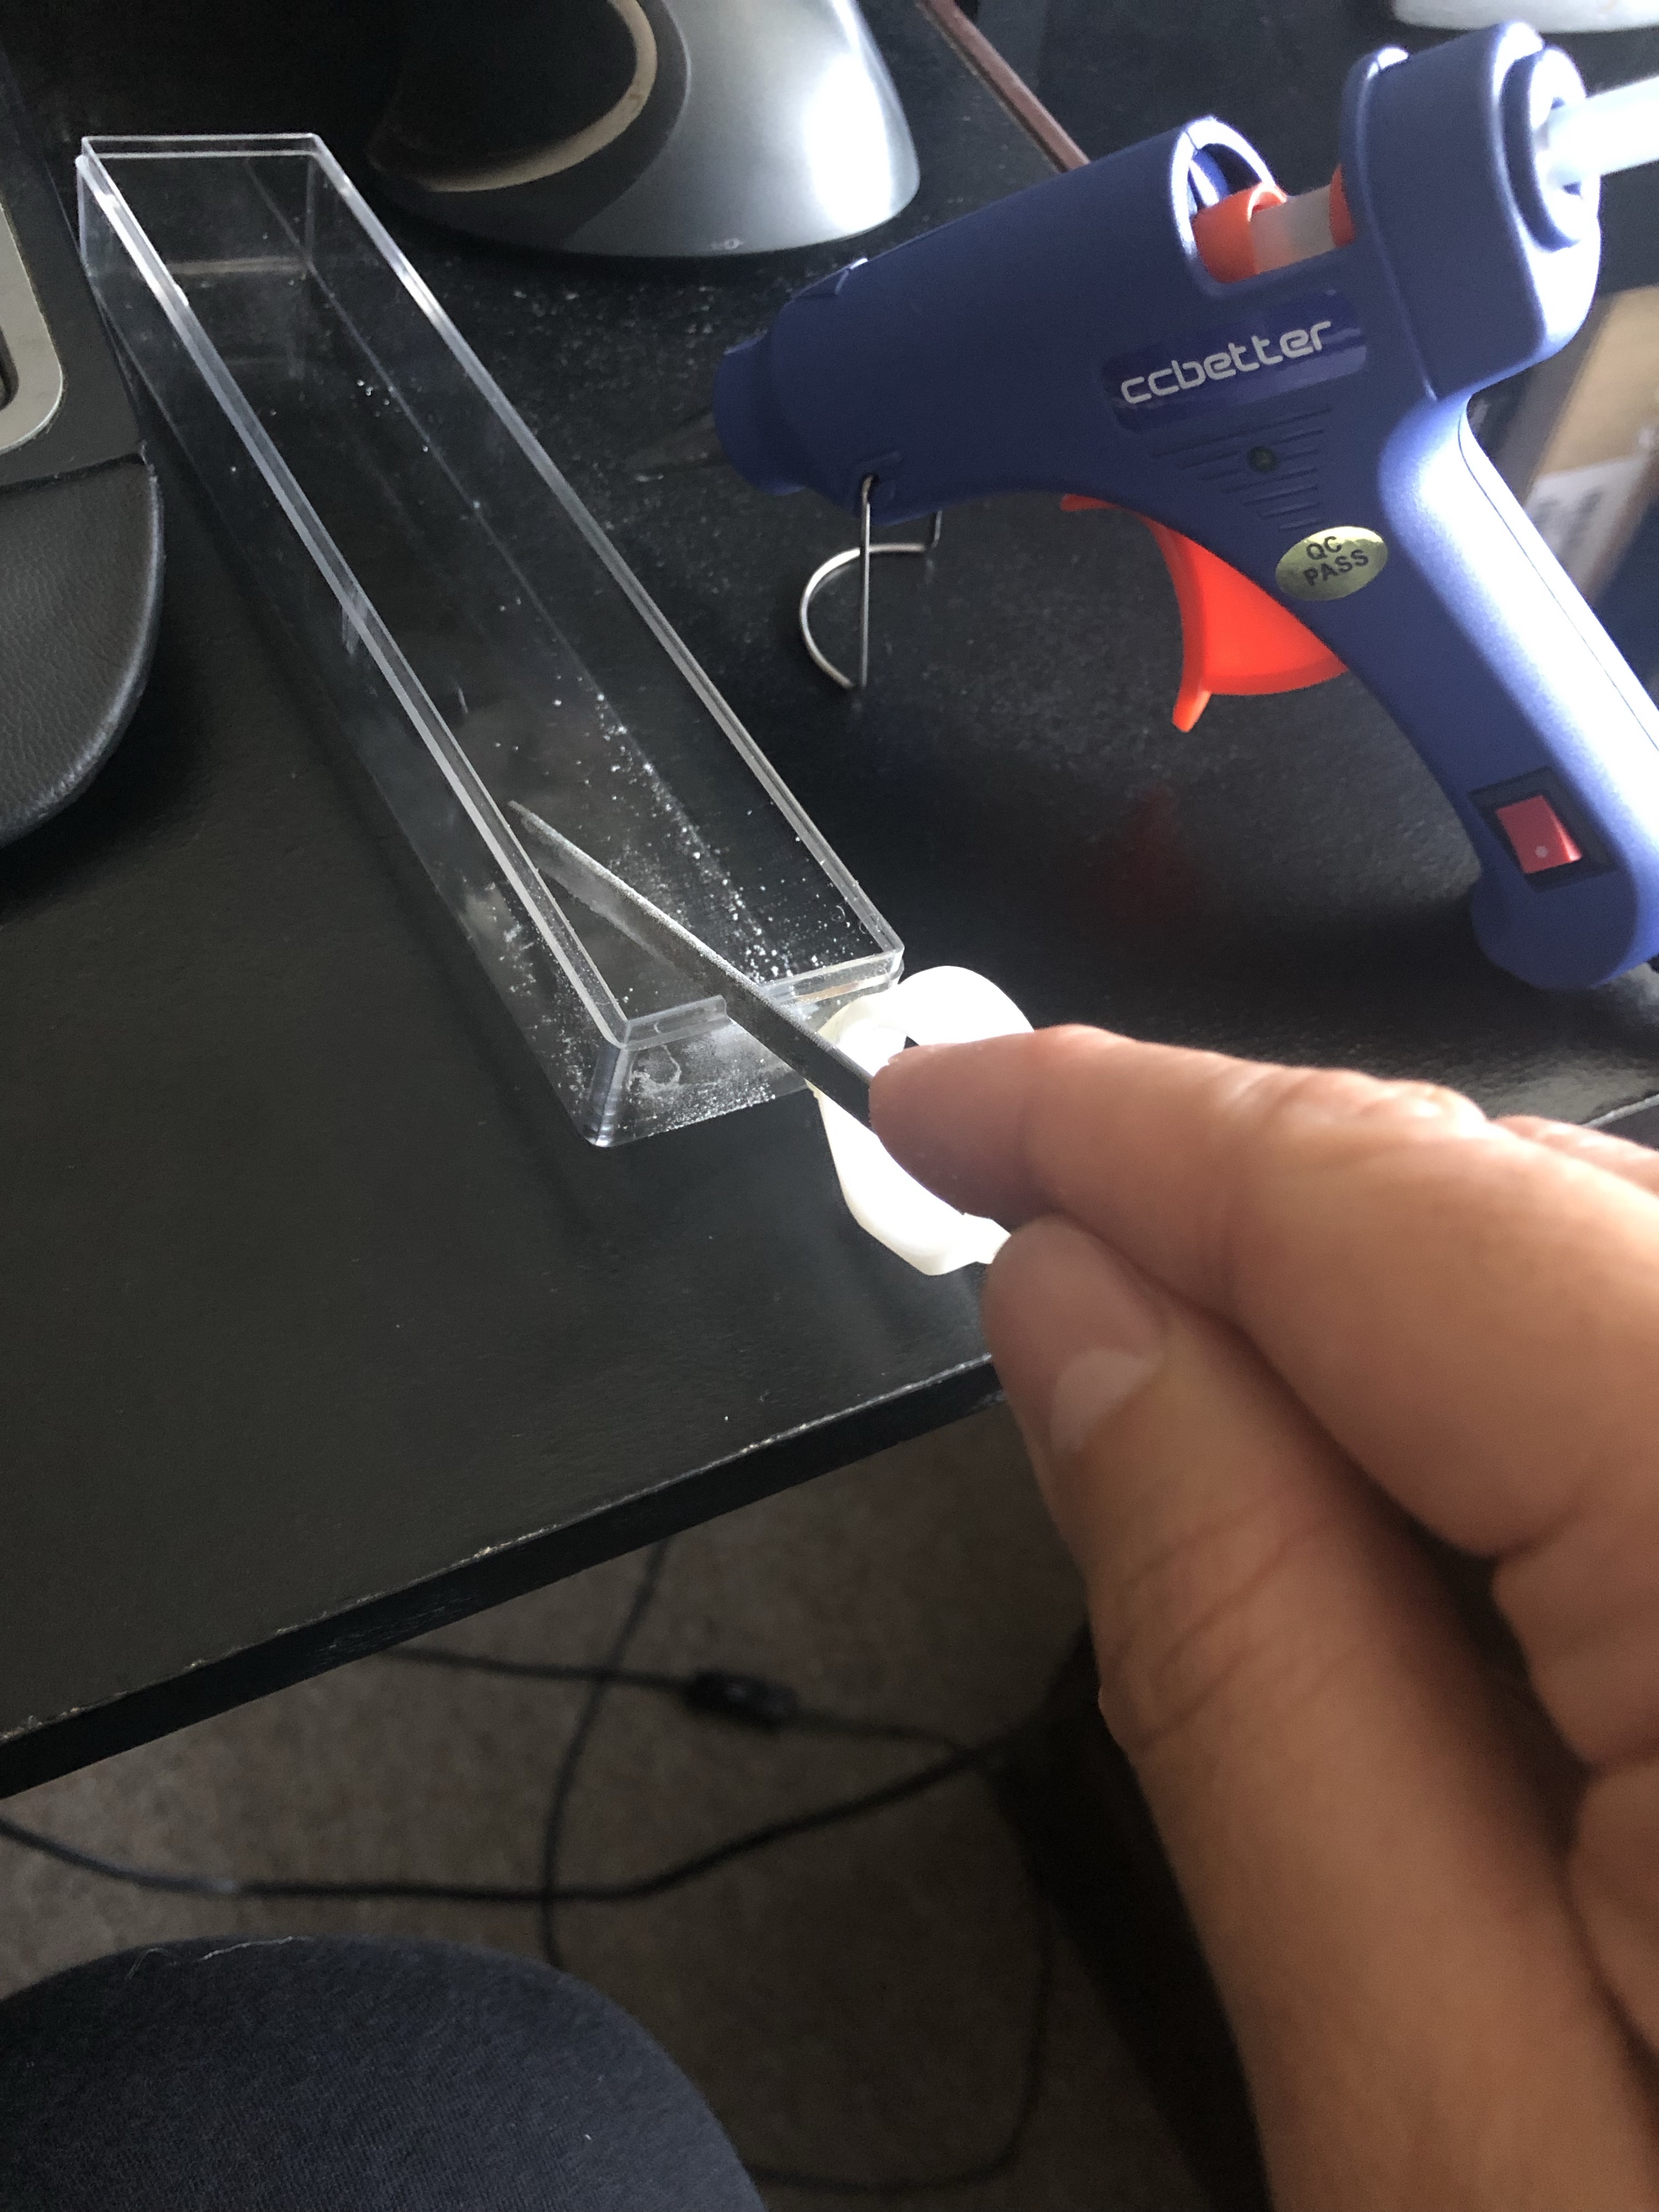
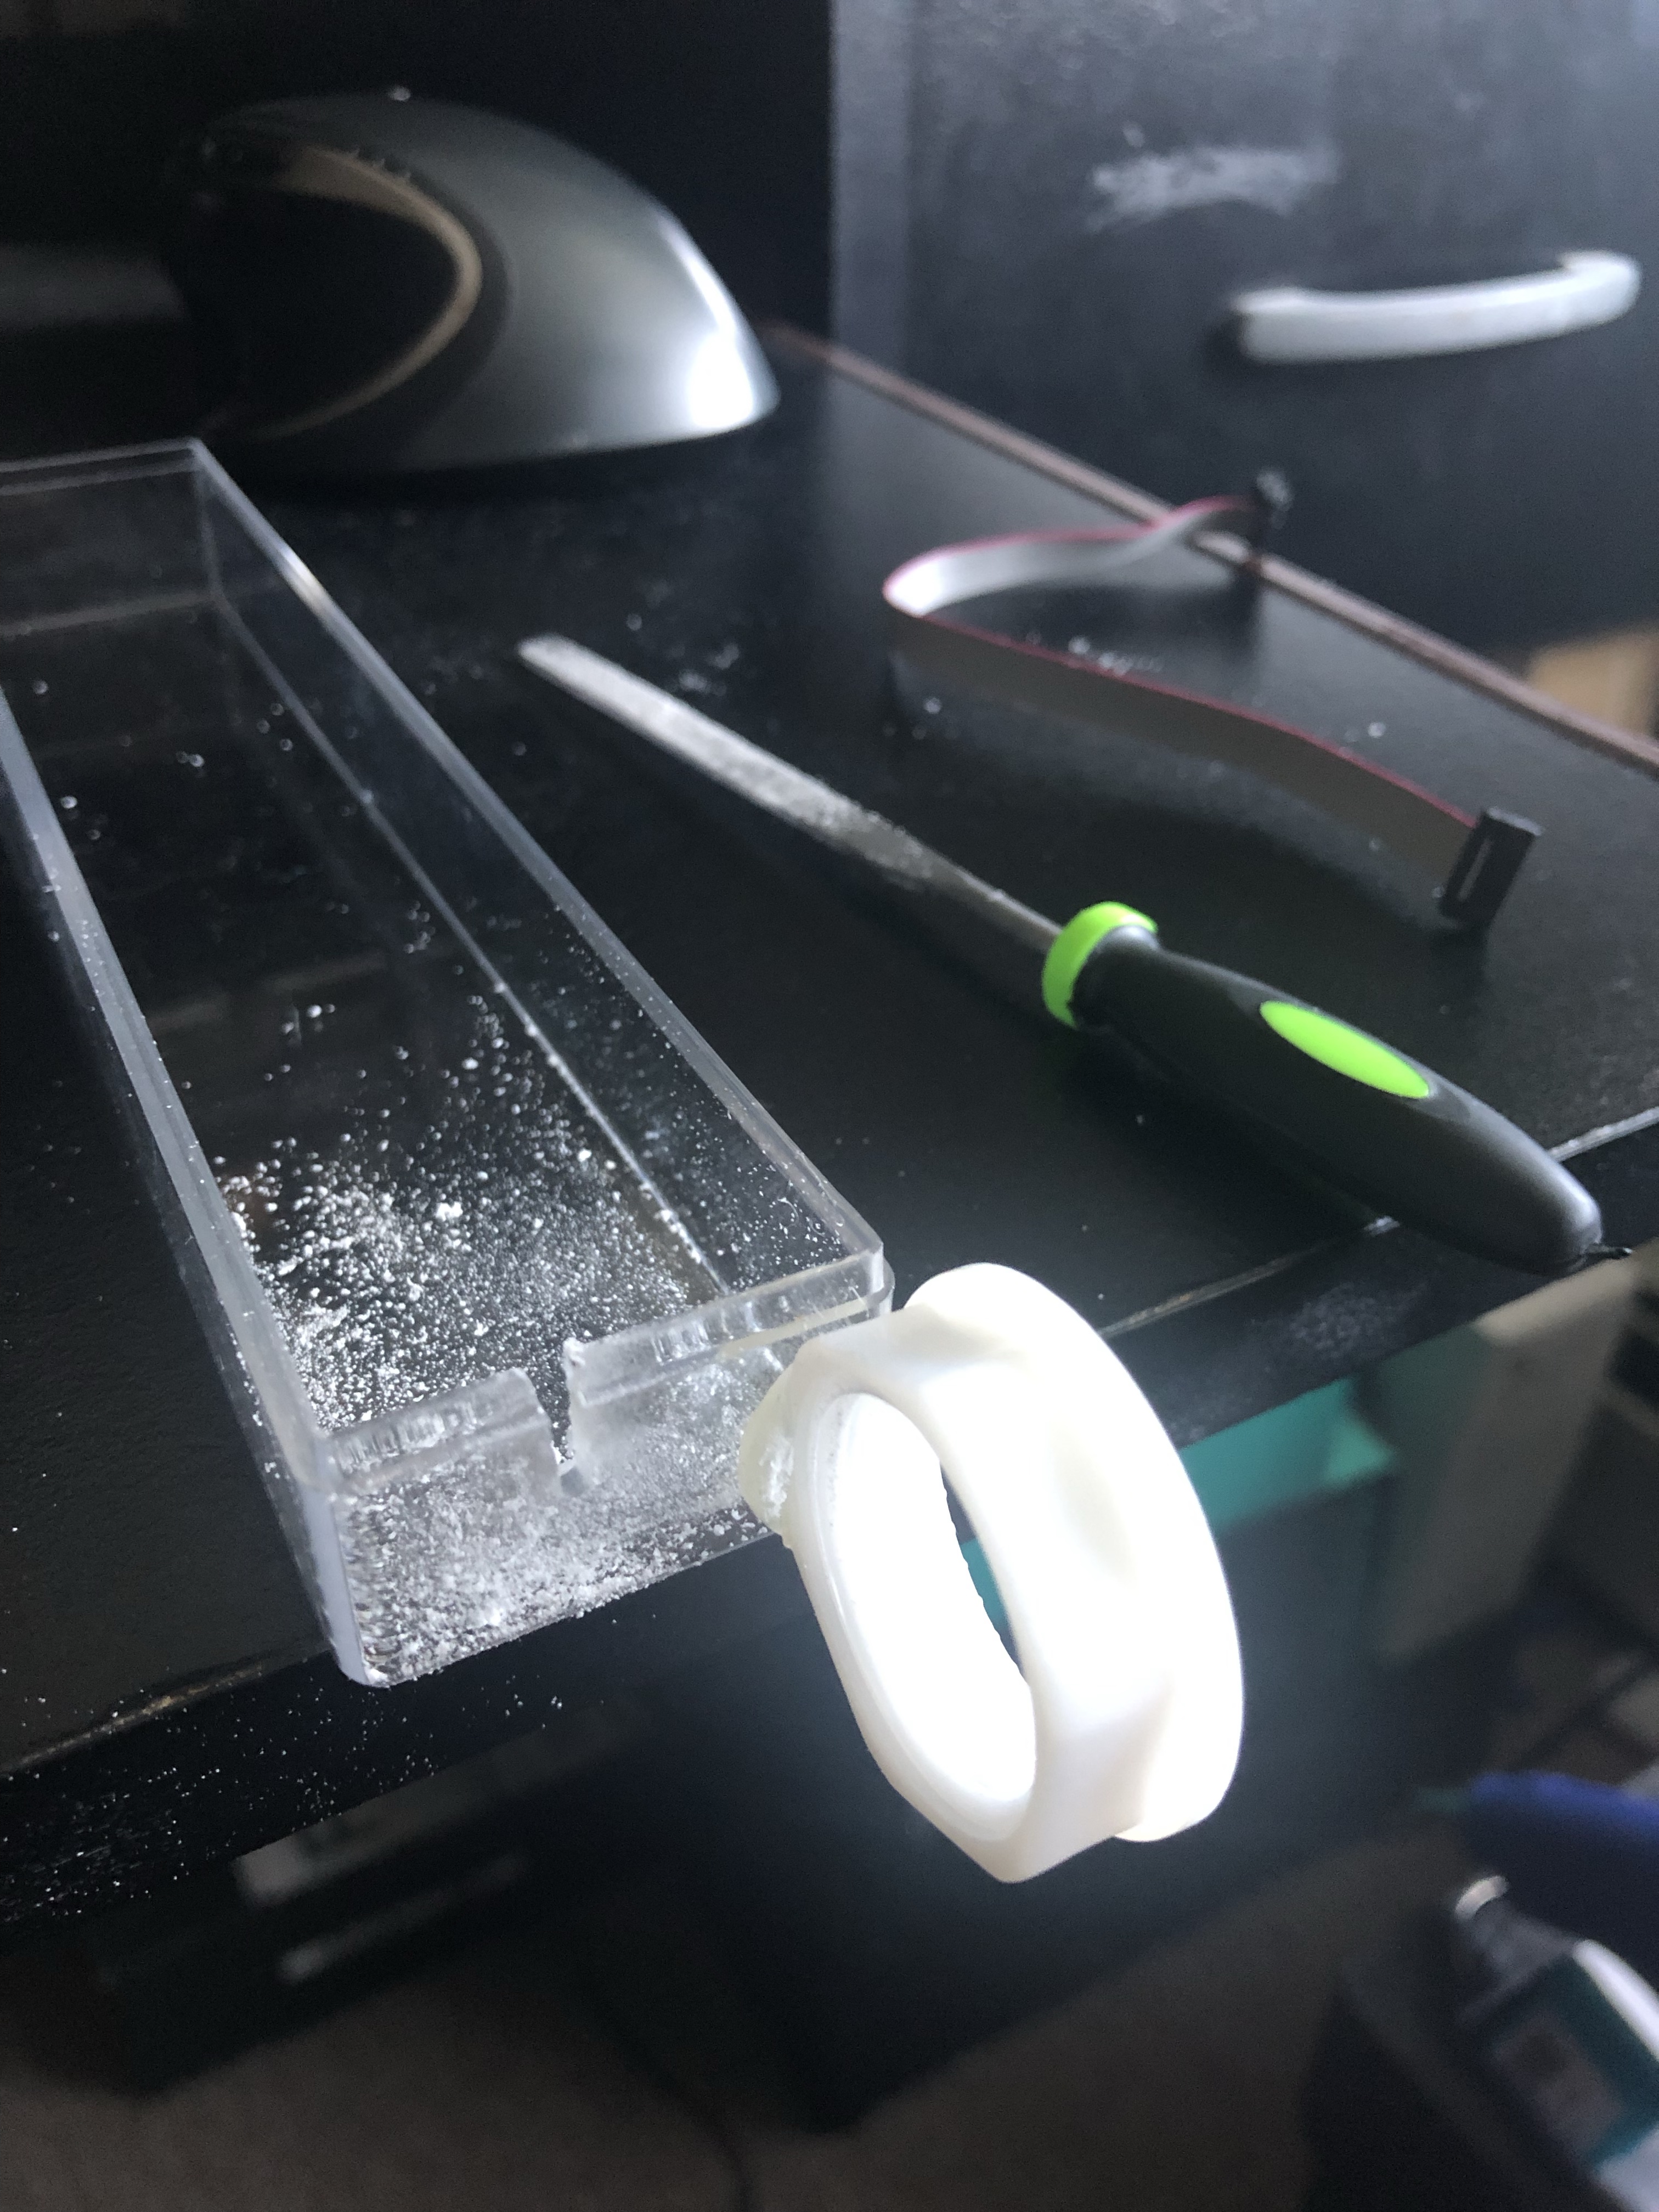
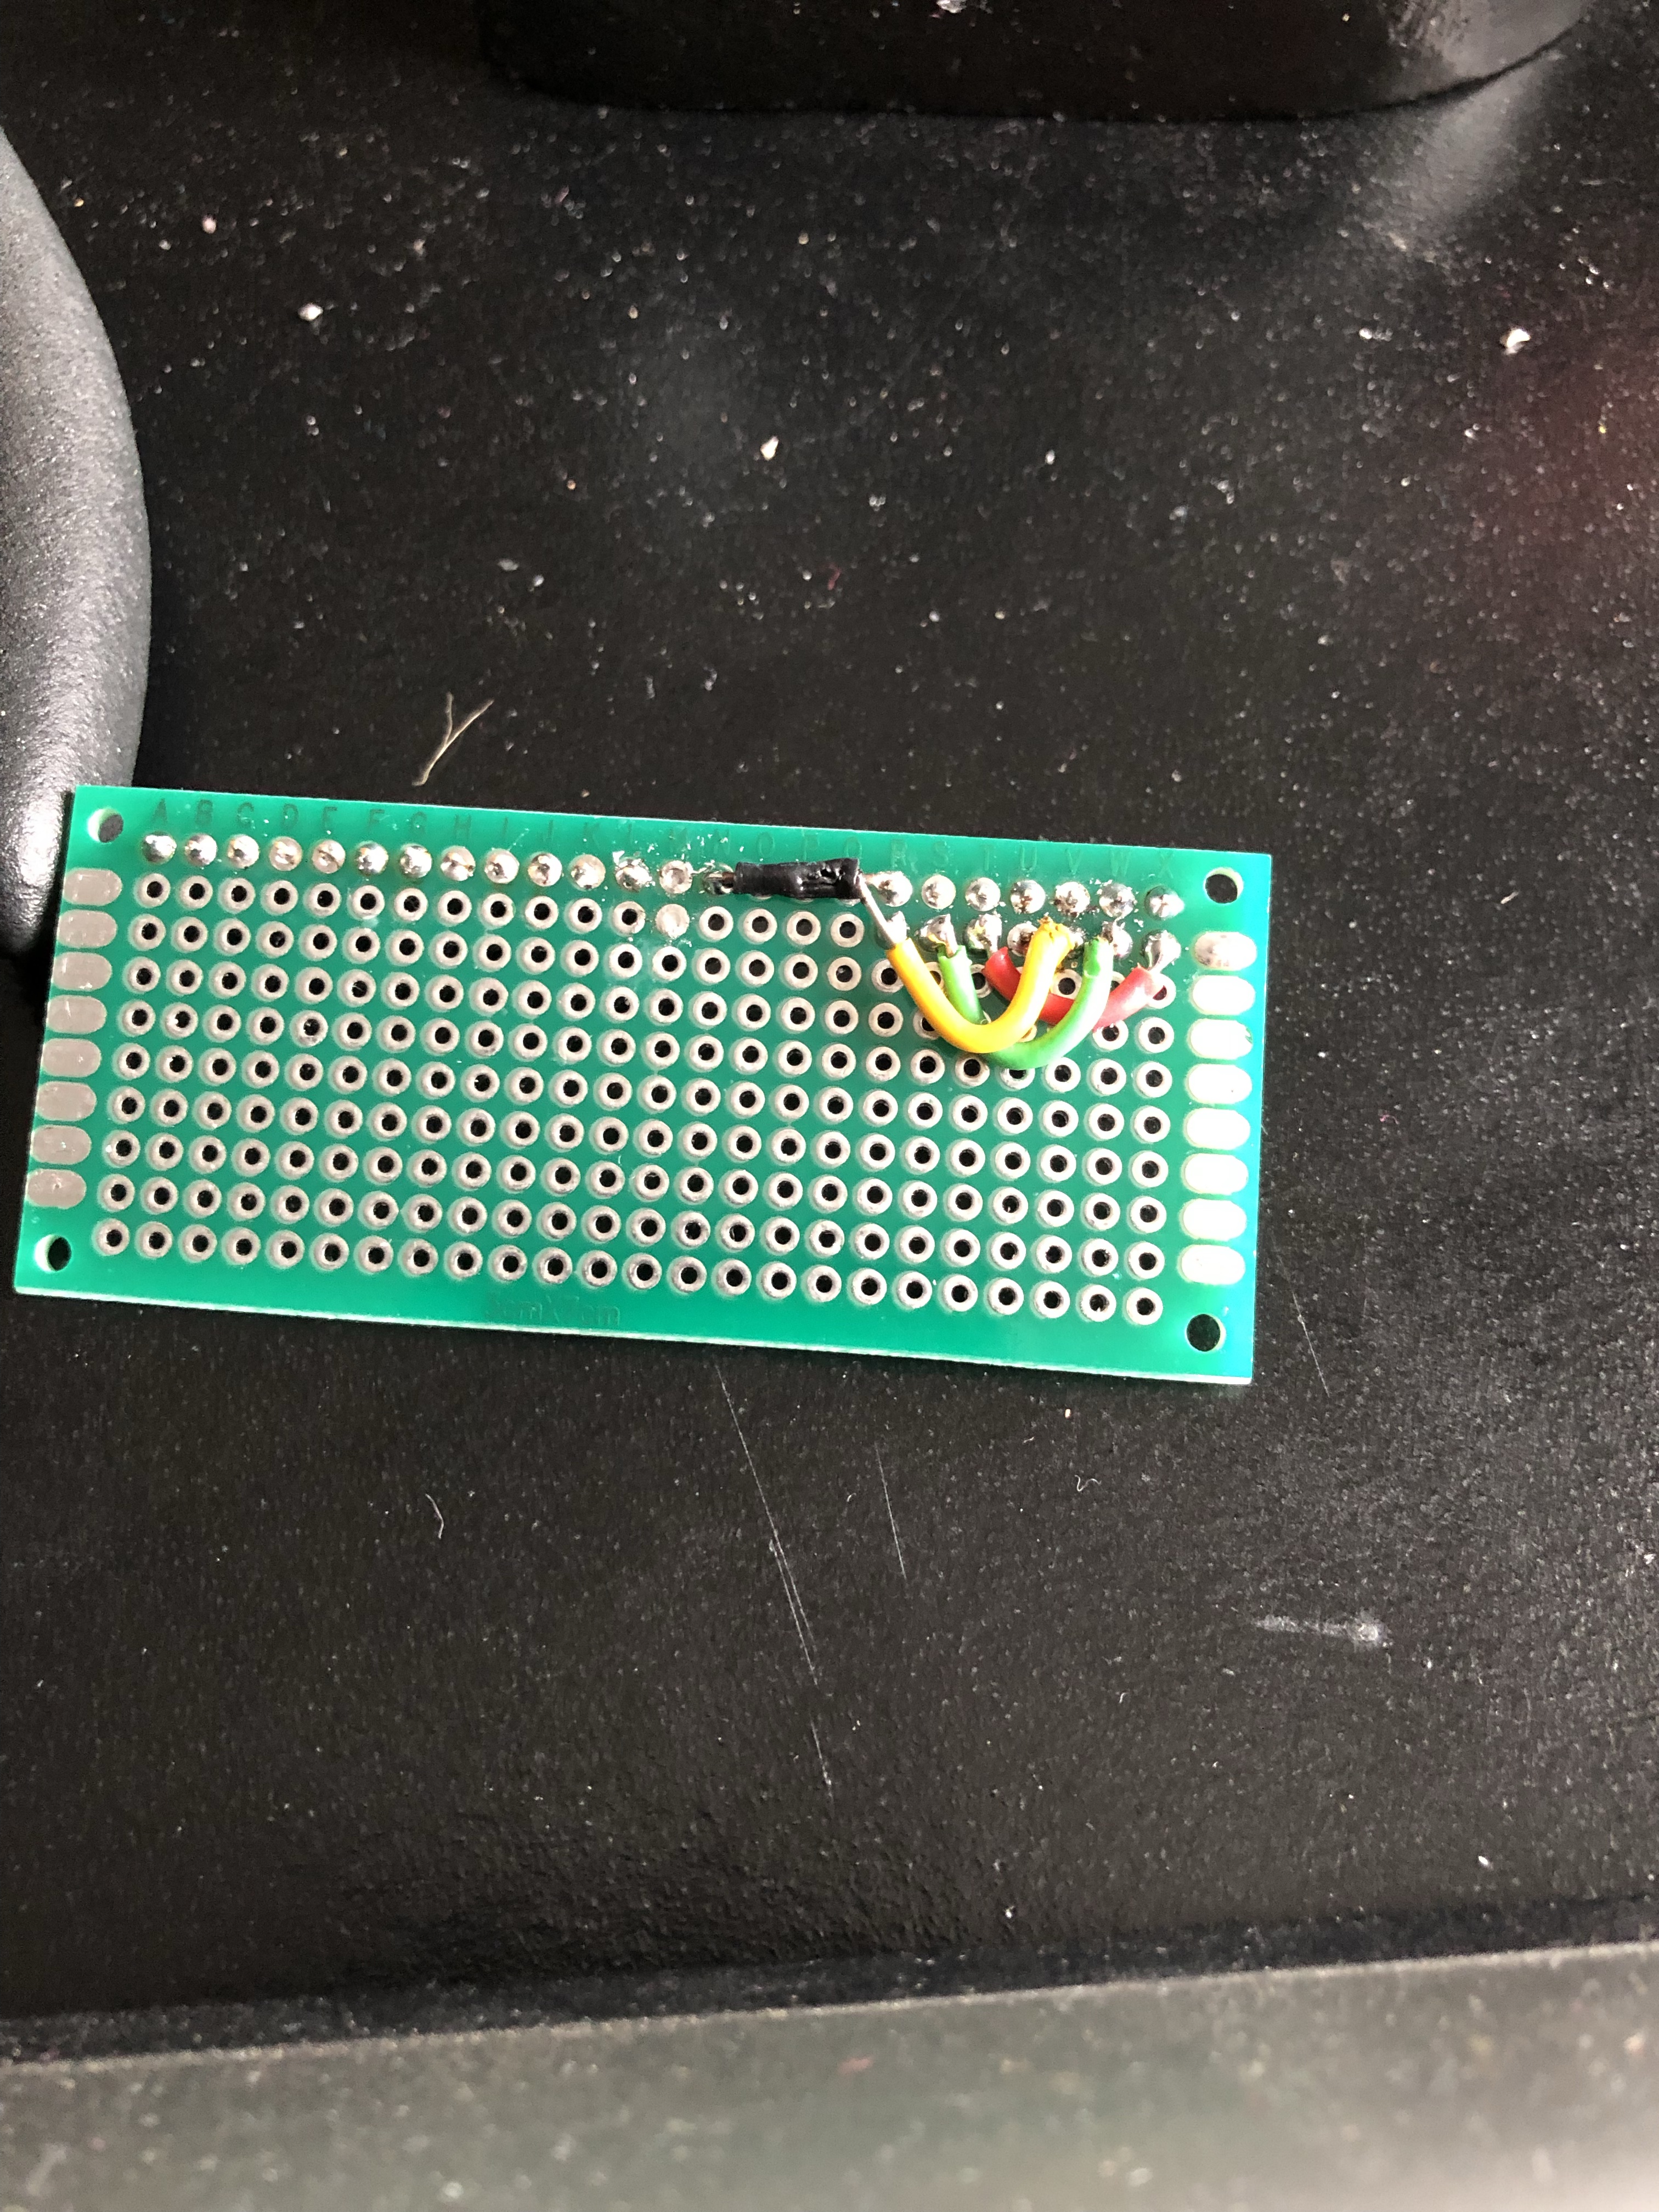
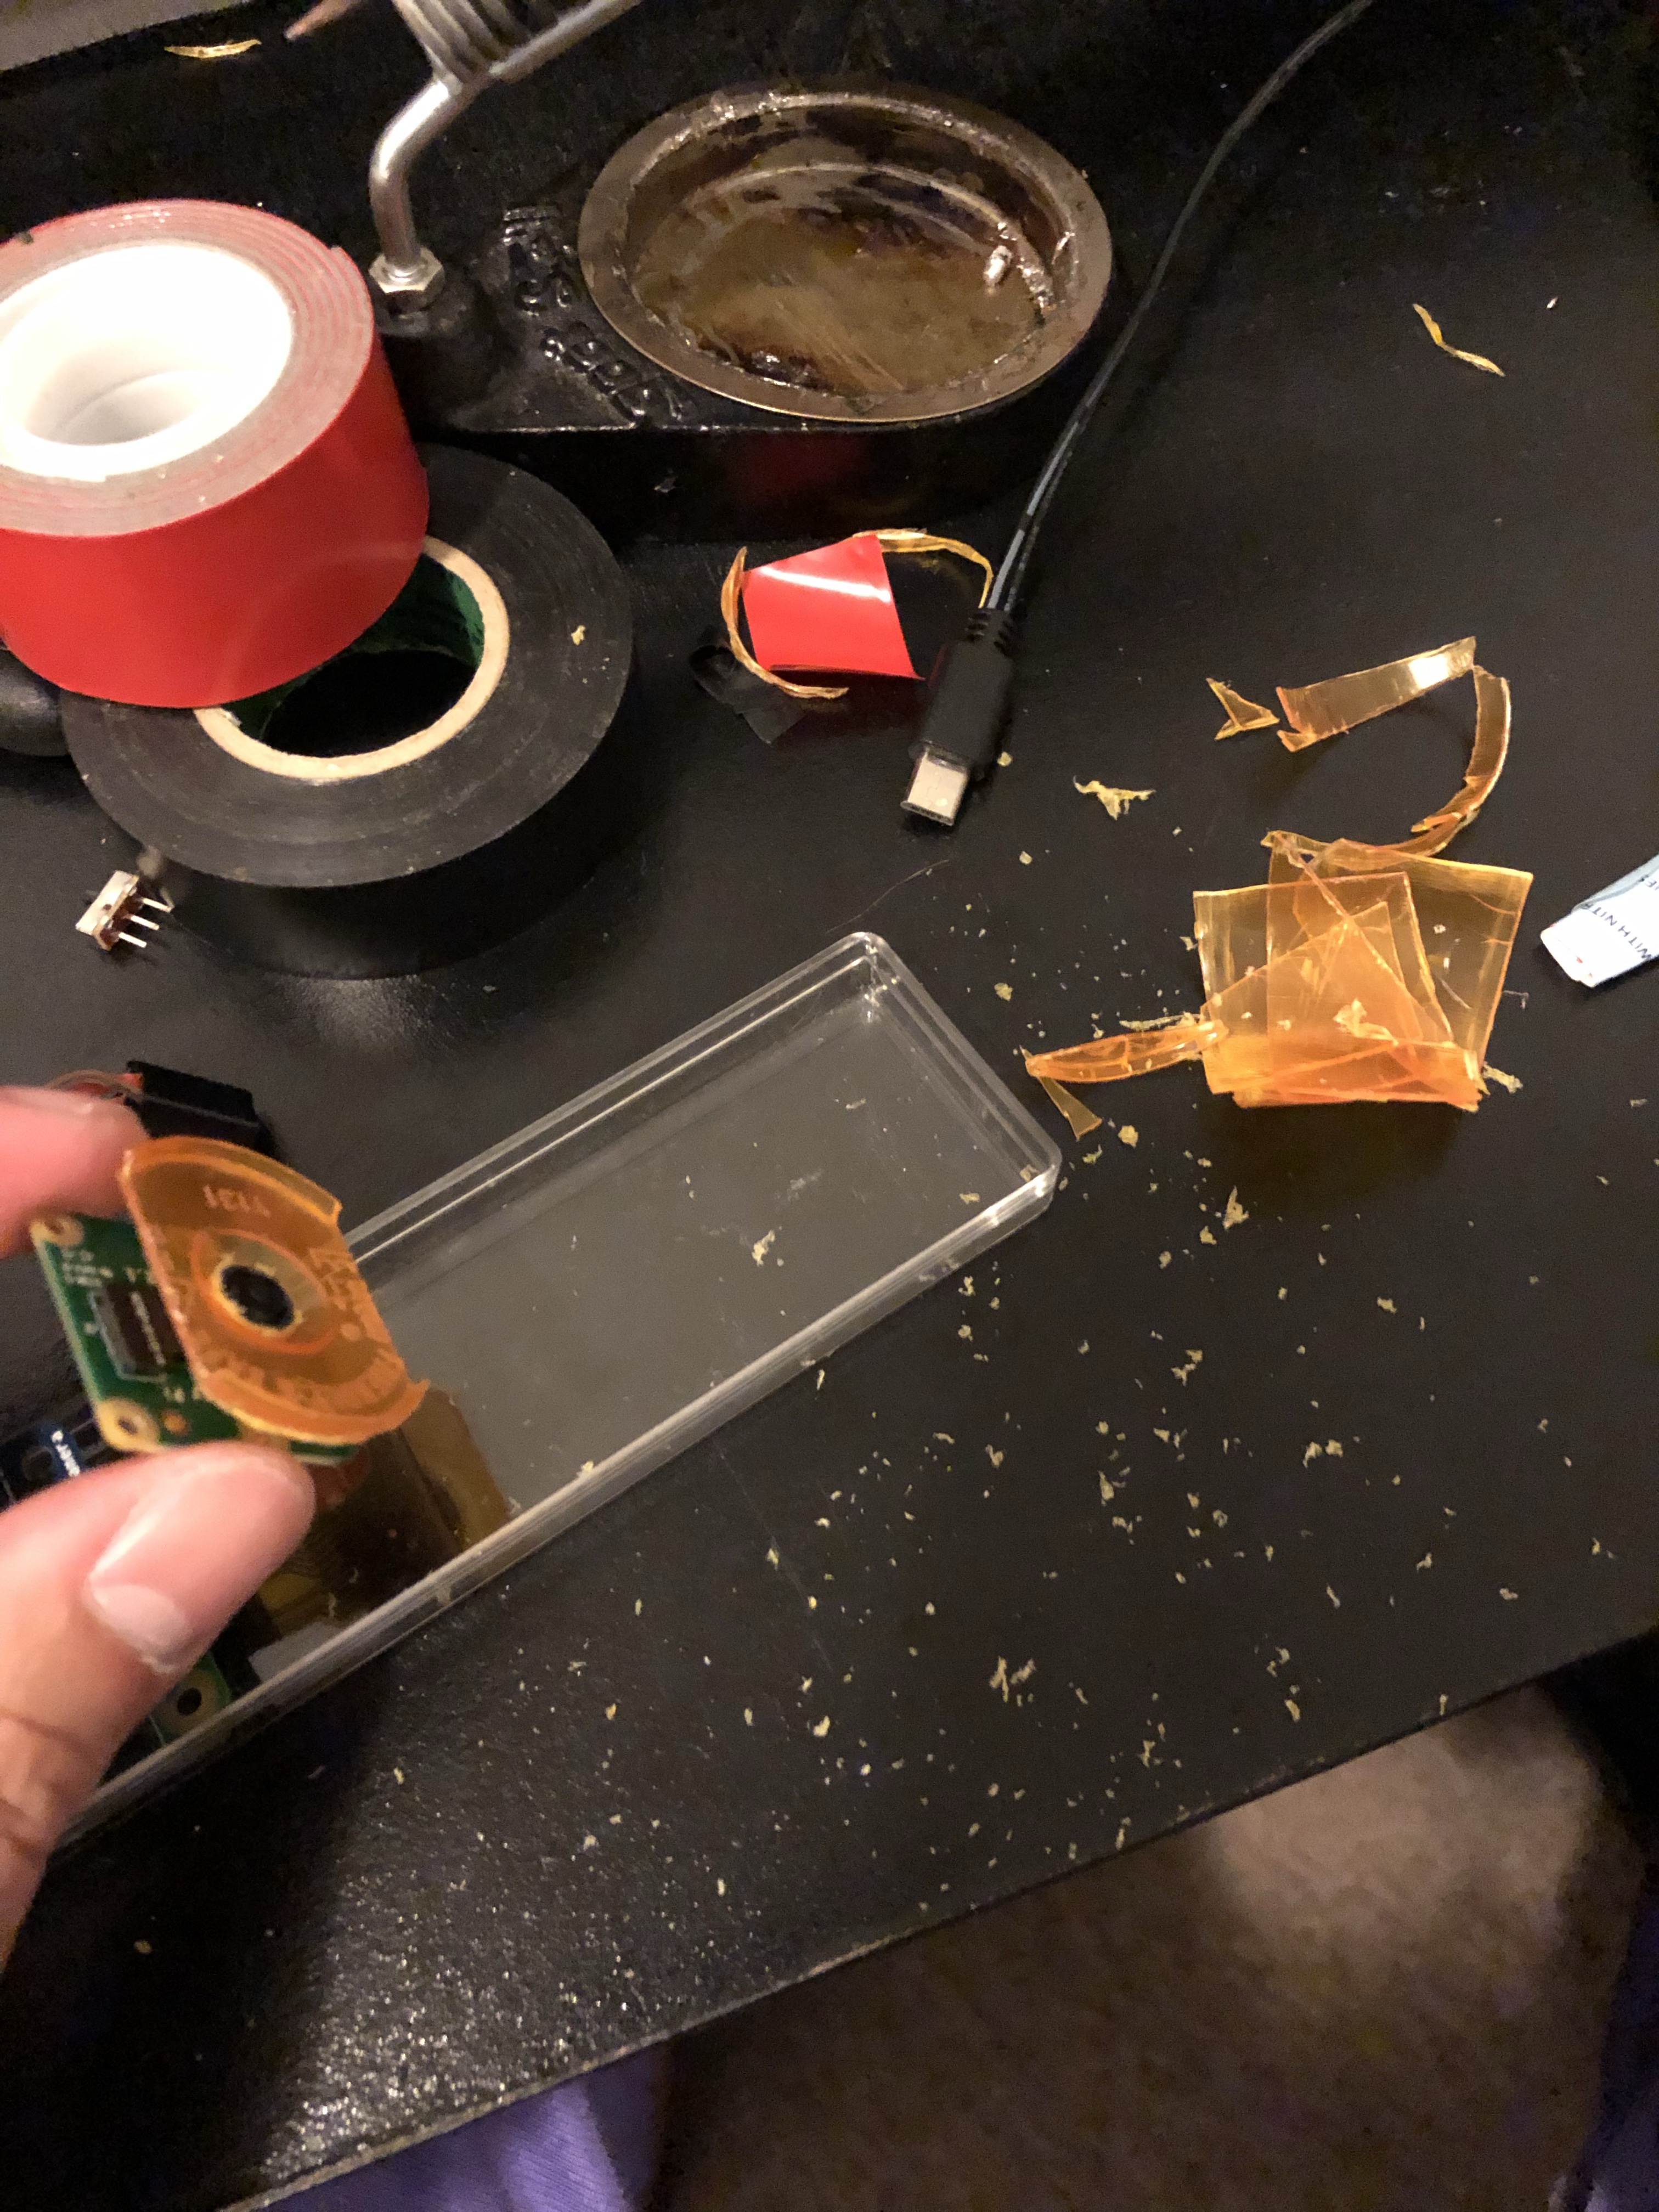
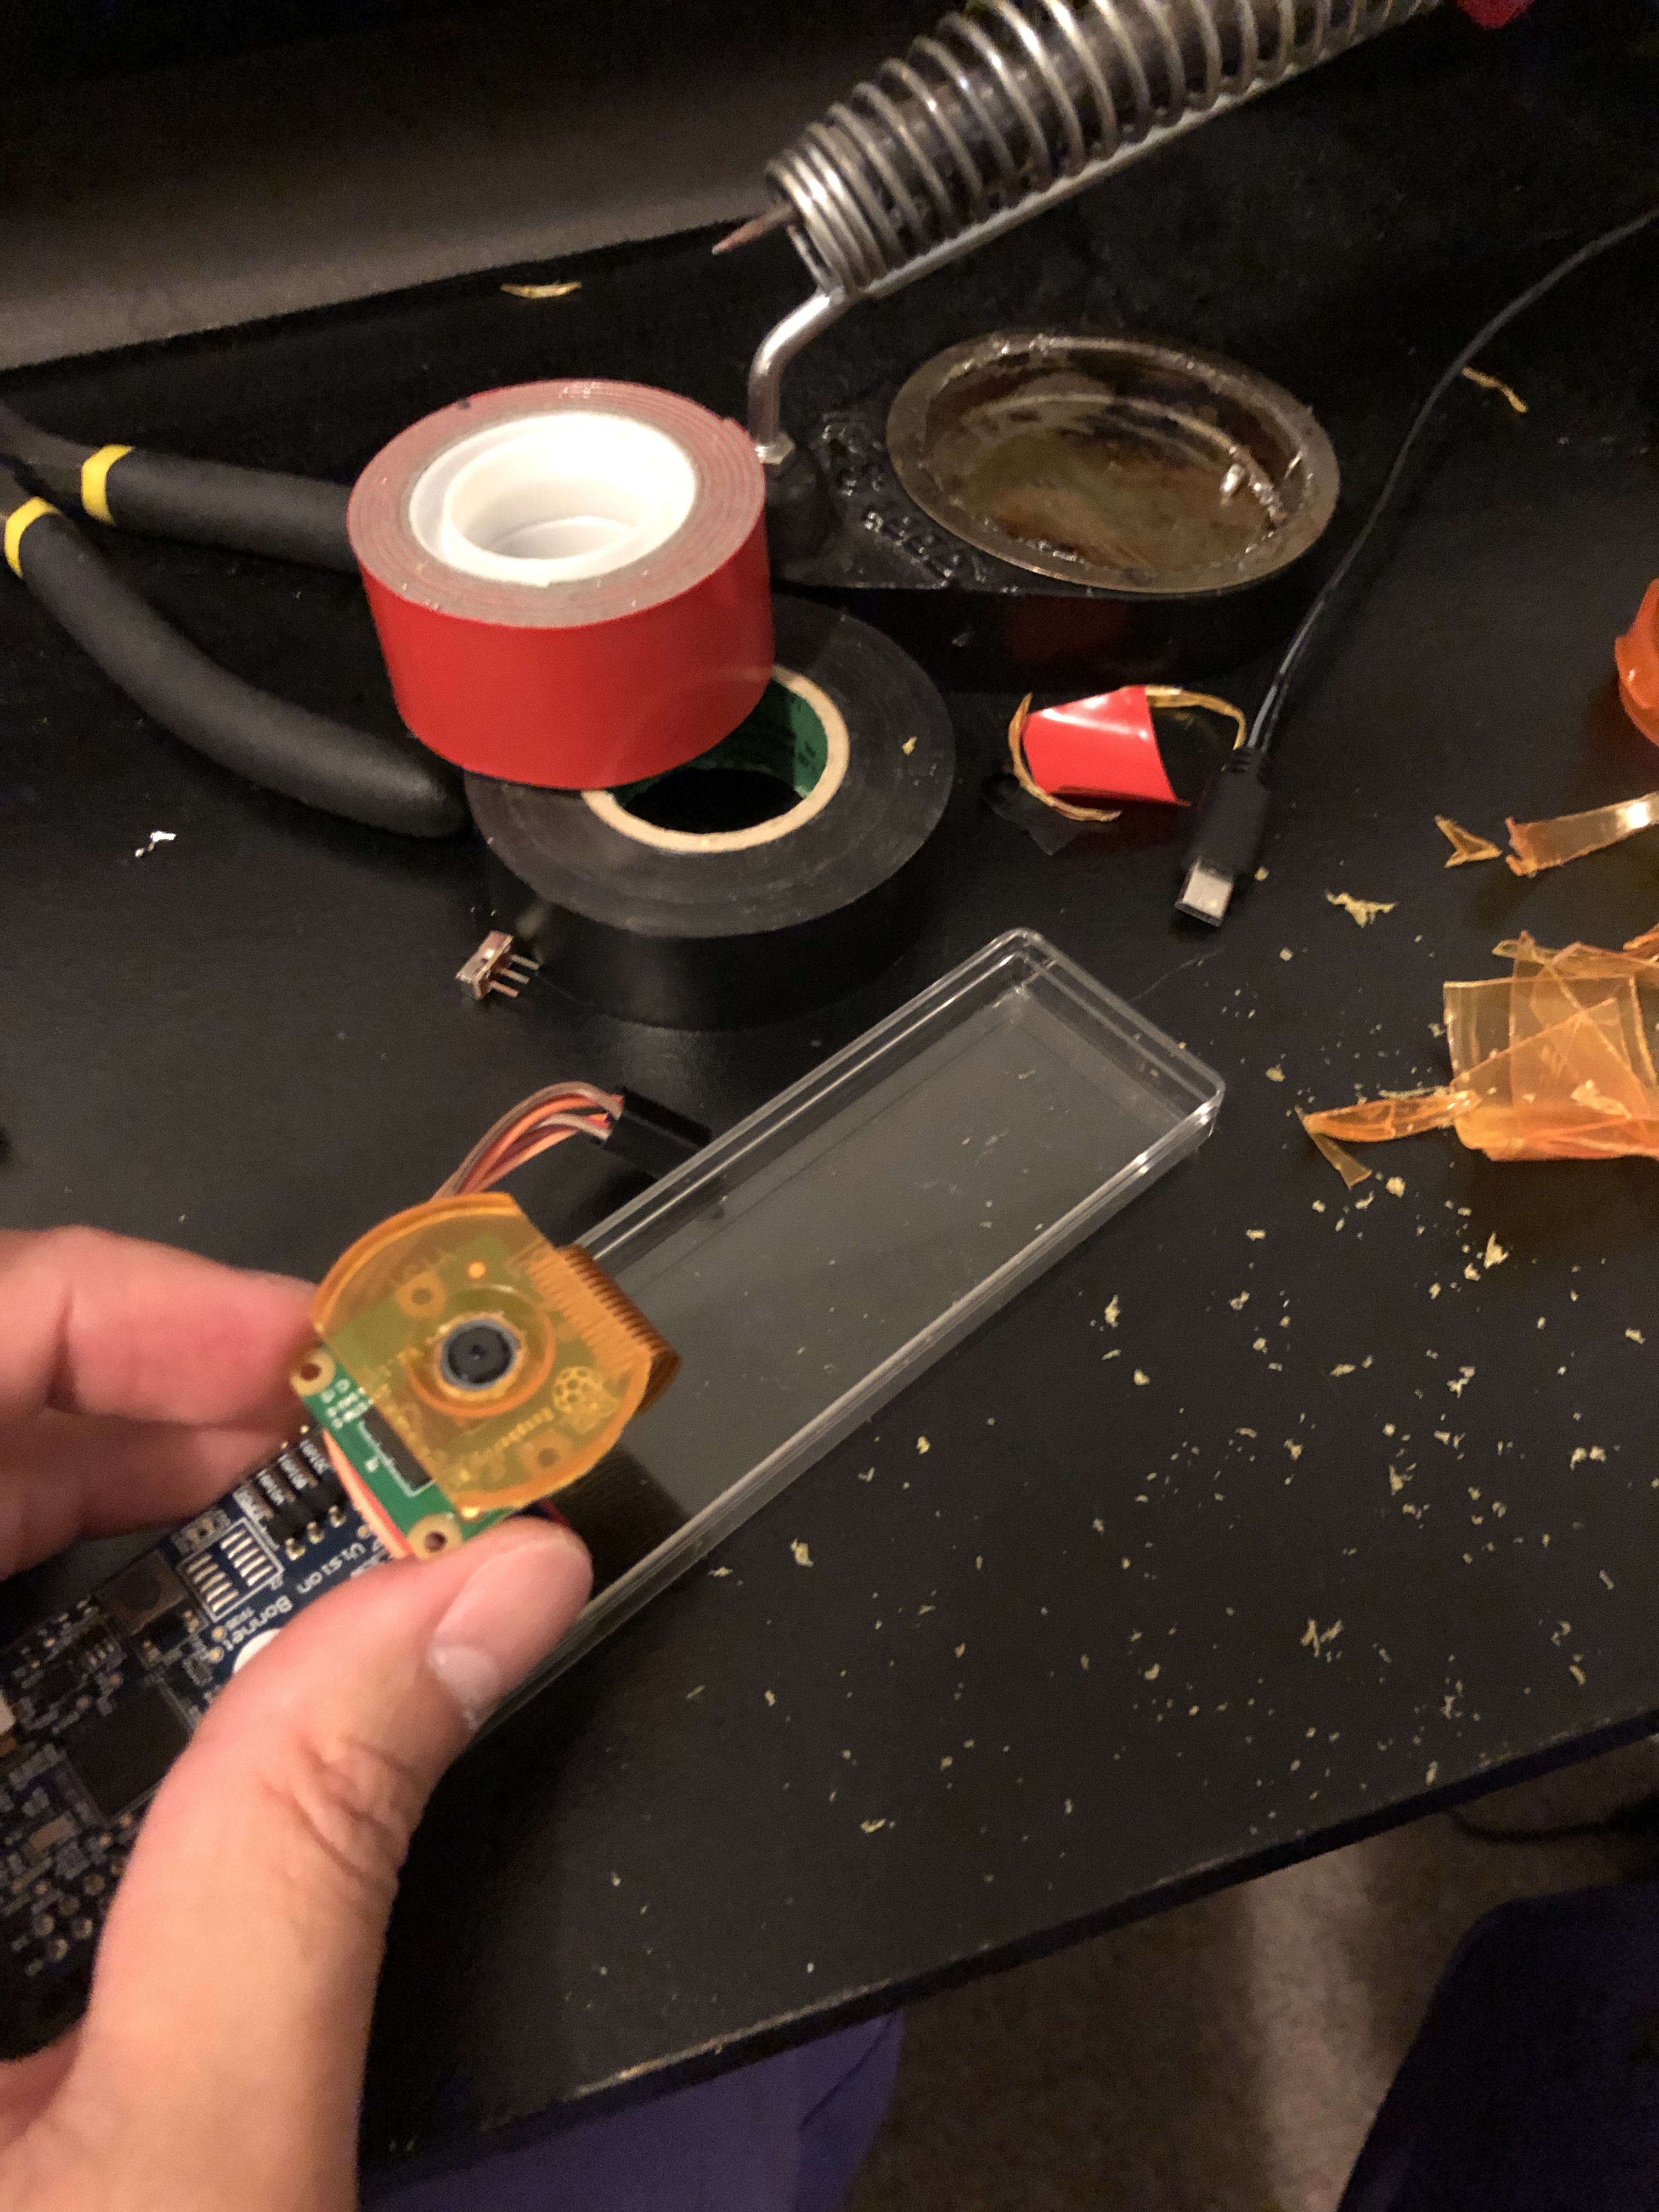
I scrapped the cardboard box that came with the kit and replaced it with a clear plastic case that was narrow enough to hold the width of the pi. This in retrospect is the first in the many delightful mistakes I would make in this project. The AIY vision bonnet is mounted on top of the raspberry pi zero with the camera next to it. The other side of the device has the power supply with a small 650 mAh battery. I also had to add a JST wire directly on the pi to power it from a wall charger as it was getting really difficult to develop on it with the tiny battery which would only last 20-30 mins.
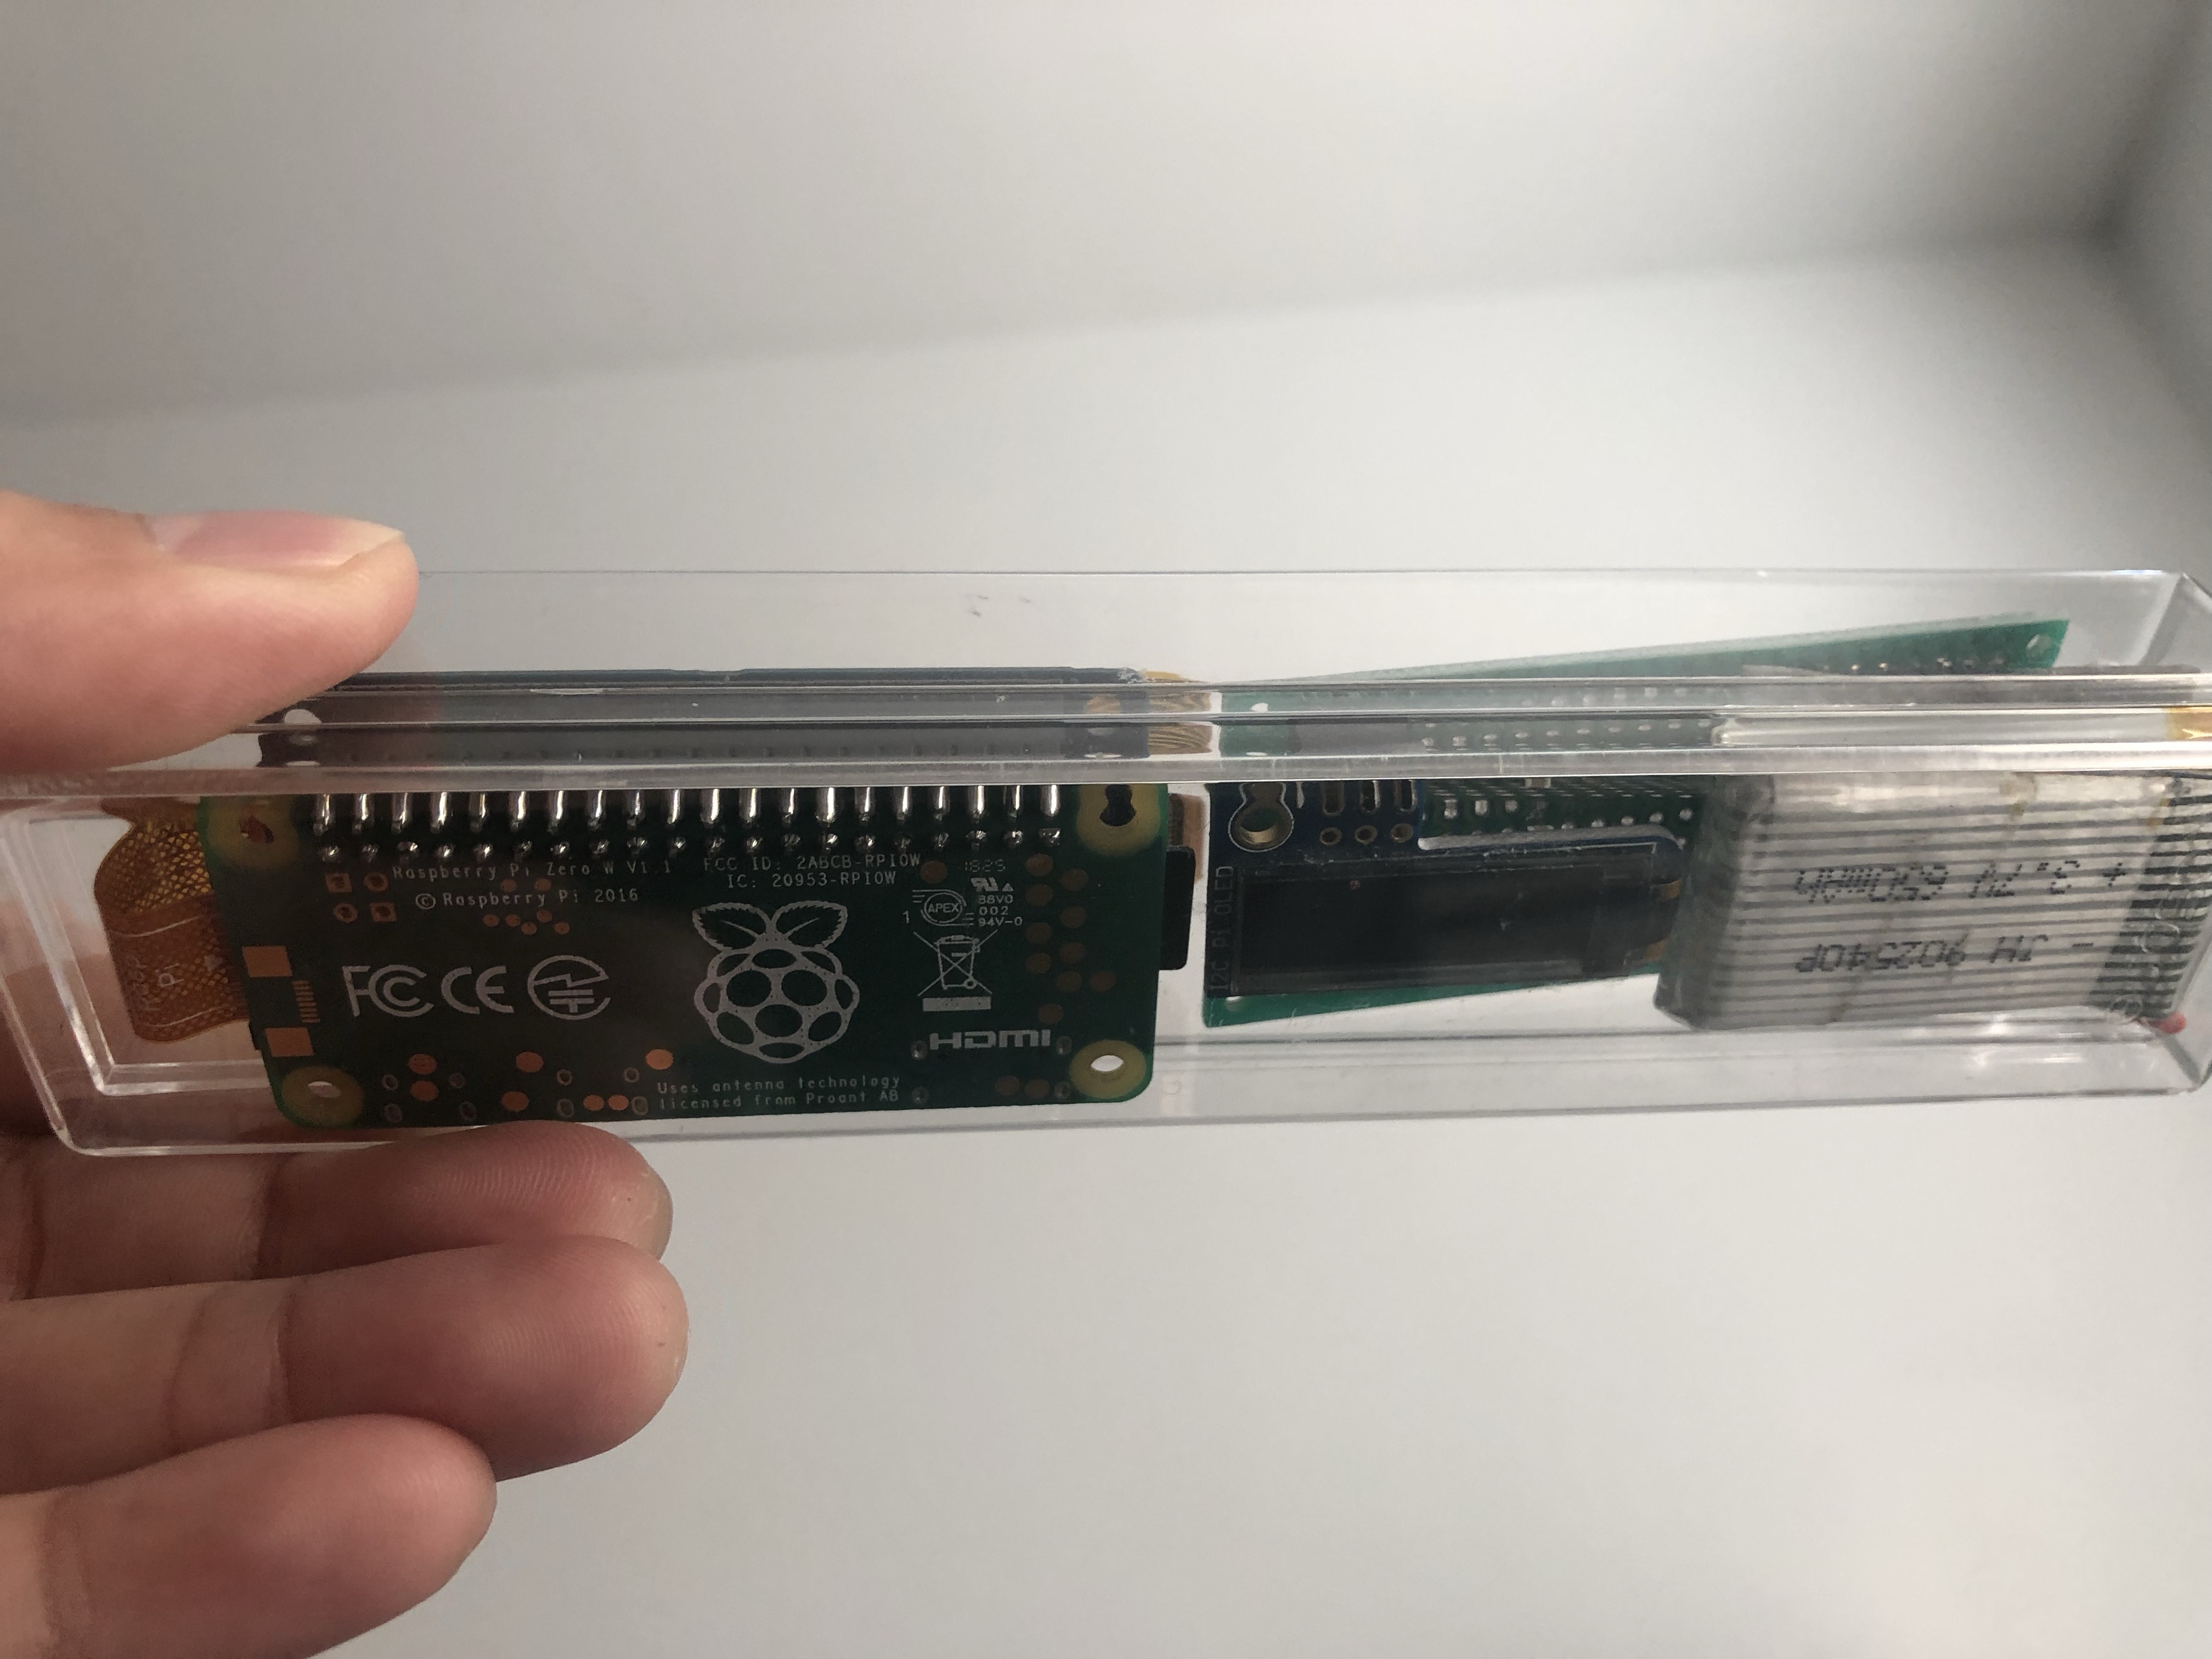
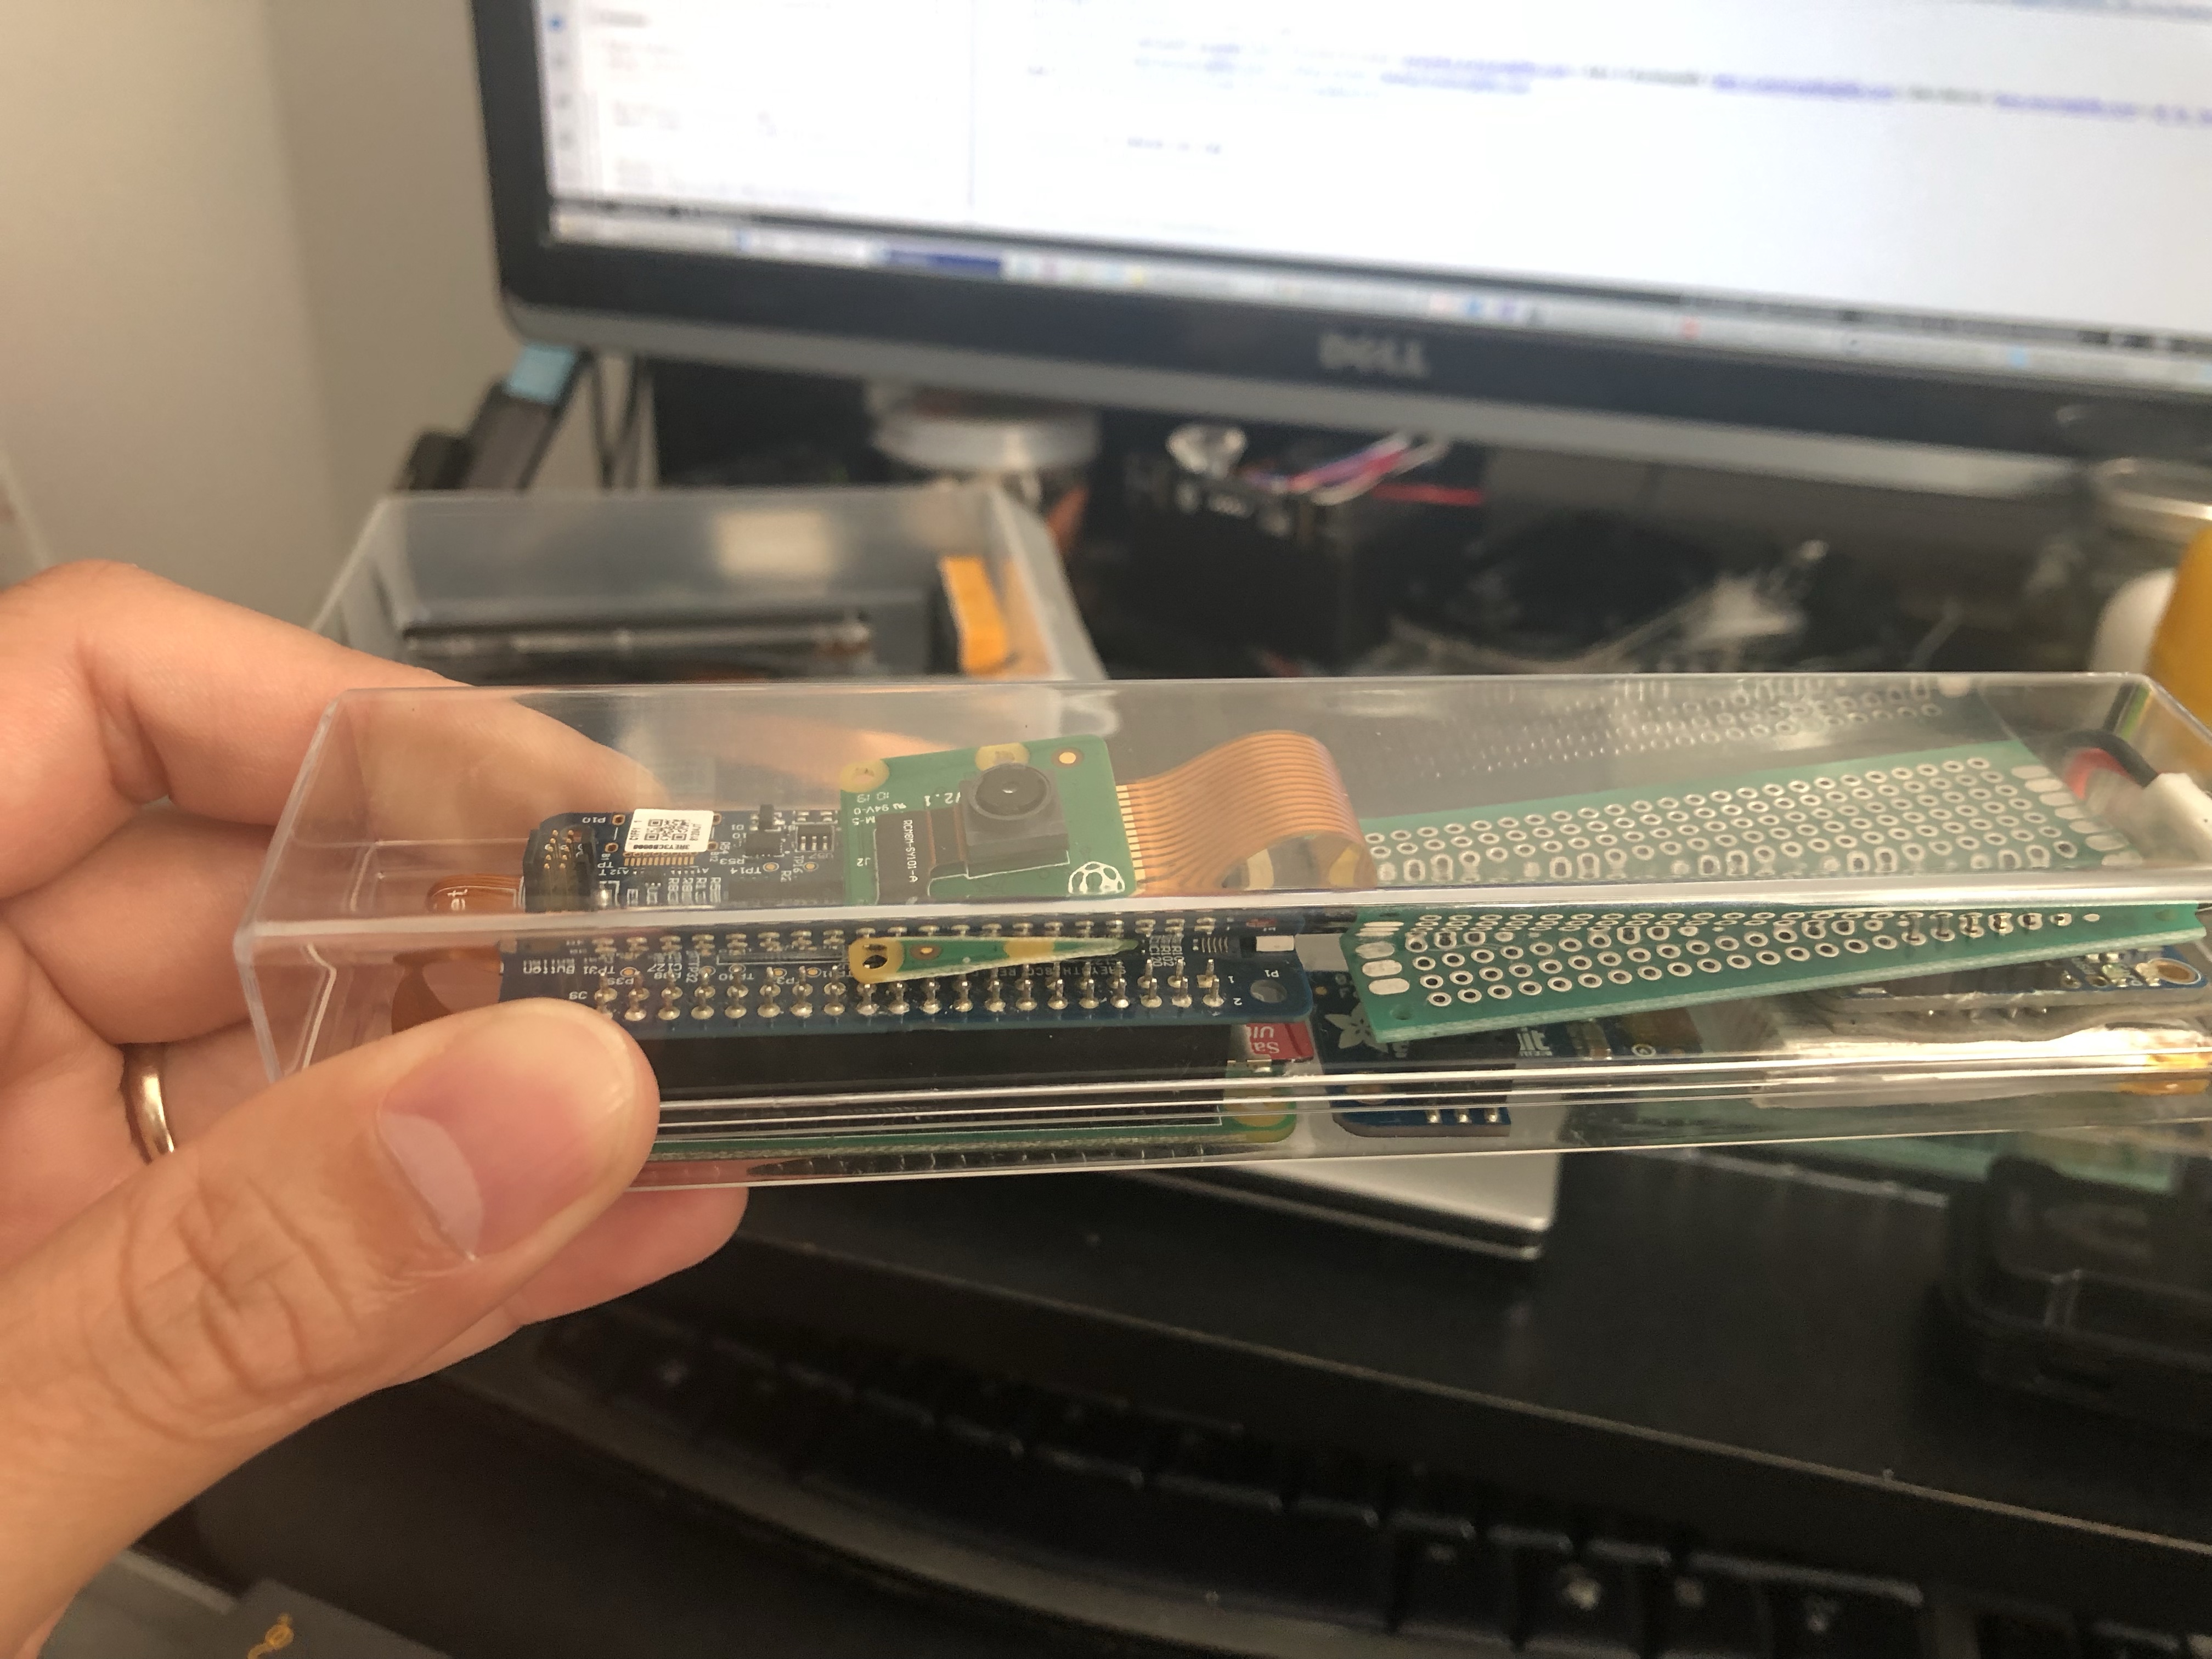


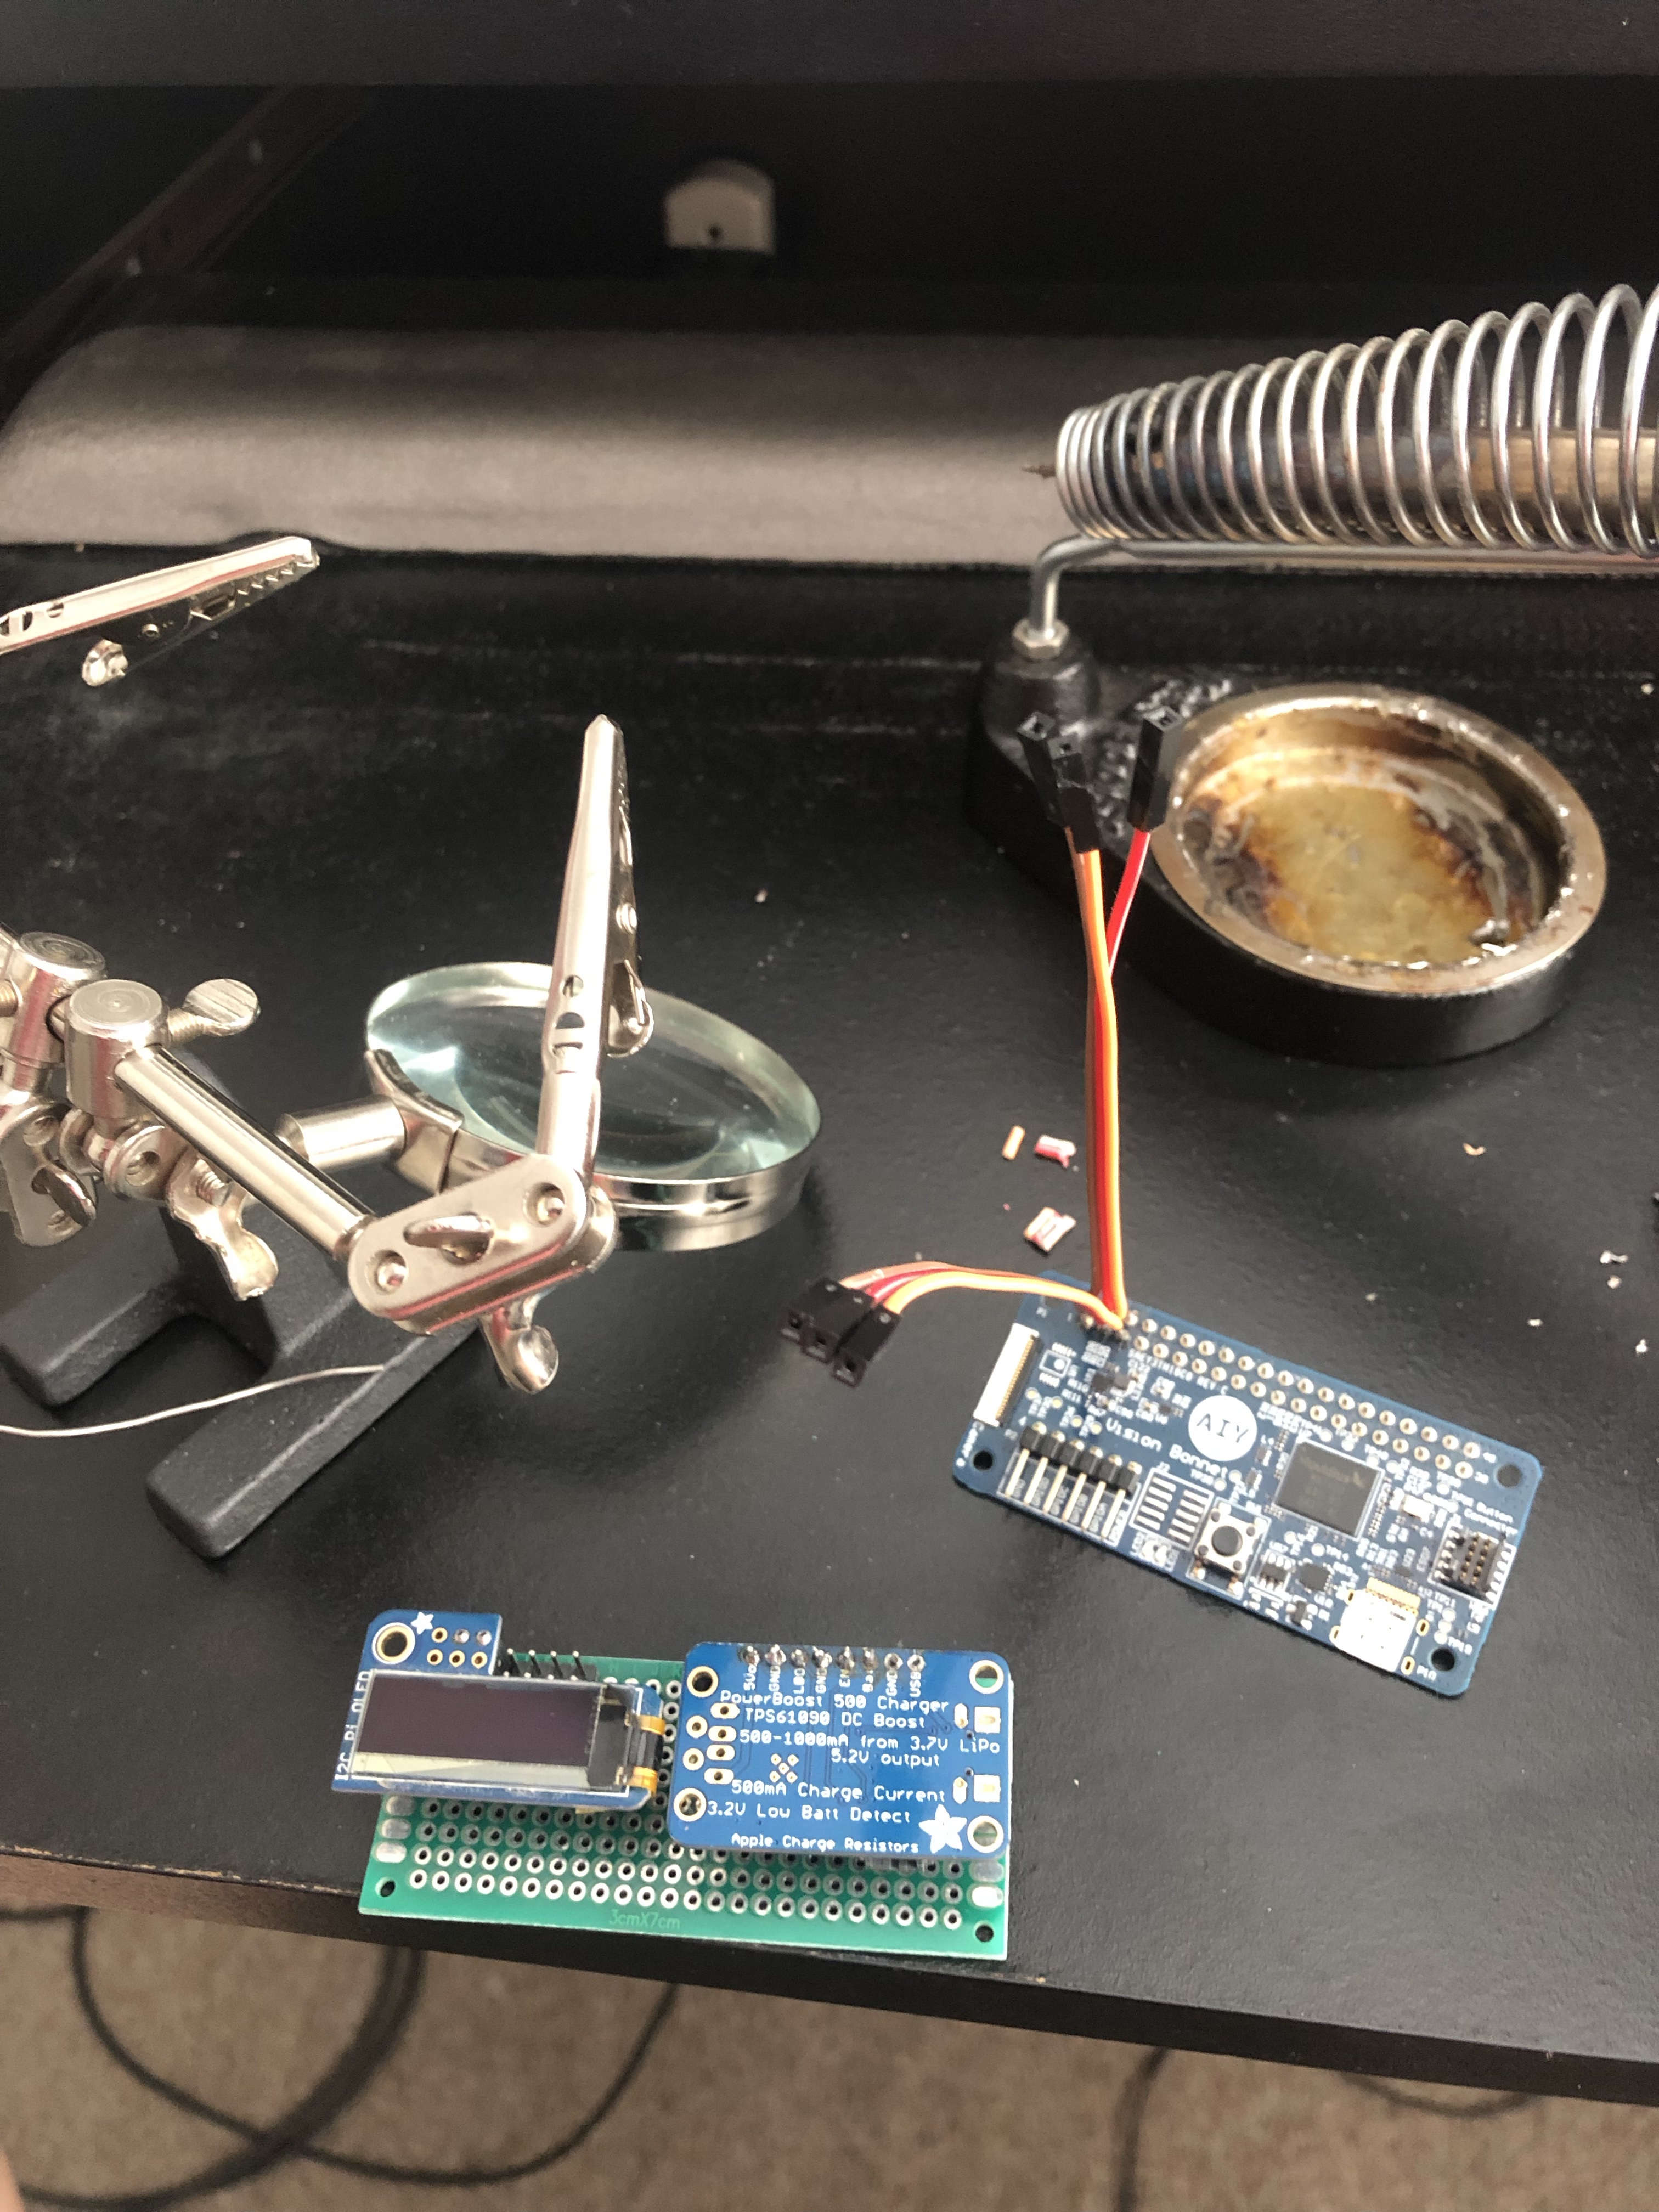


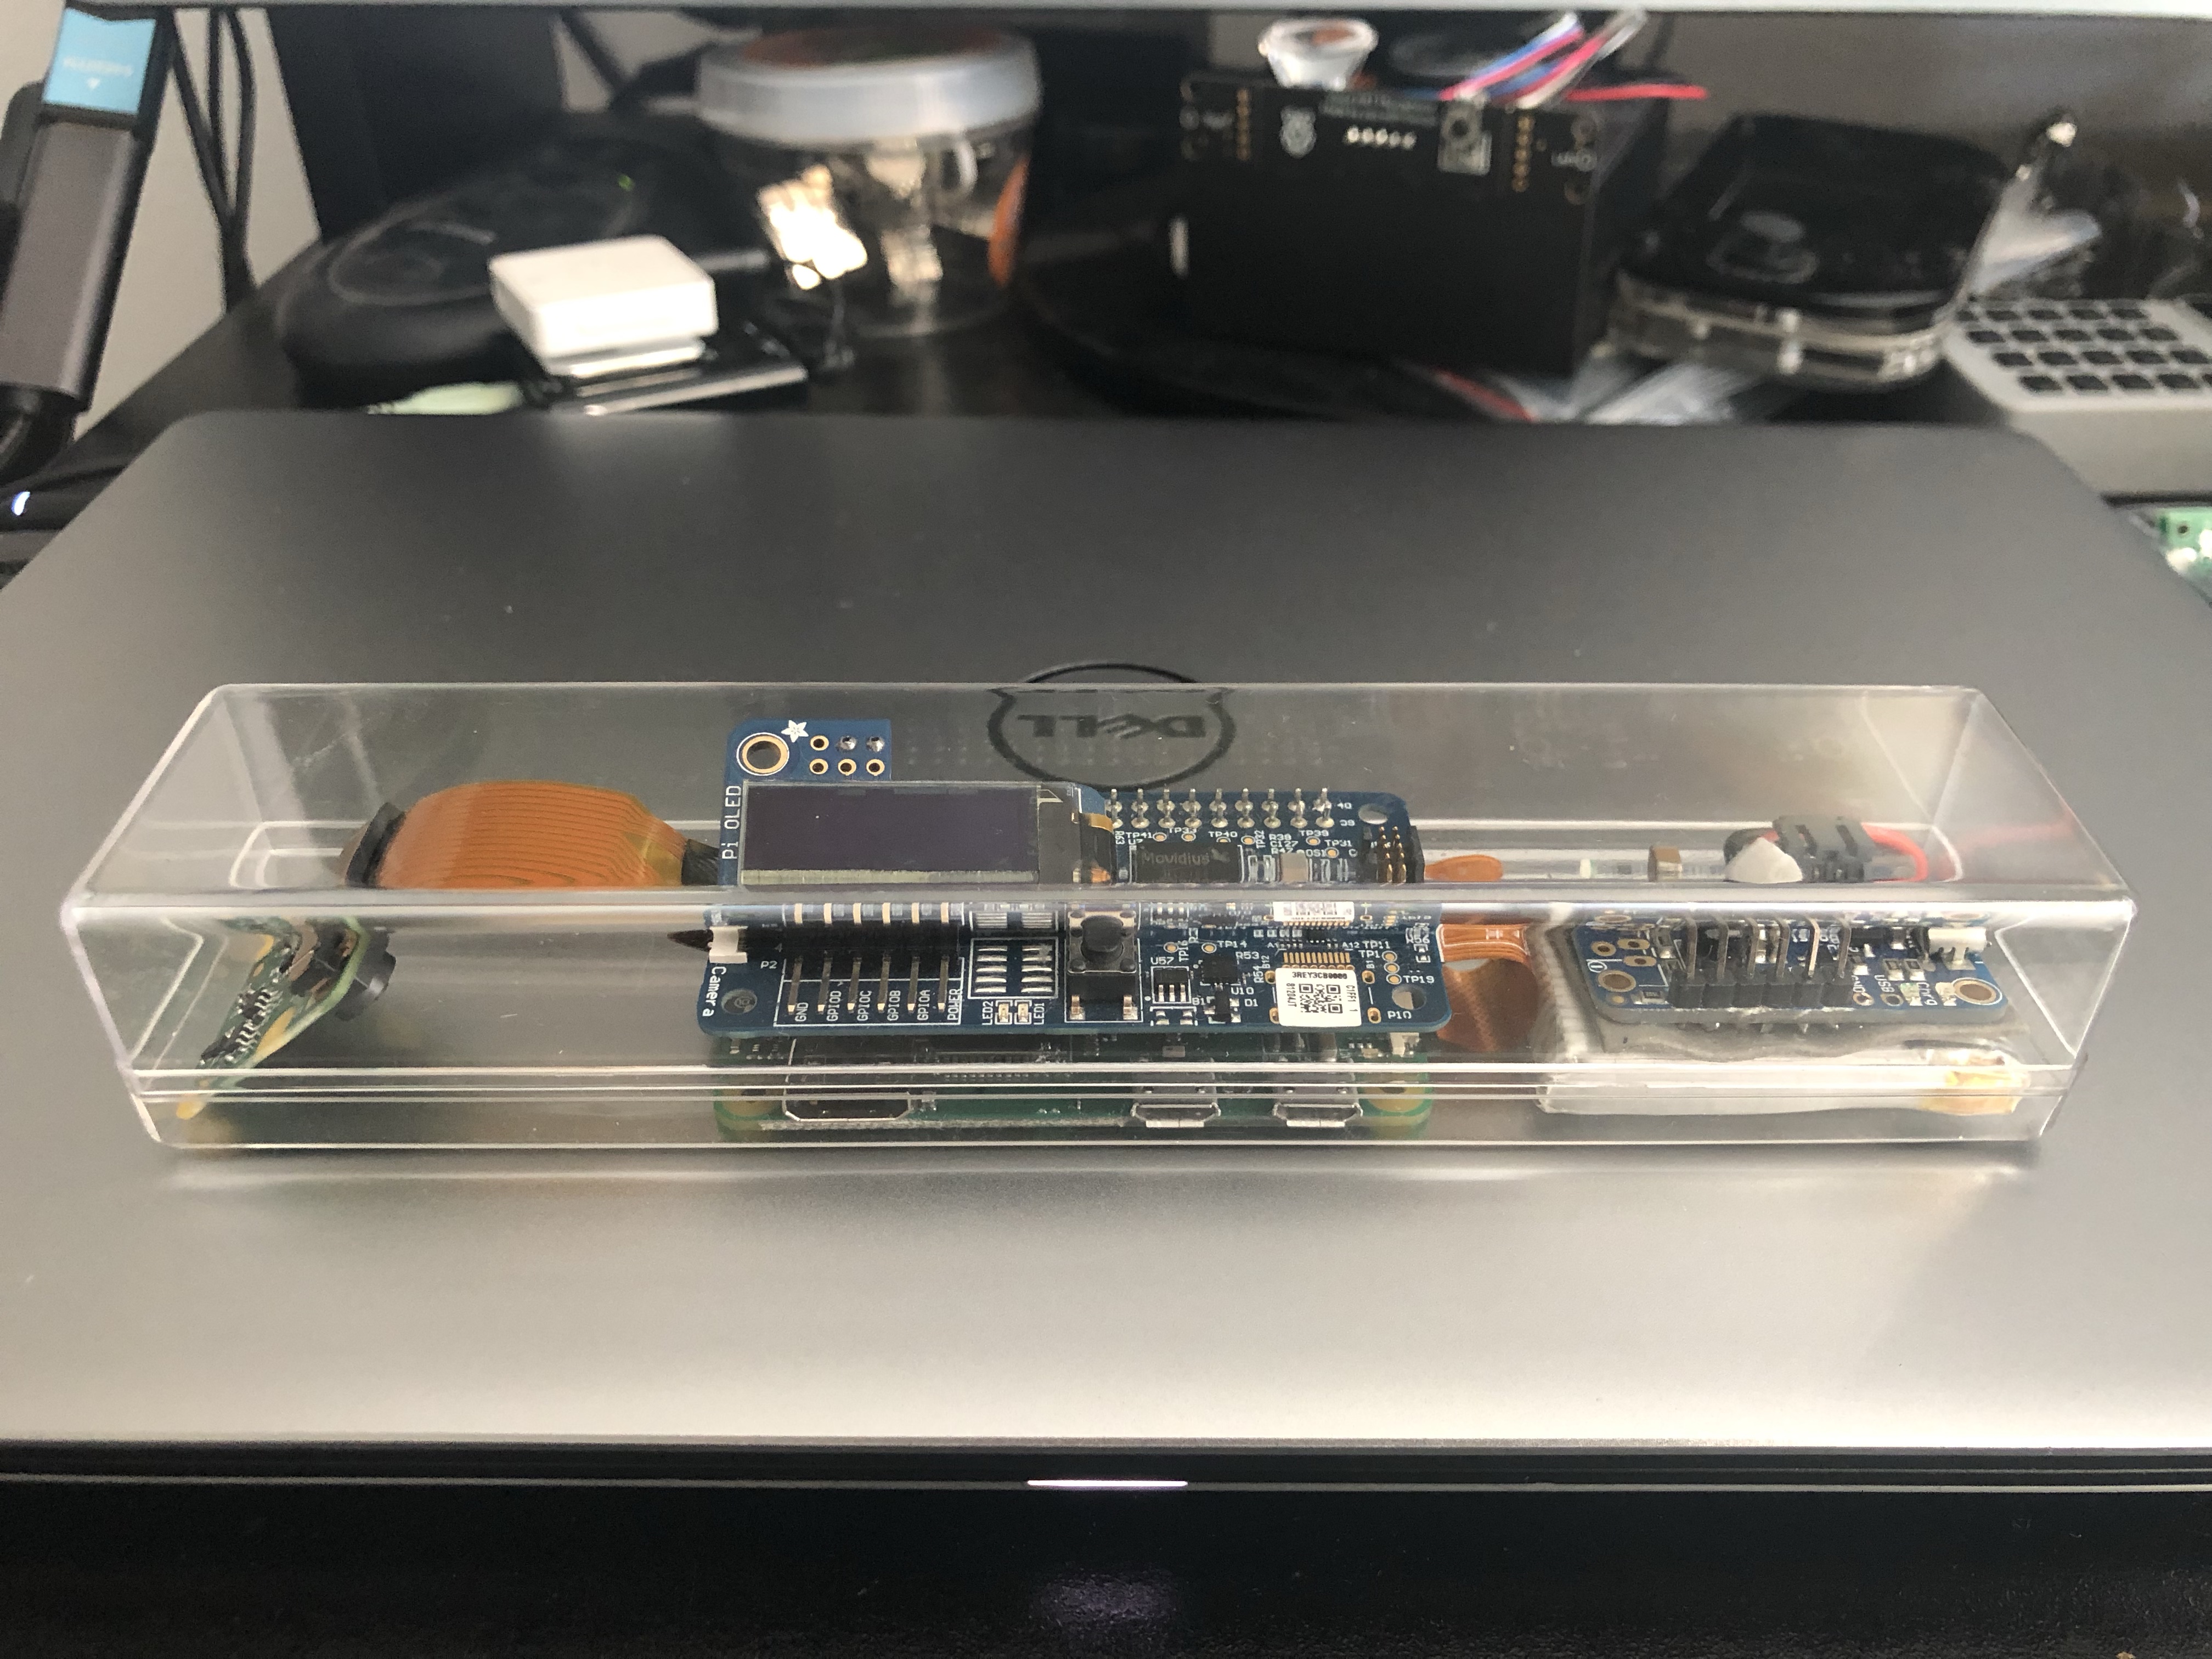
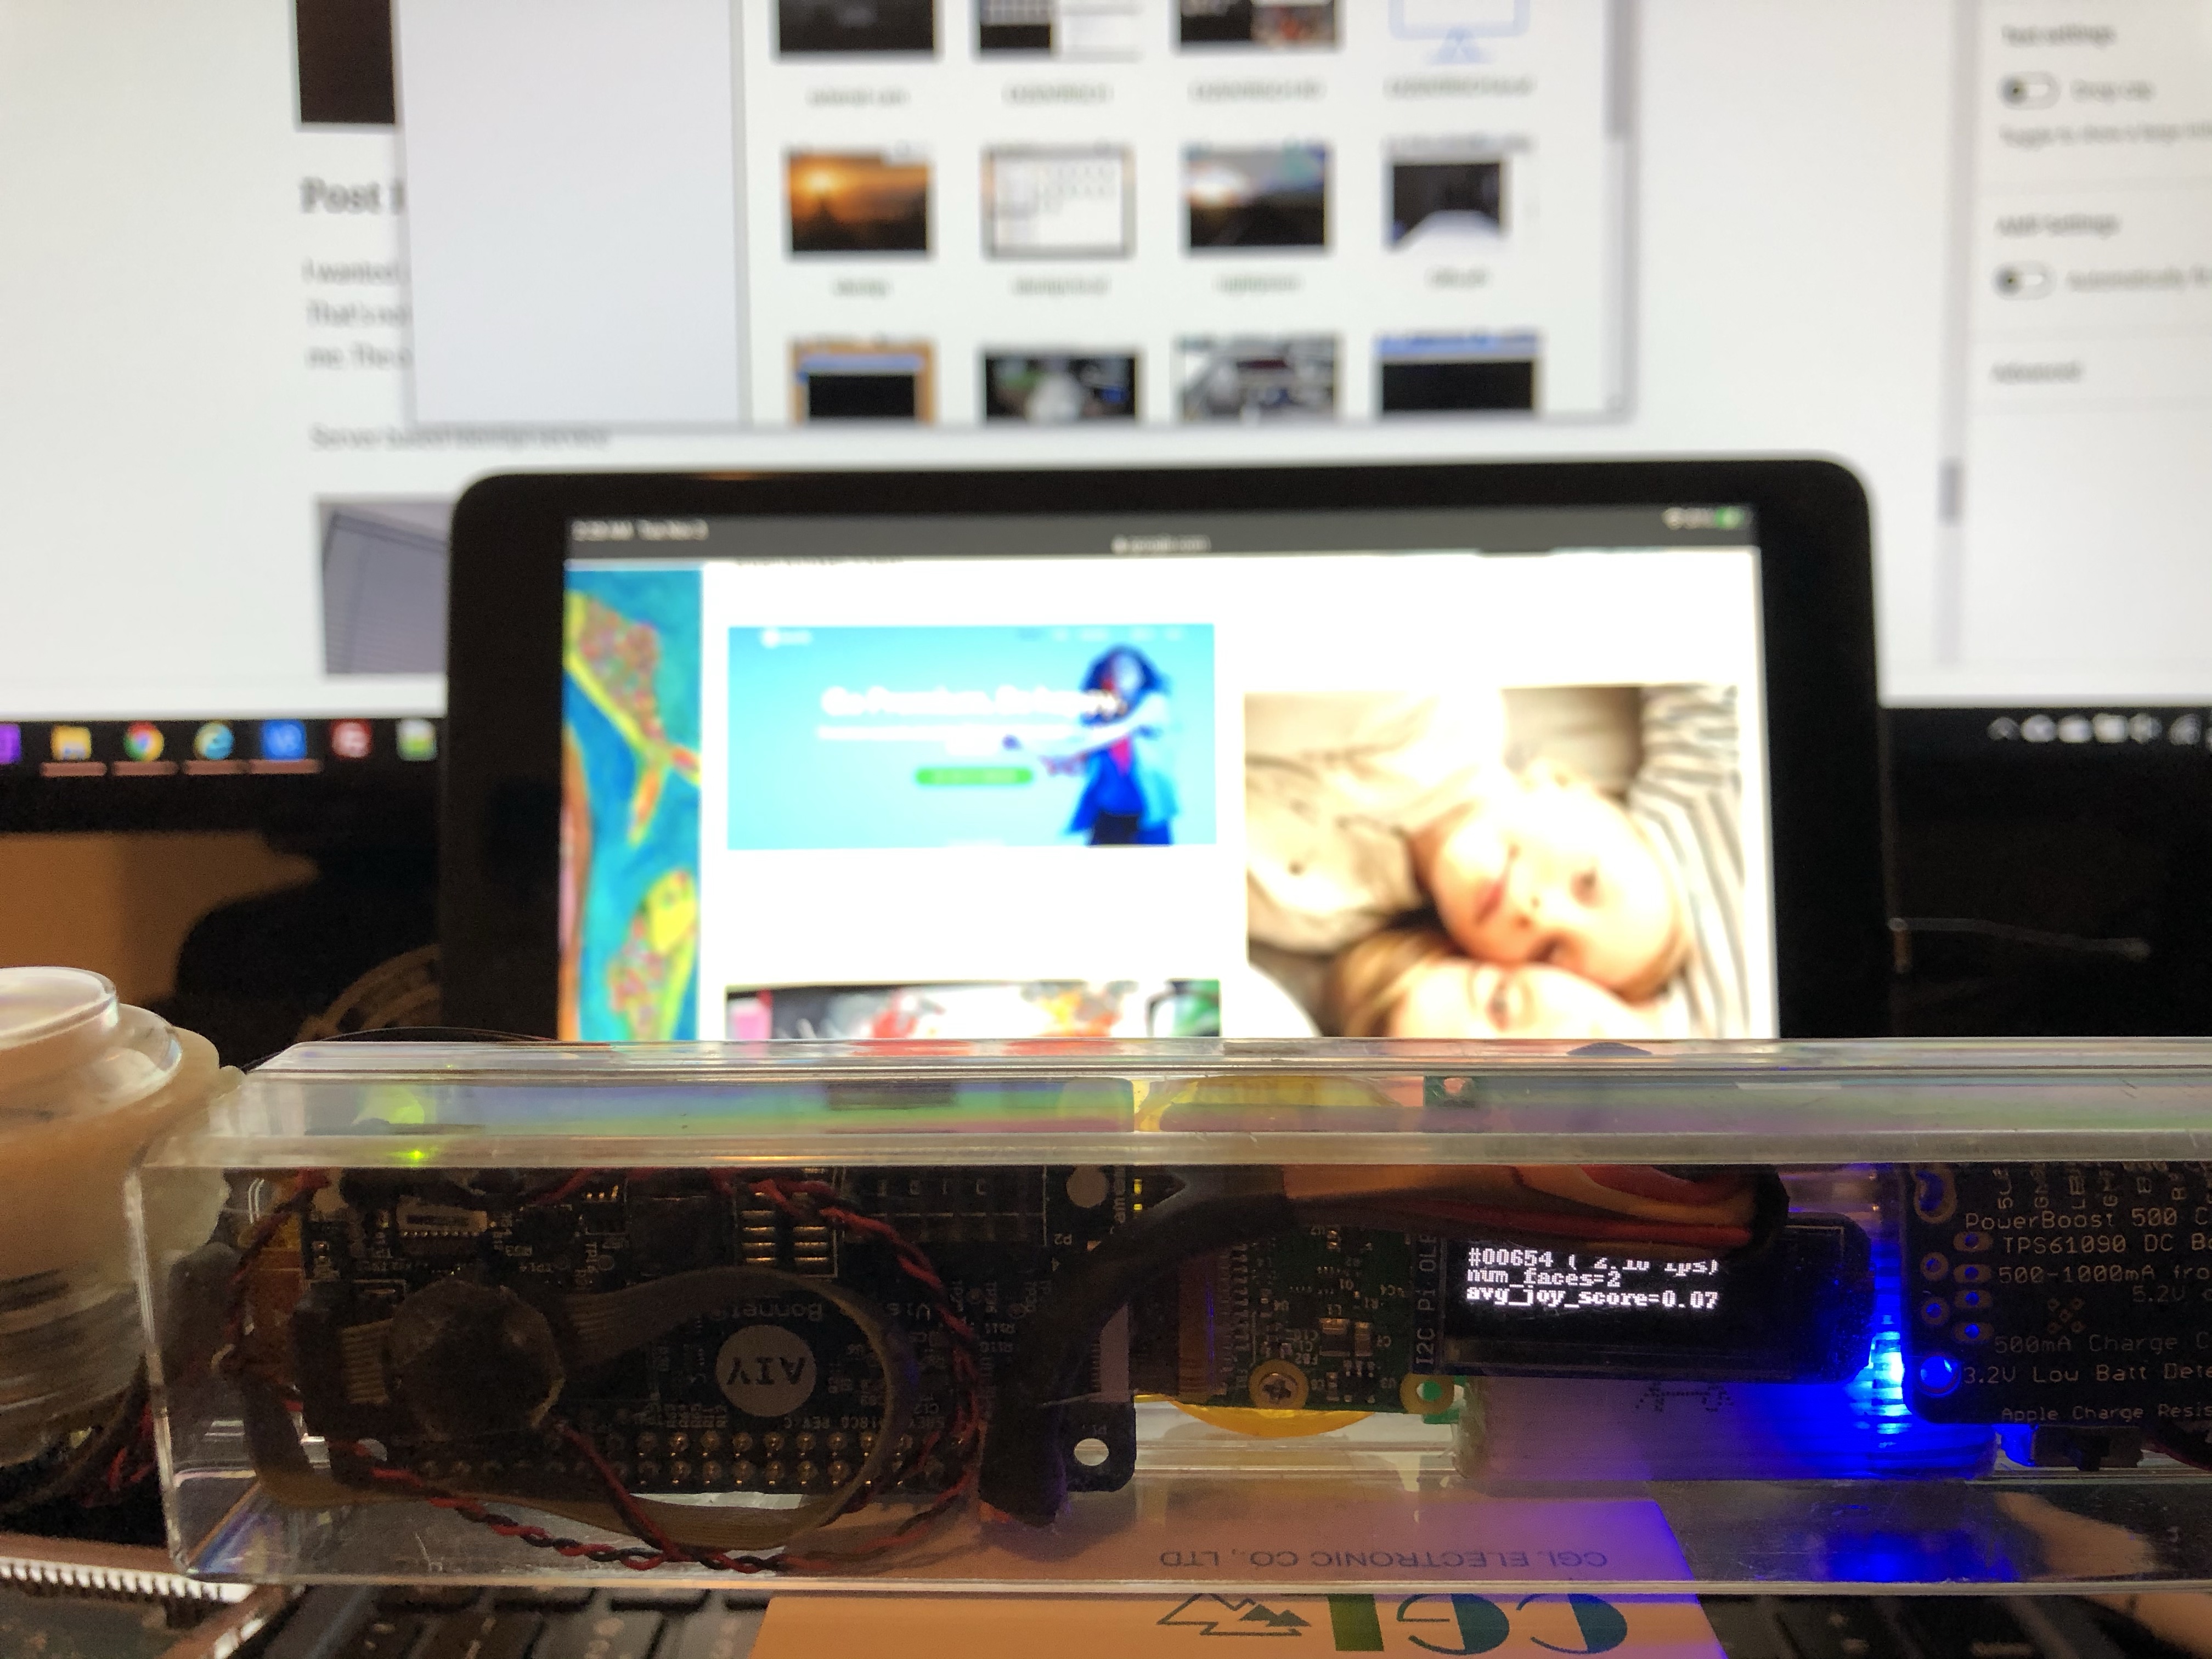
I mounted the button that came with the kit on the side of the plastic case so I can trigger the GPIO pin to make it take a picture, run the tensorflow lite inference for object recognition/classification then display those results on the tiny OLED screen. I also have a version of the script that does facial recognition and tells you how many faces it sees and if they look happy.


I had to custom build the power supply for it because the casing I used was just too narrow for most off the shelf batteries I could find. I used an Adafruit power boost 500c to power it and give the battery a way to recharge without having to pull it out of the case. Of course getting the charging cable plugged in to the device is a totally different story.


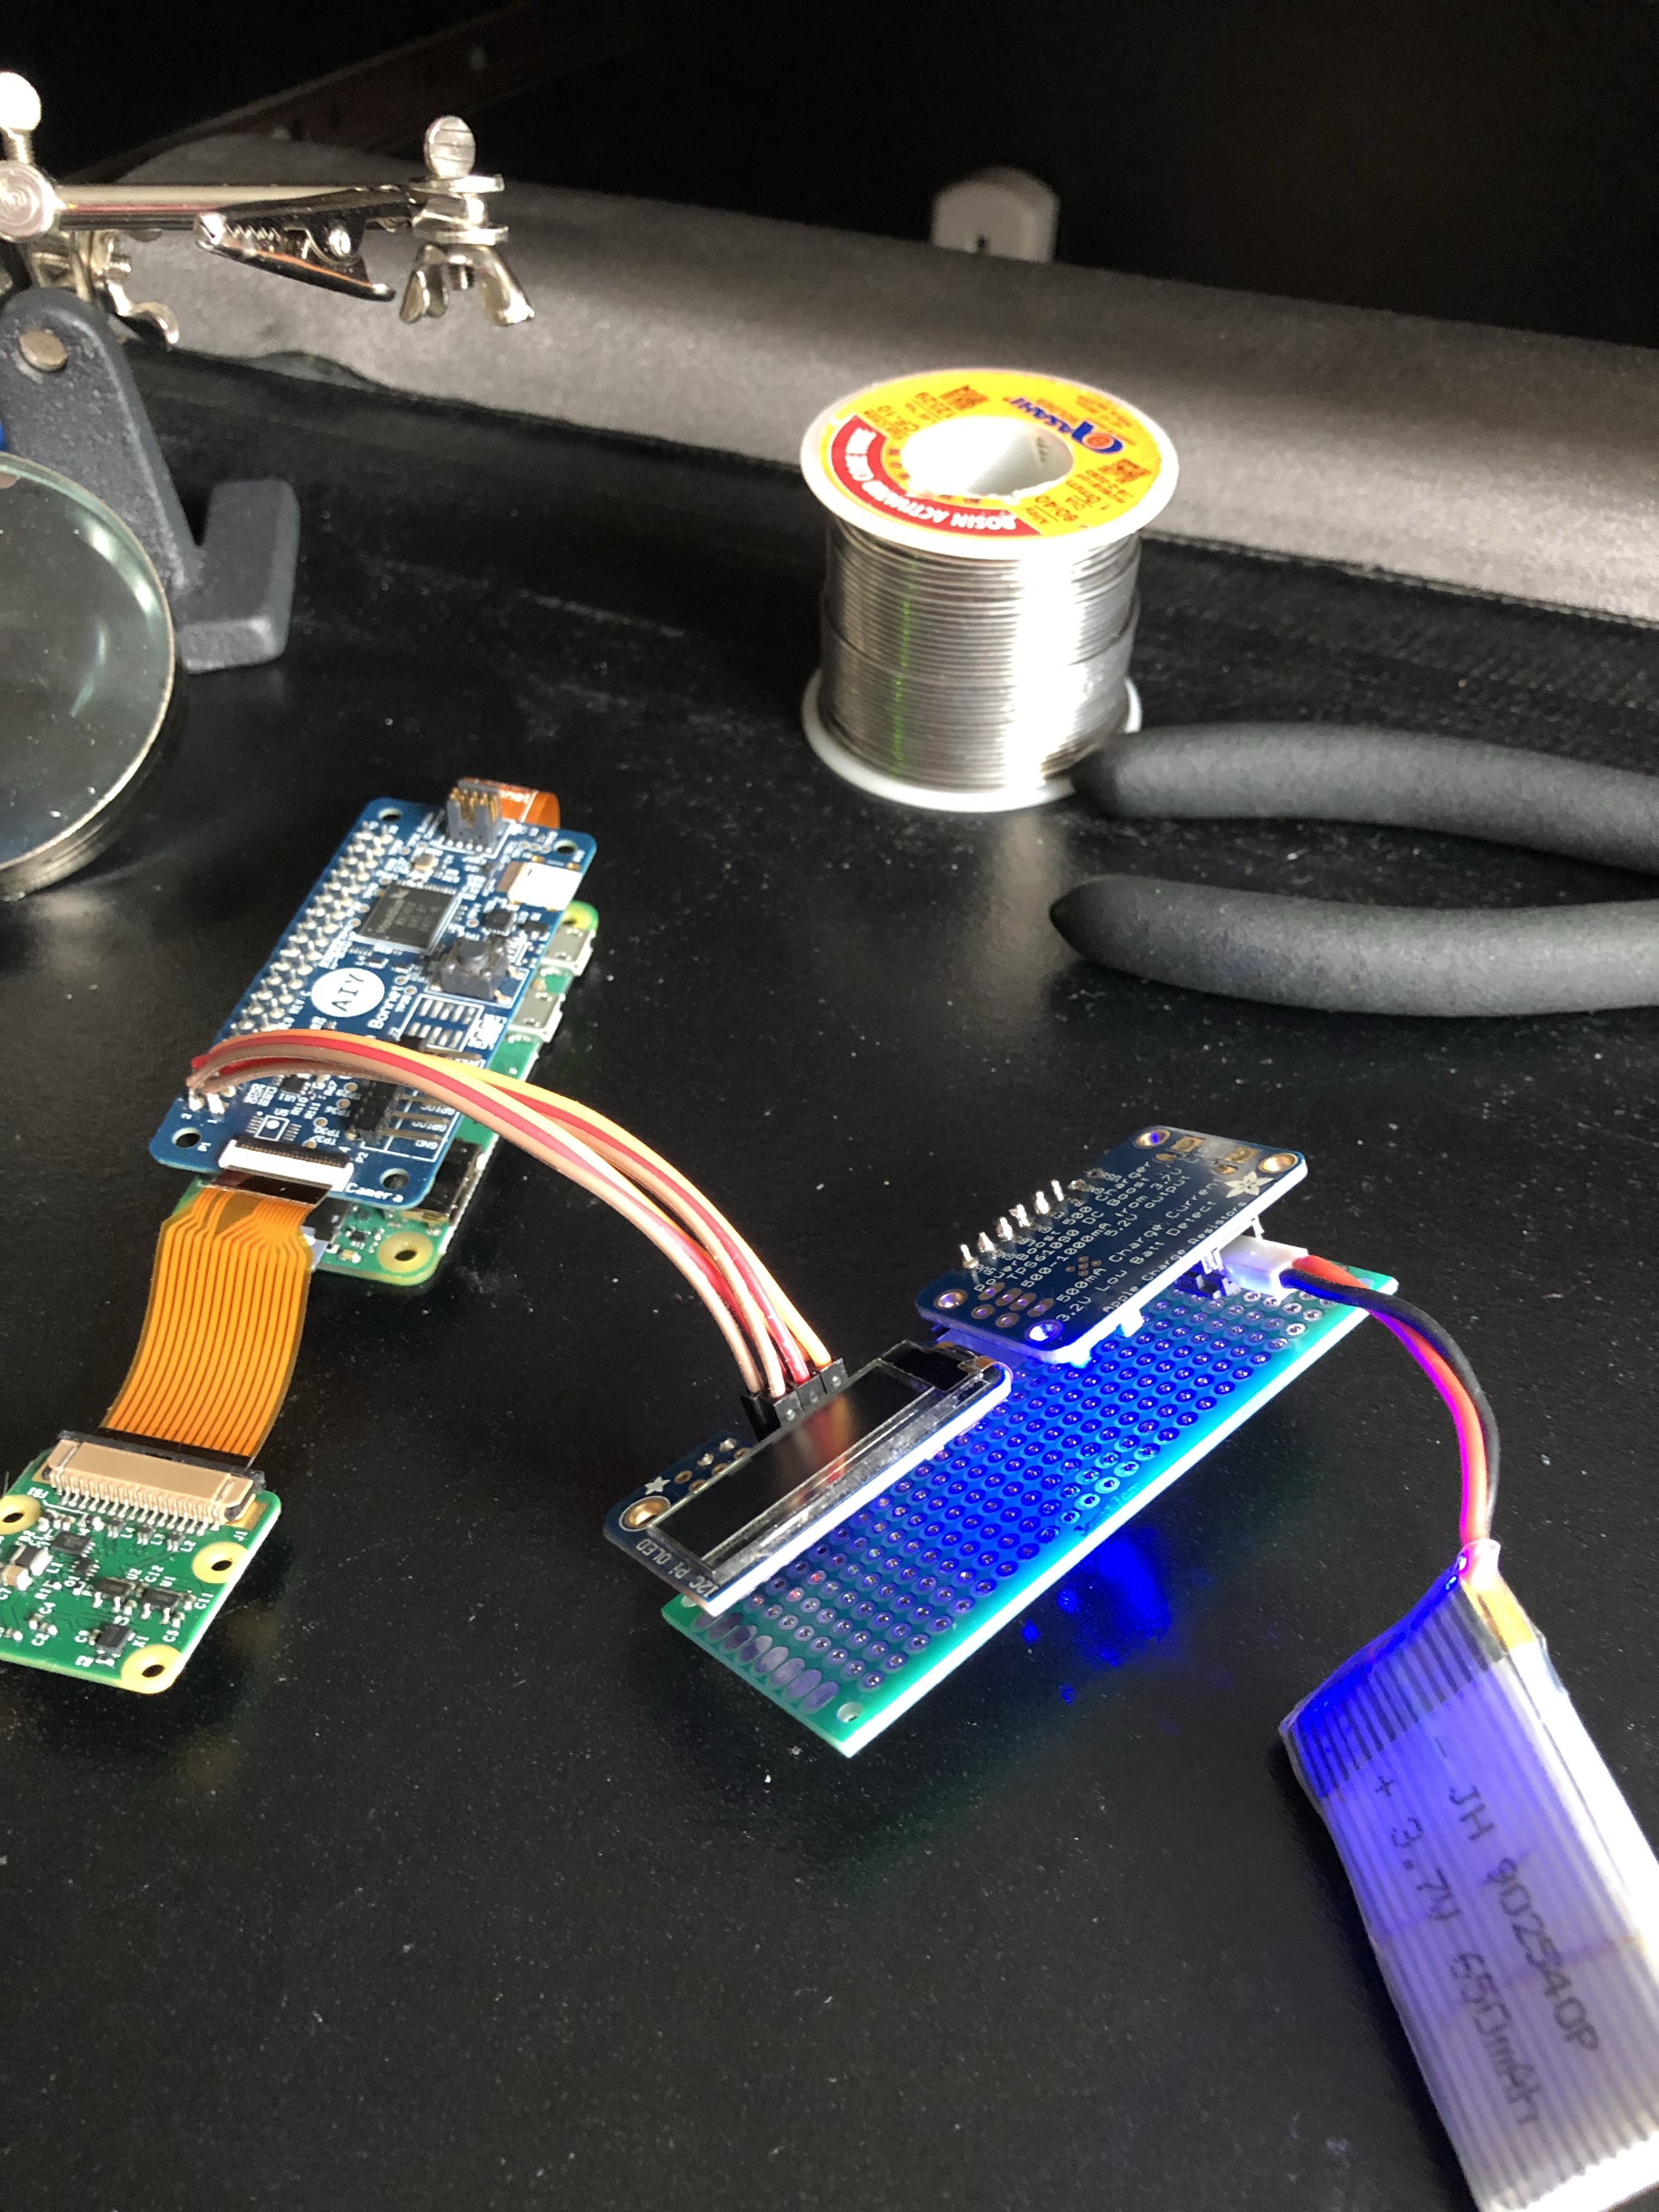


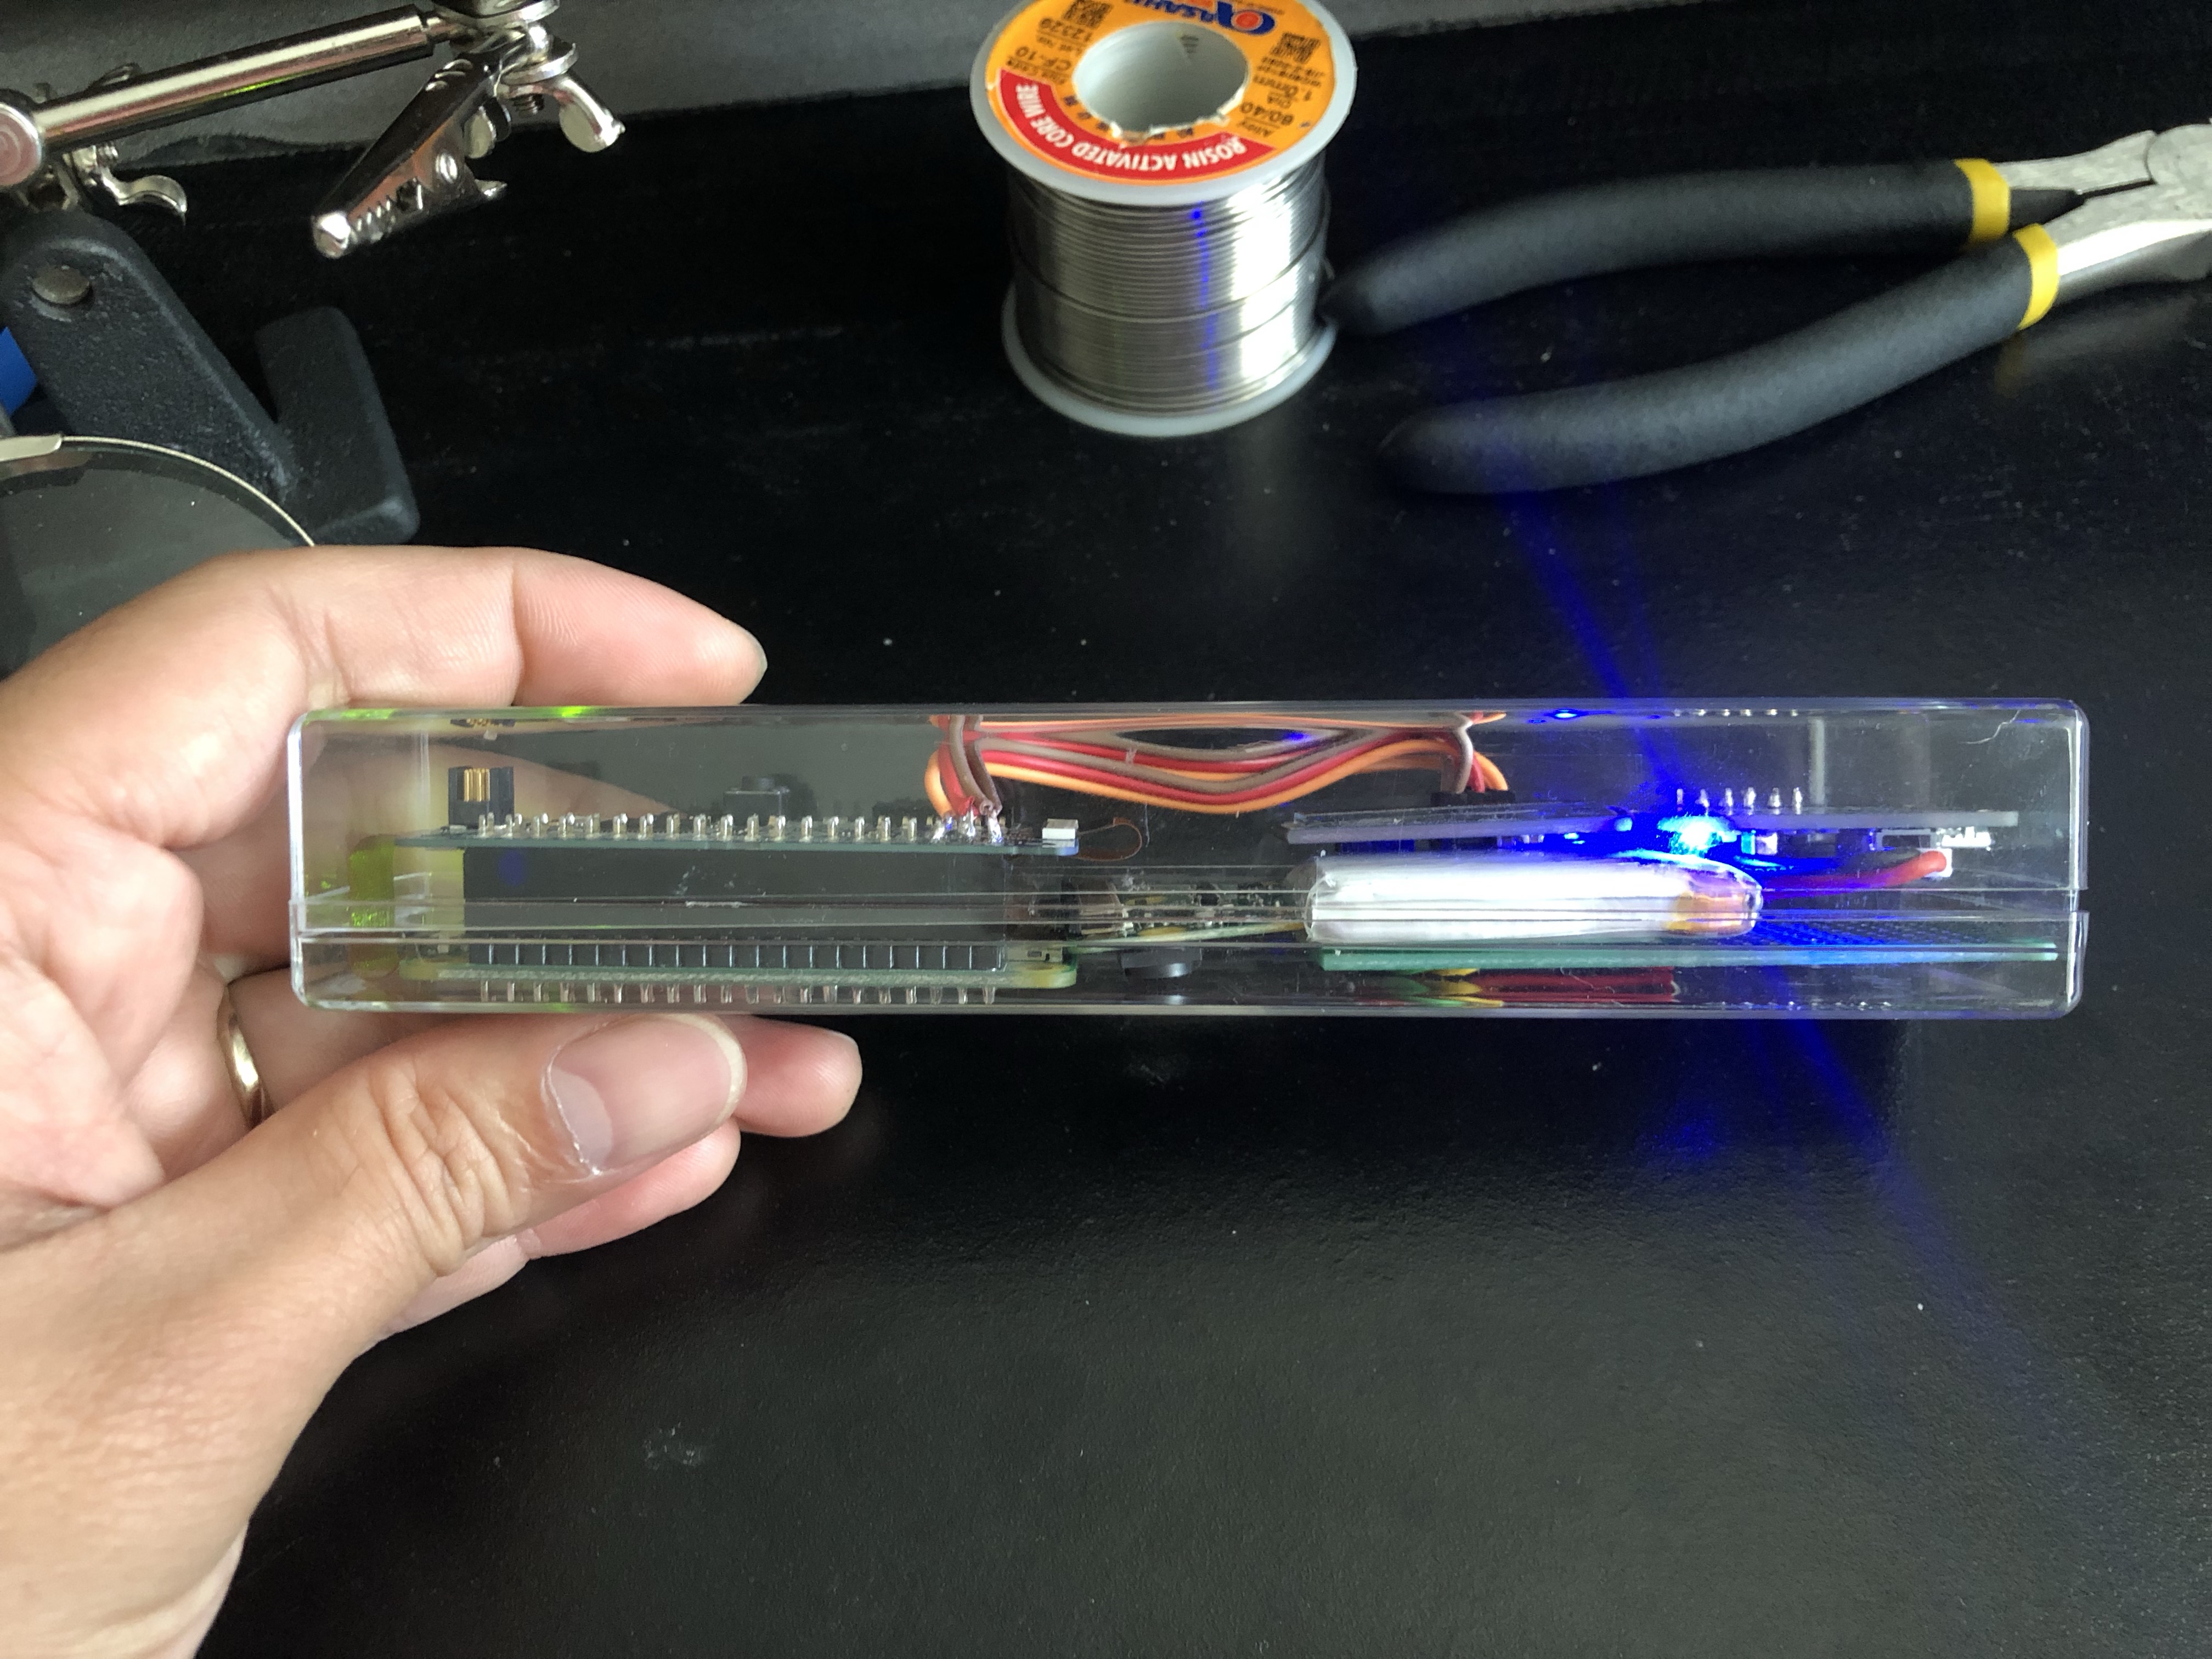

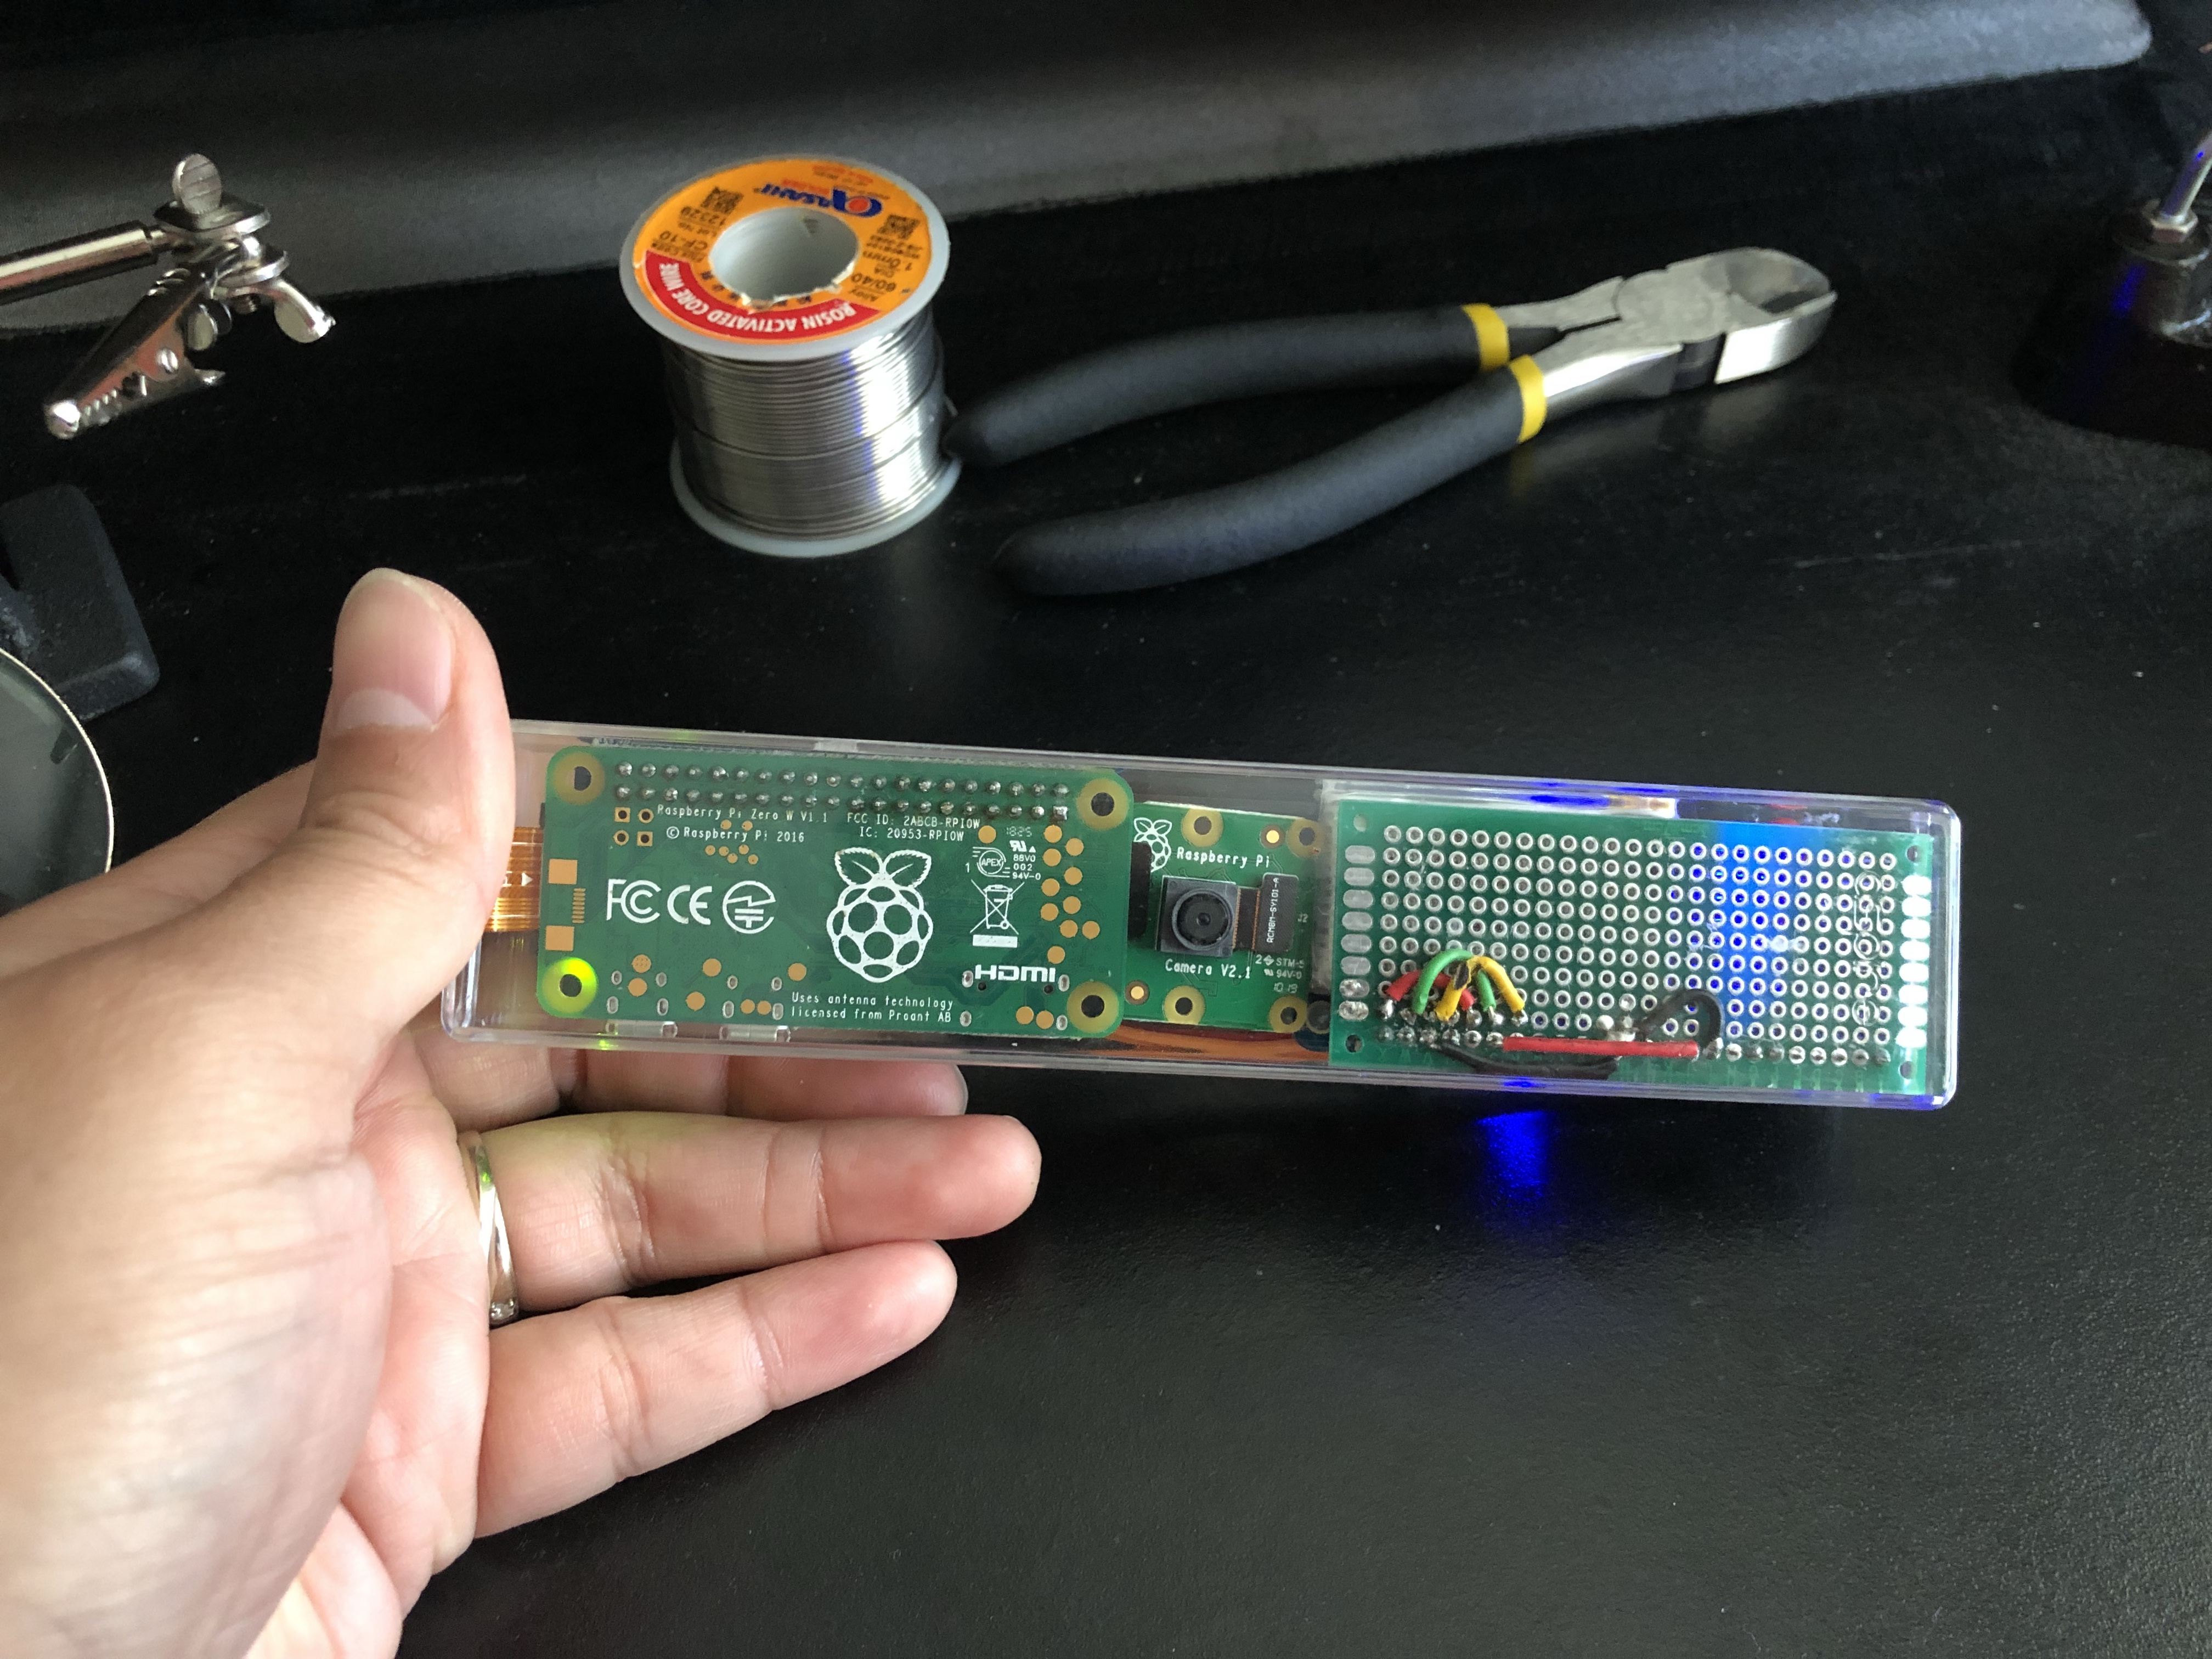
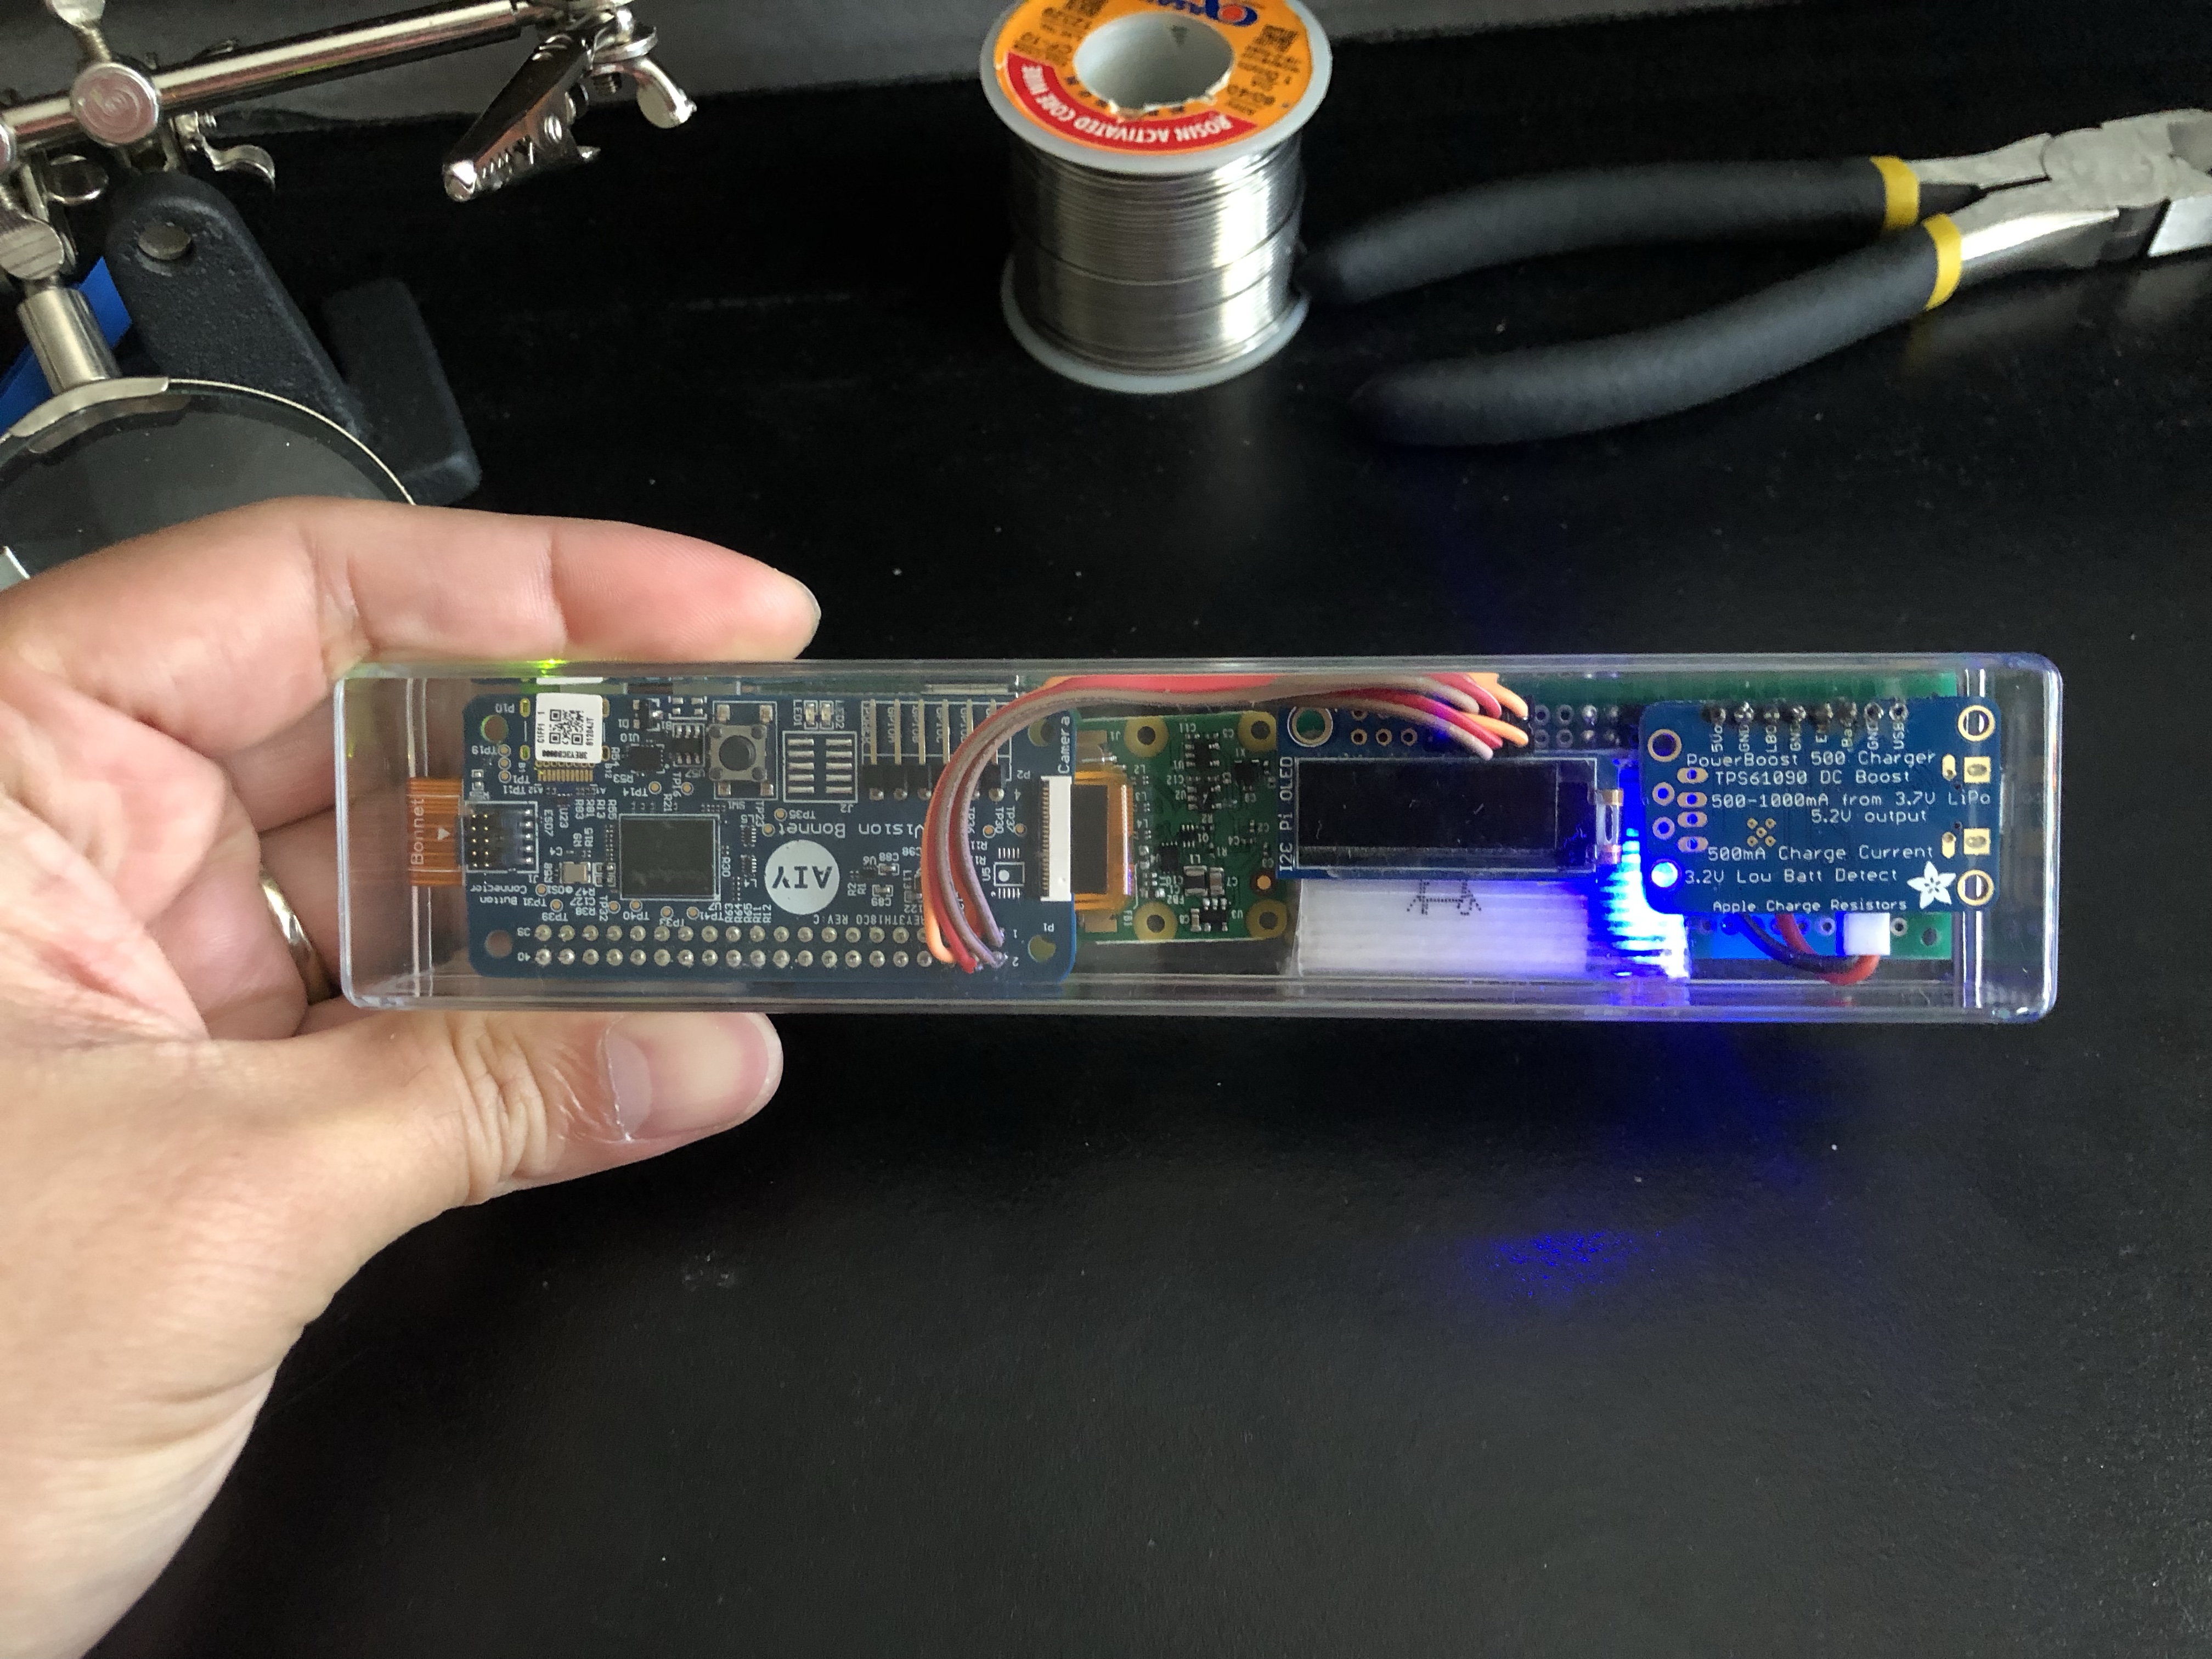

I also had to hand fabricate a camera mount for this to make sure it stays in place. Most of the case slots I hand carved using small files. The camera hole opening on the front I luckily just used a power drill. This was the project where I told myself at 3 in the morning while painstakingly filing little notches on the case and blowing plastic dust all over the room: “It’s time I got a power drill”.


It is able to achieve around 2 frames per second of processing. For me this is an achievement in of itself considering how minimal the raspberry pi zero is in terms of both compute and power consumption. The thing gets real toasty though when you leave it constantly running. I guess that’s also my fault for not drilling vent holes on the case. But given that the Myriad chip runs a 933MHz CPU with 4GBs of RAM on top of the raspberry pi zero next to a battery all in an enclose plastic case; I am actually surprised it doesn’t just burst into flames 🤣.
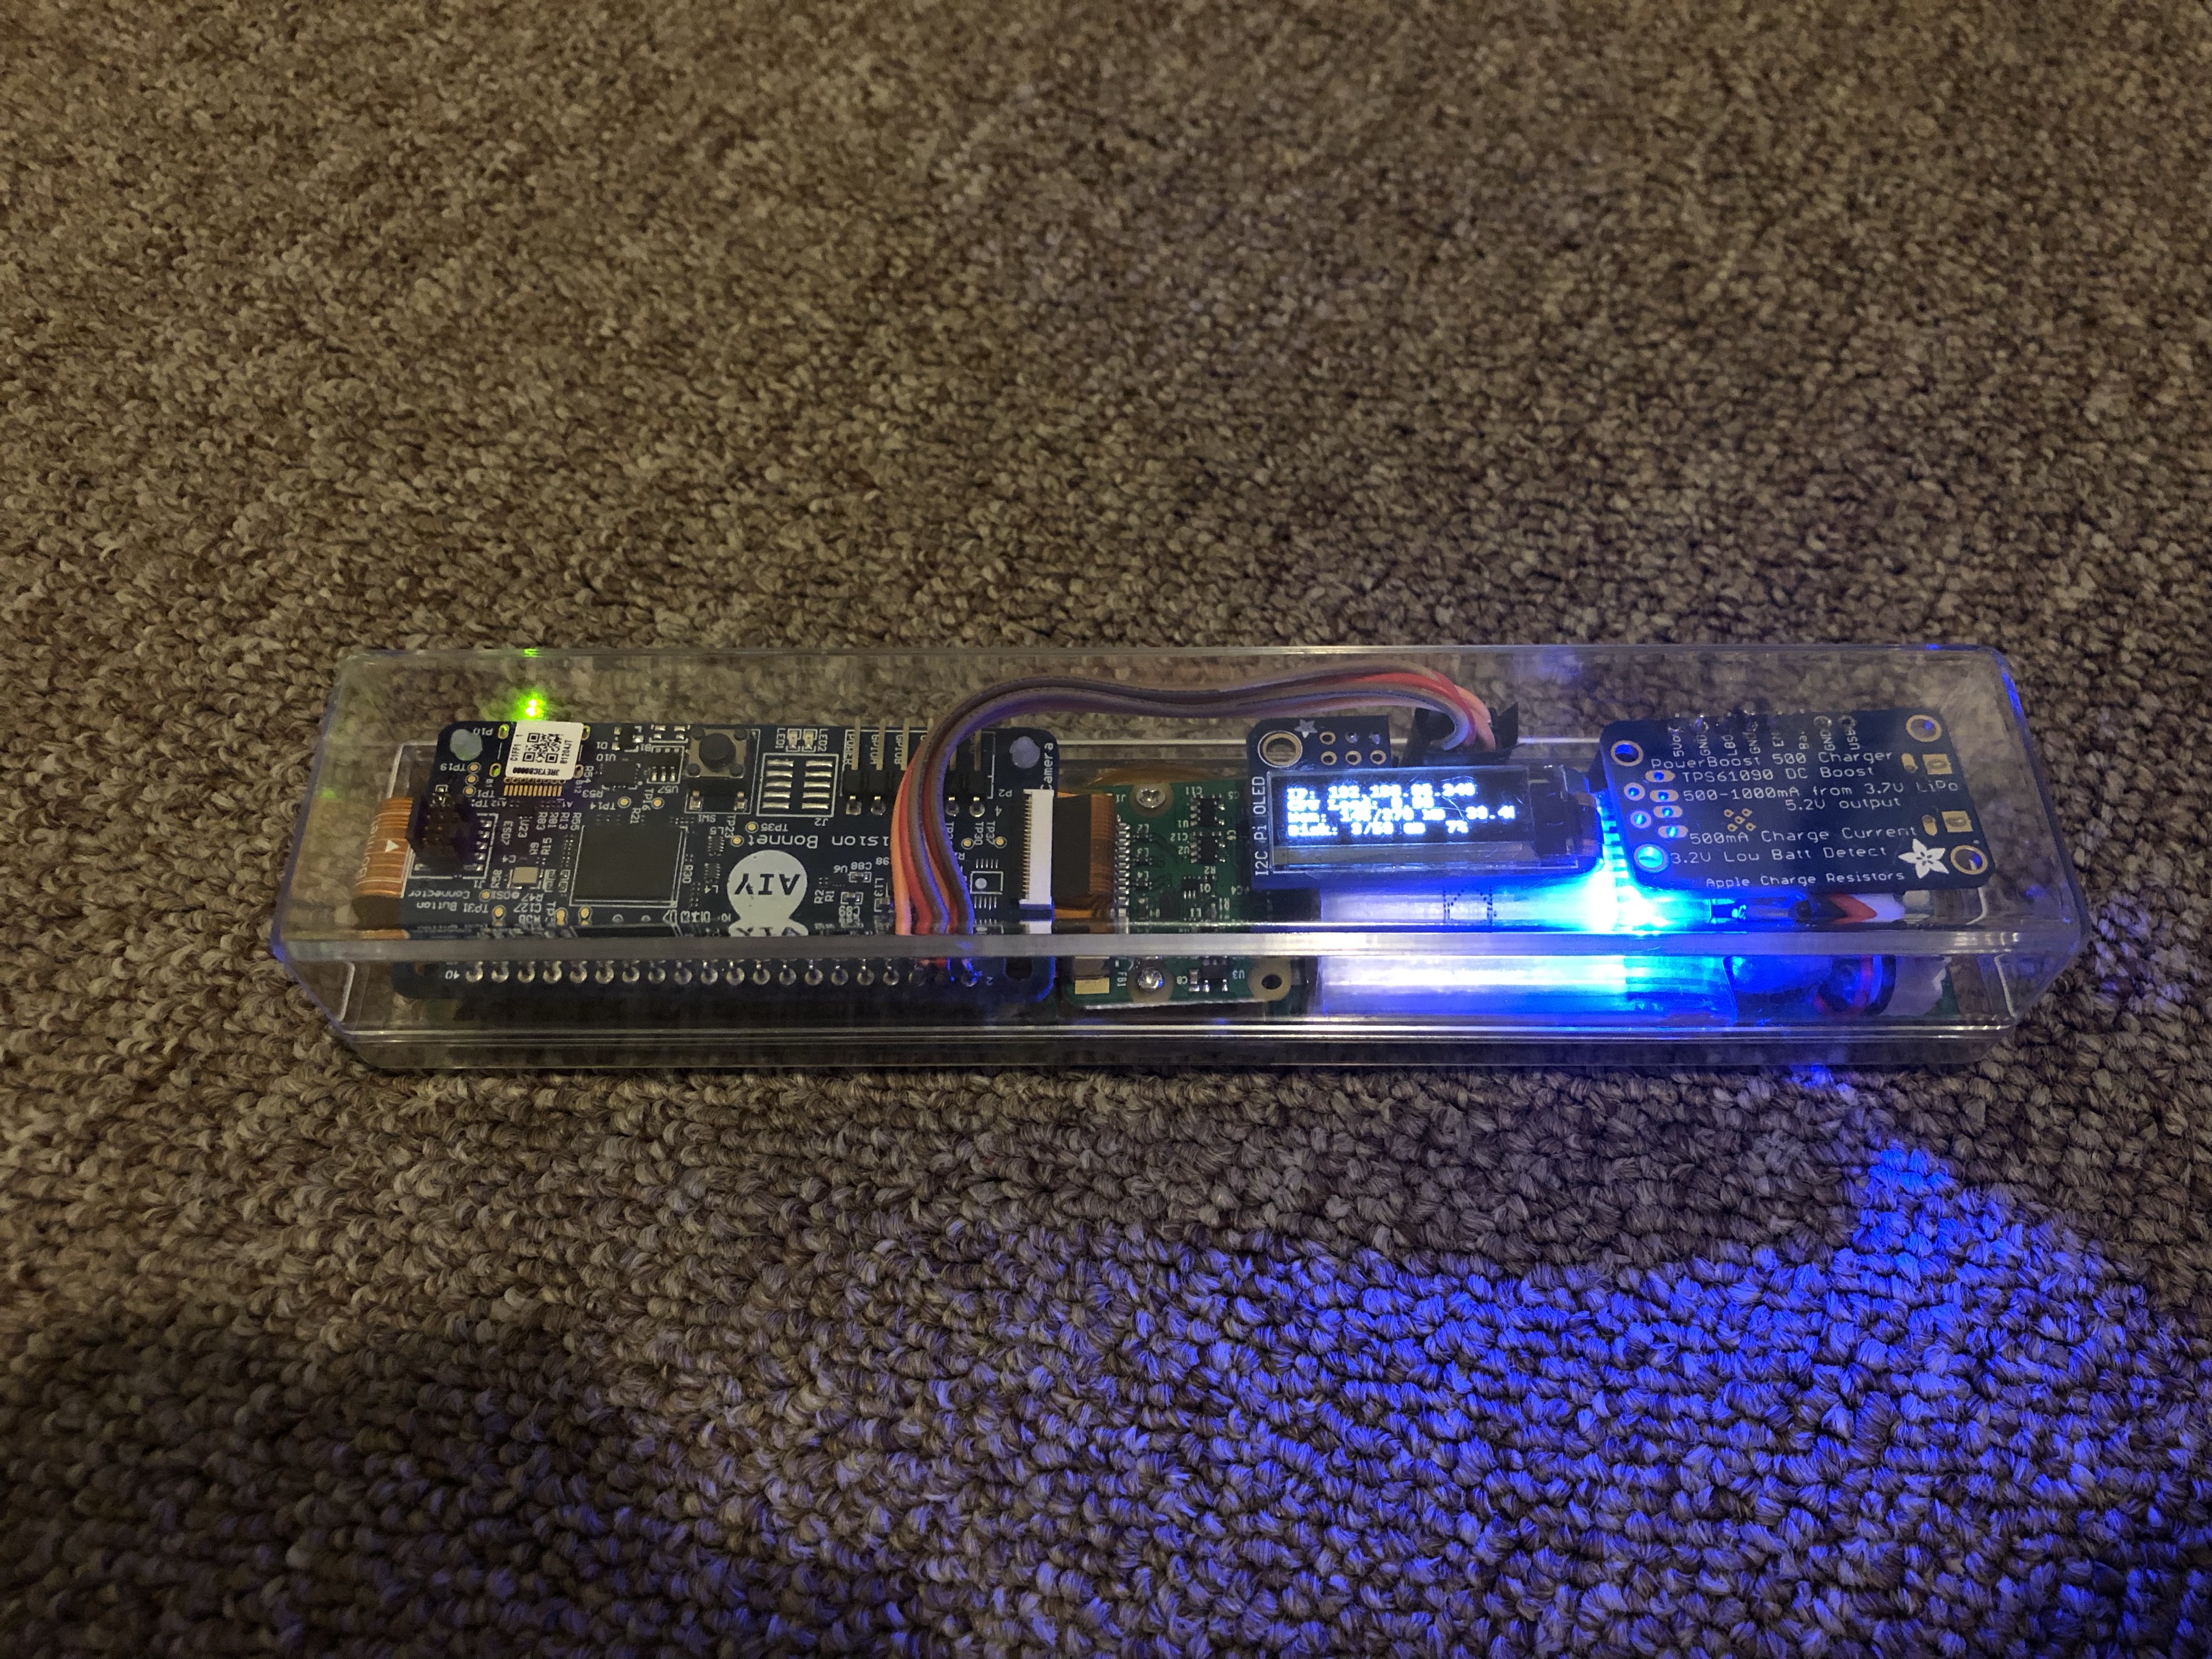
Here’s some sample demos of the finished (but never really finished) product.

And finally, a definitive answer to the age old question of whether the Mona Lisa is smiling or frowning 🤣.

I usually tear down old projects after I get tired of playing around with them to reuse the parts for other projects. But considering the amount of time I wasted building this thing because of all the unforeseen issues (case too small, battery power too weak, wires too flimsy/in the way/easily broken, build too difficult to debug etc) that even if it only barely works, I plan to keep it forever. It shall forever be immortalized in my drawer of useless contraptions as the one that could have been but never was 😂.
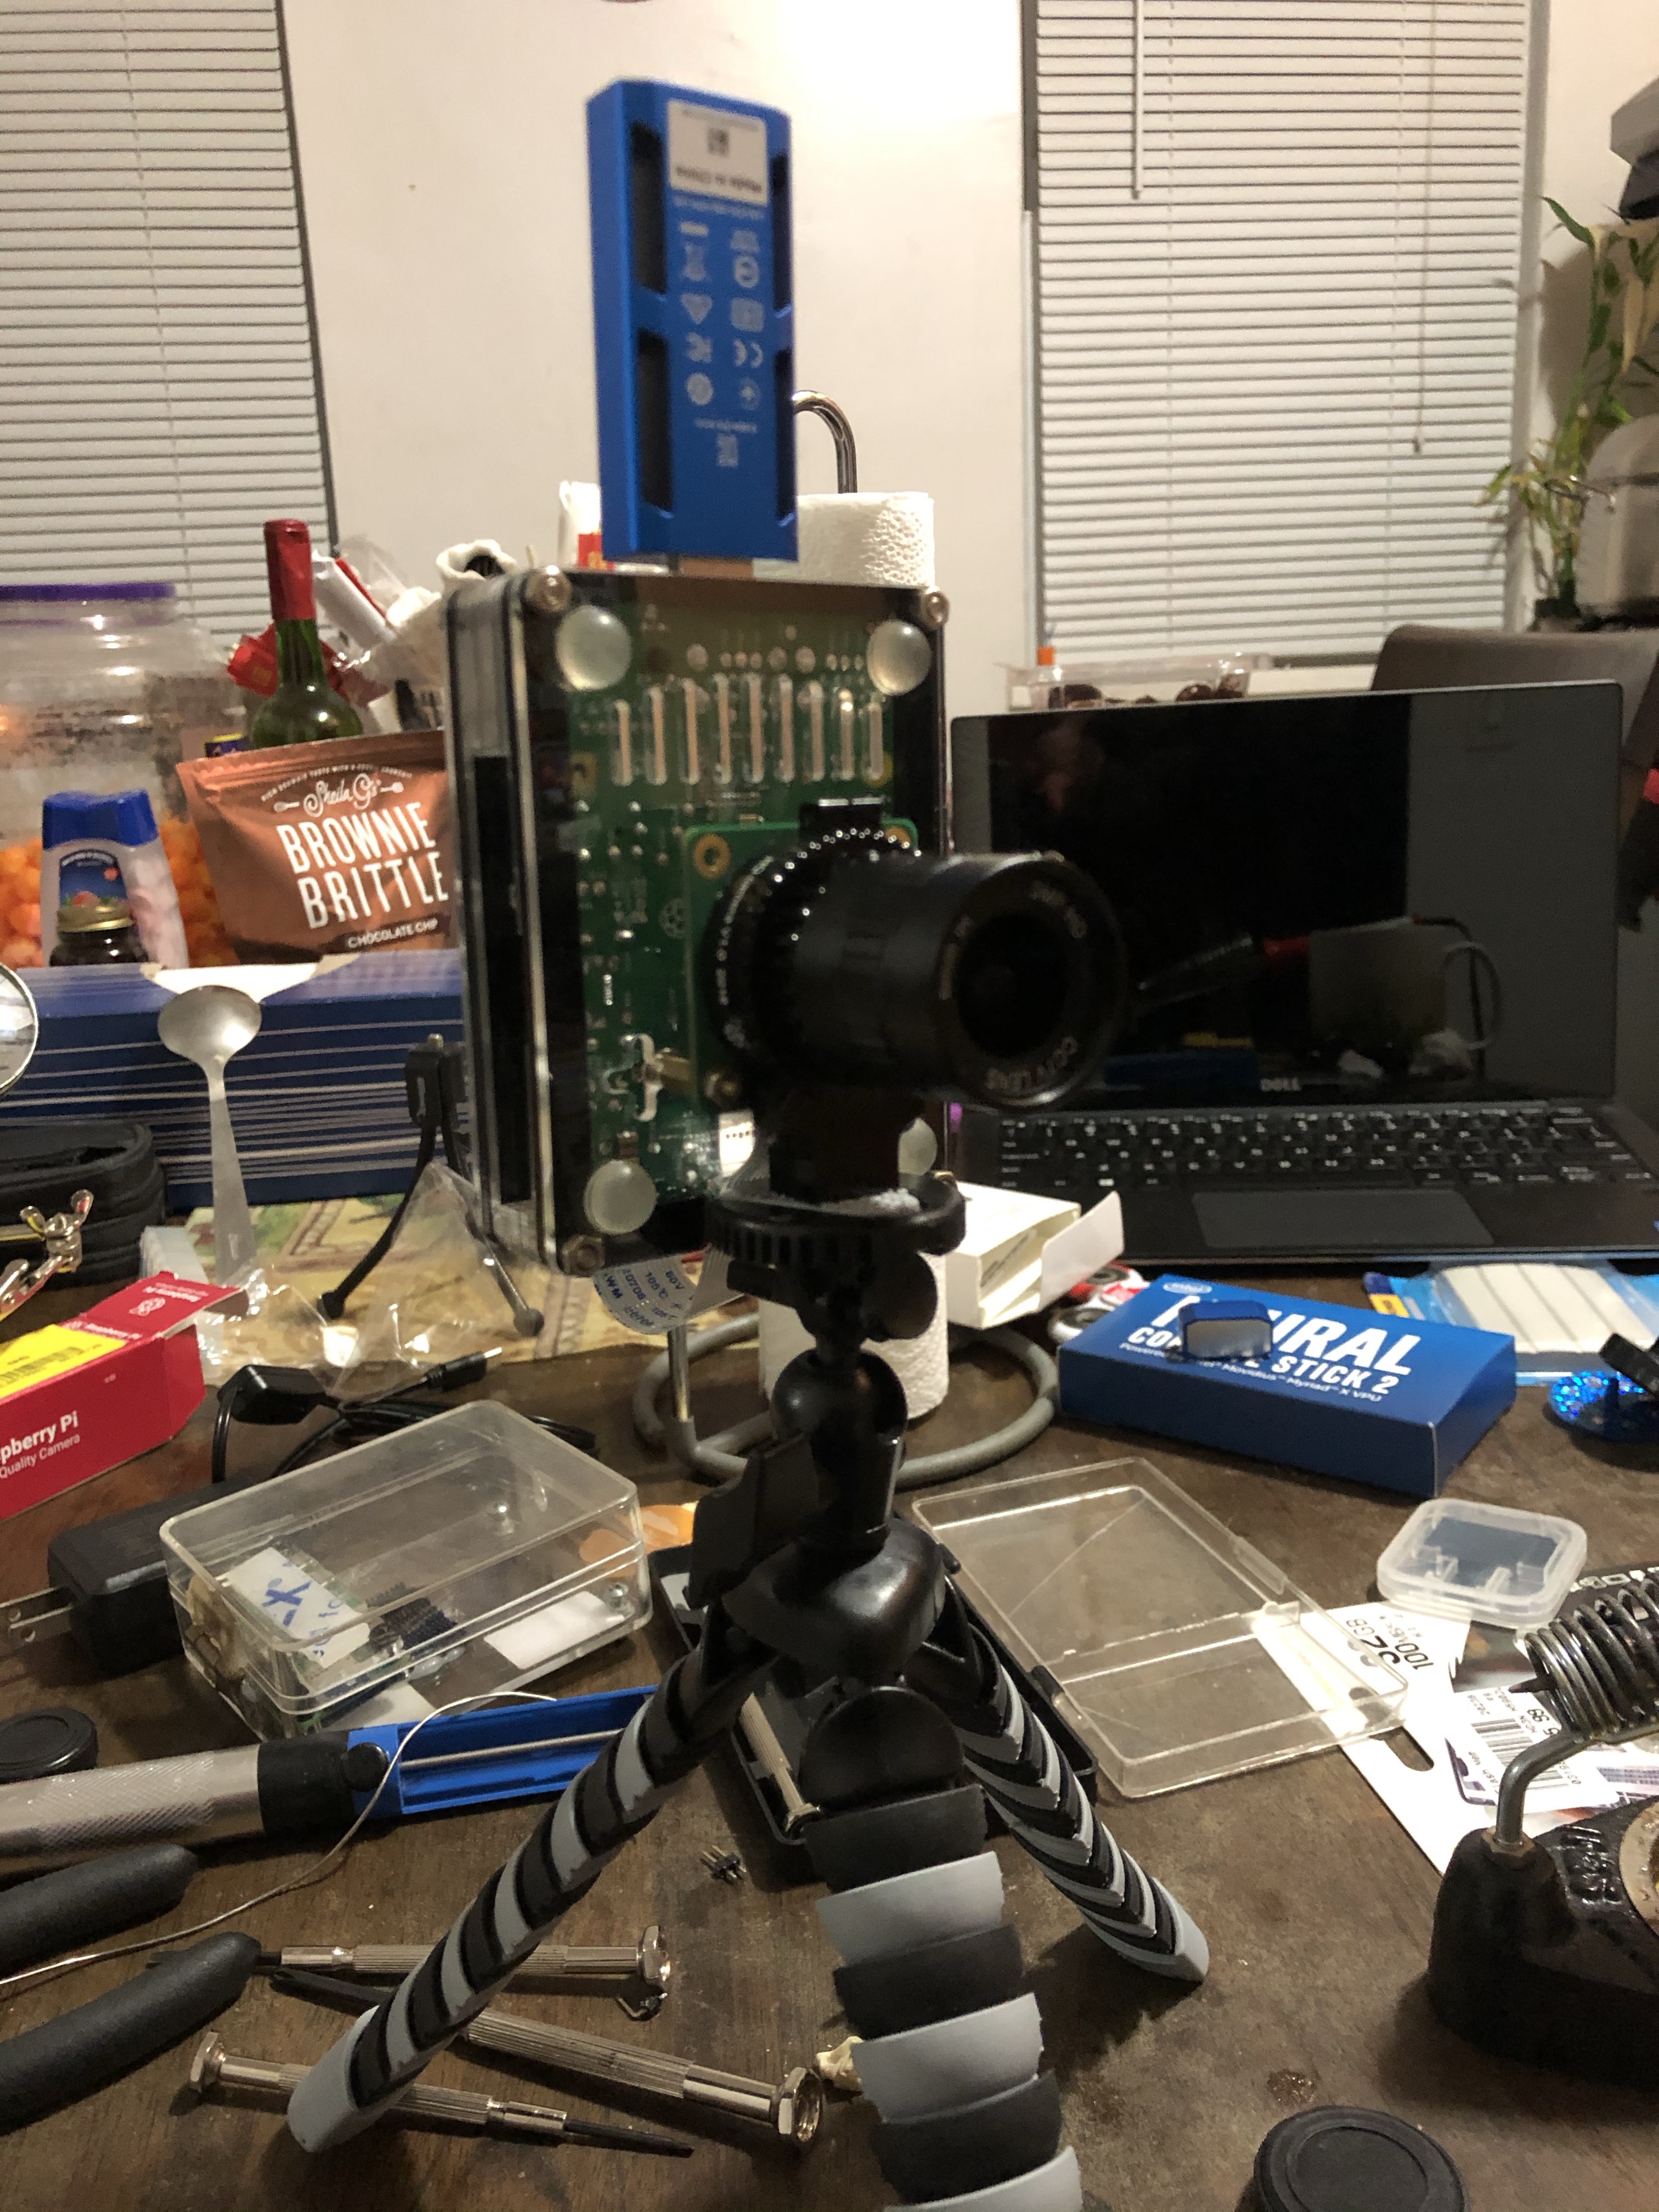
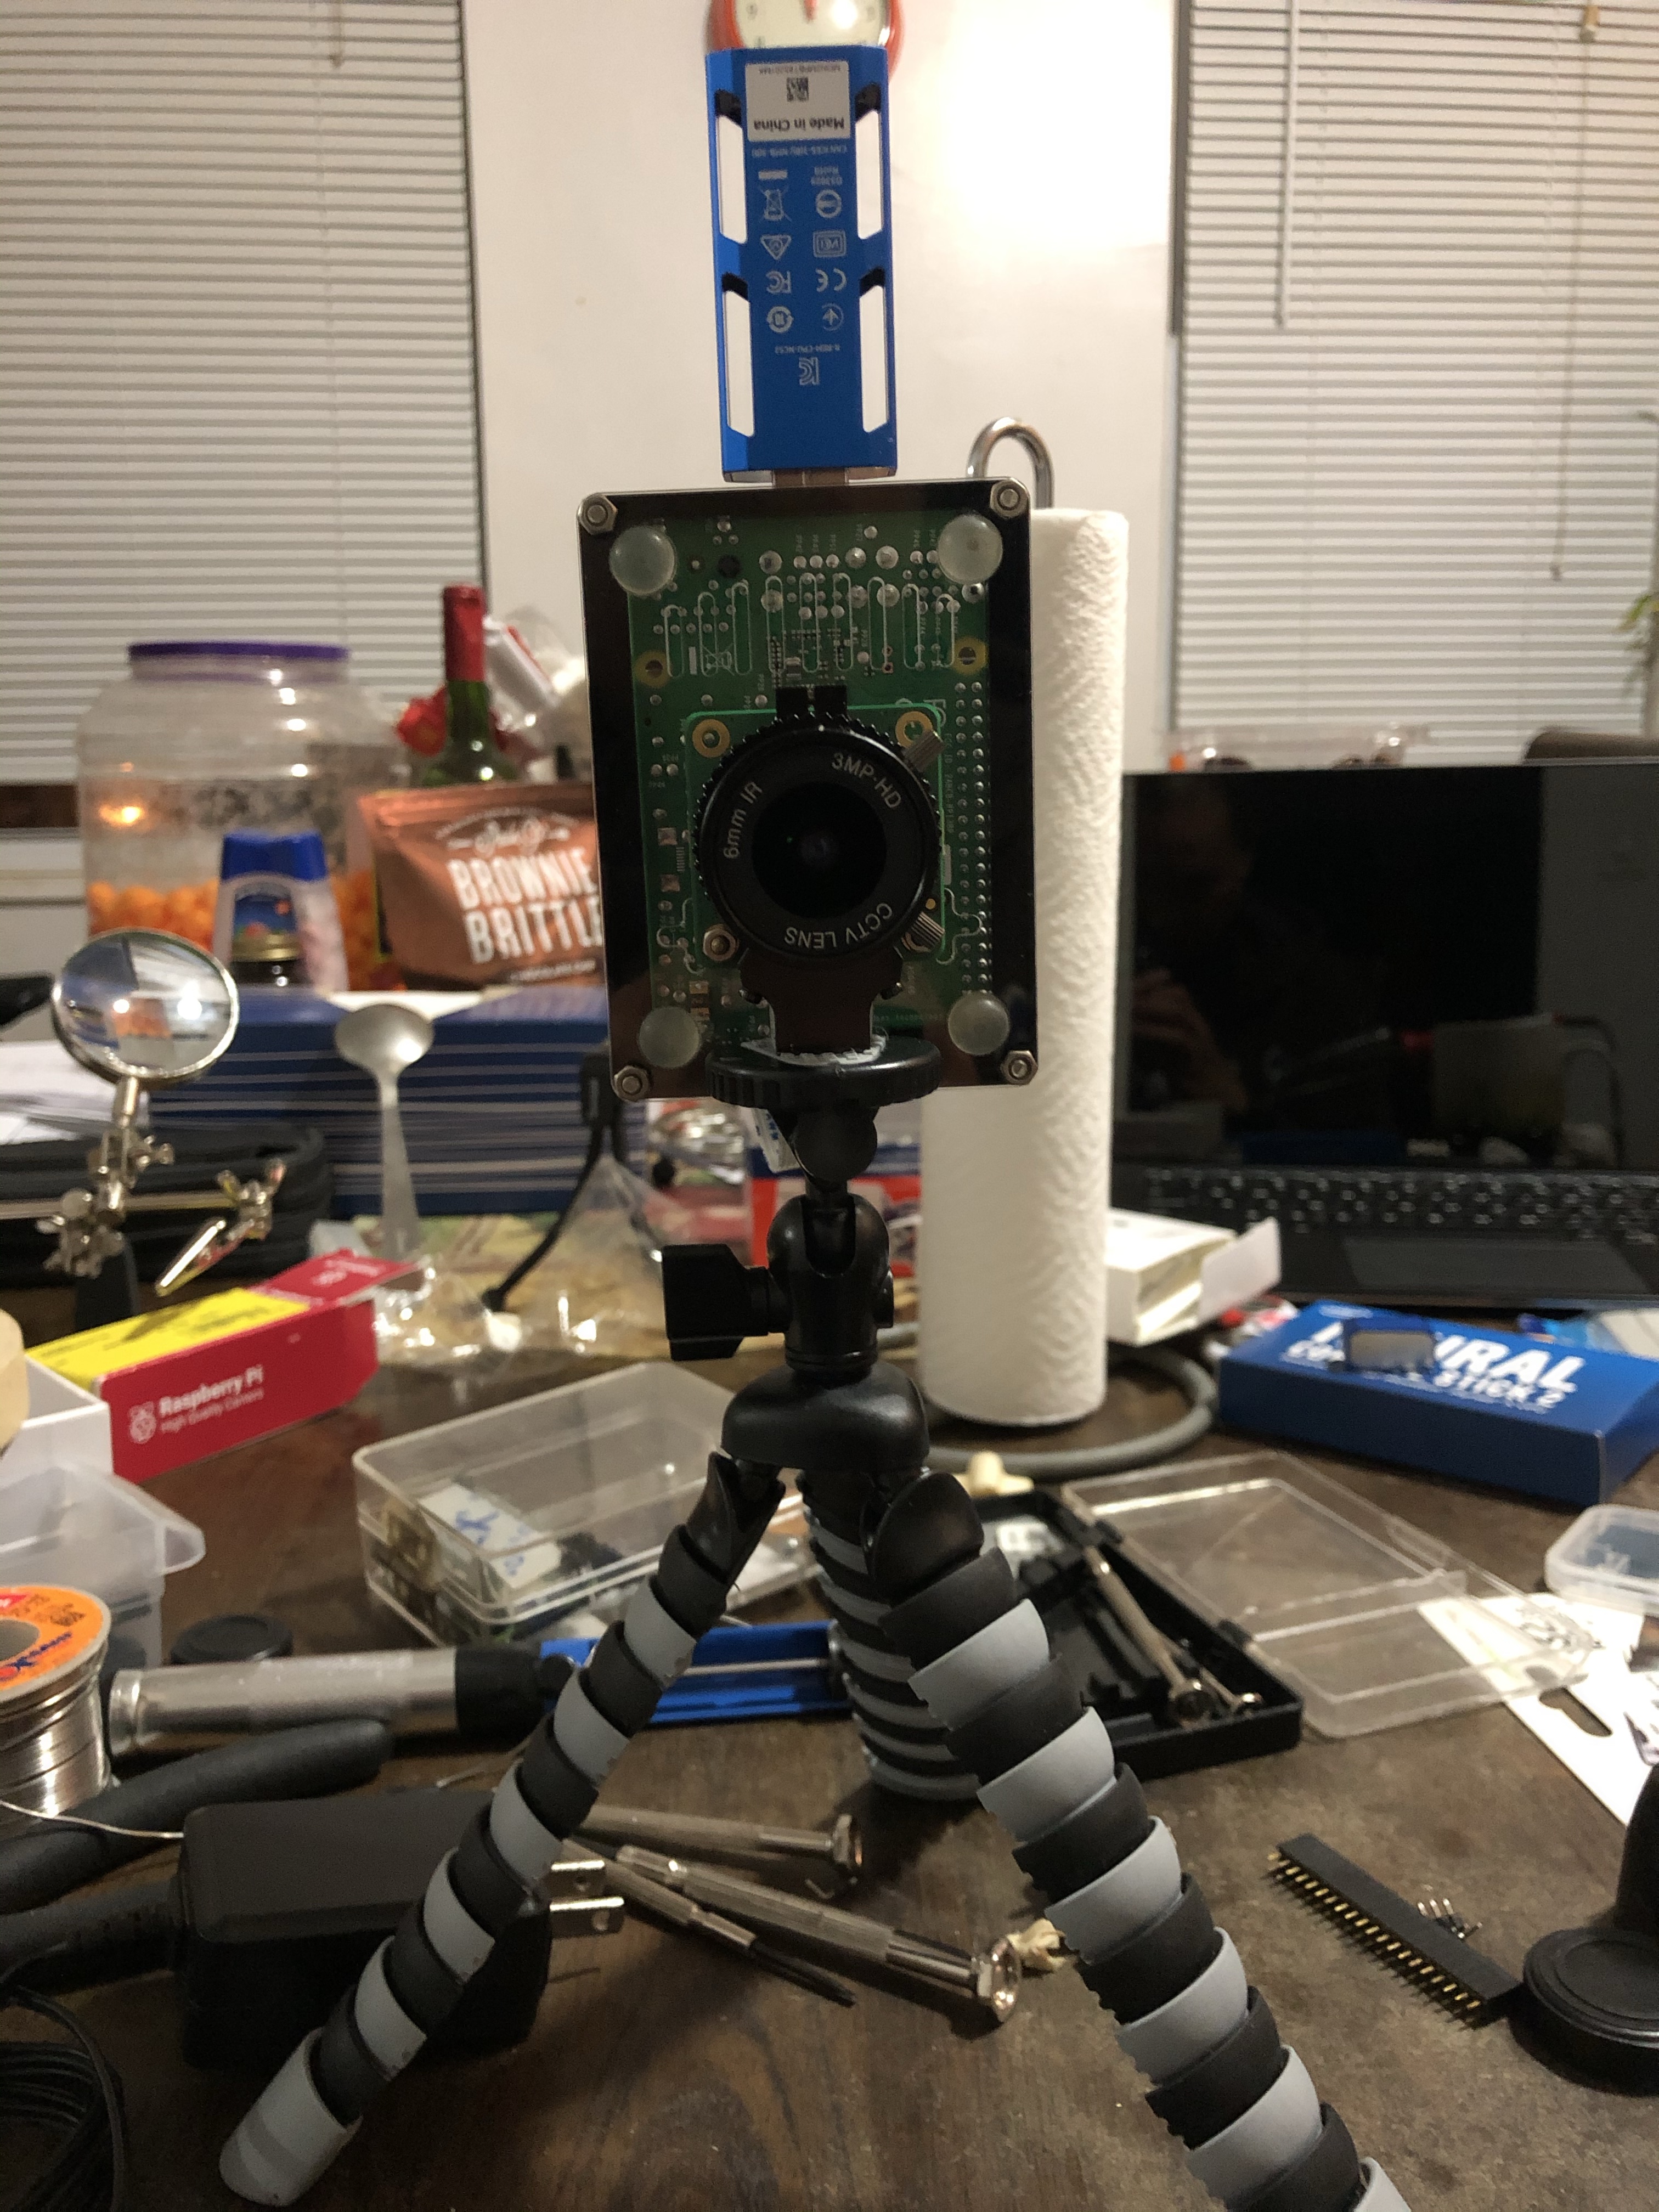
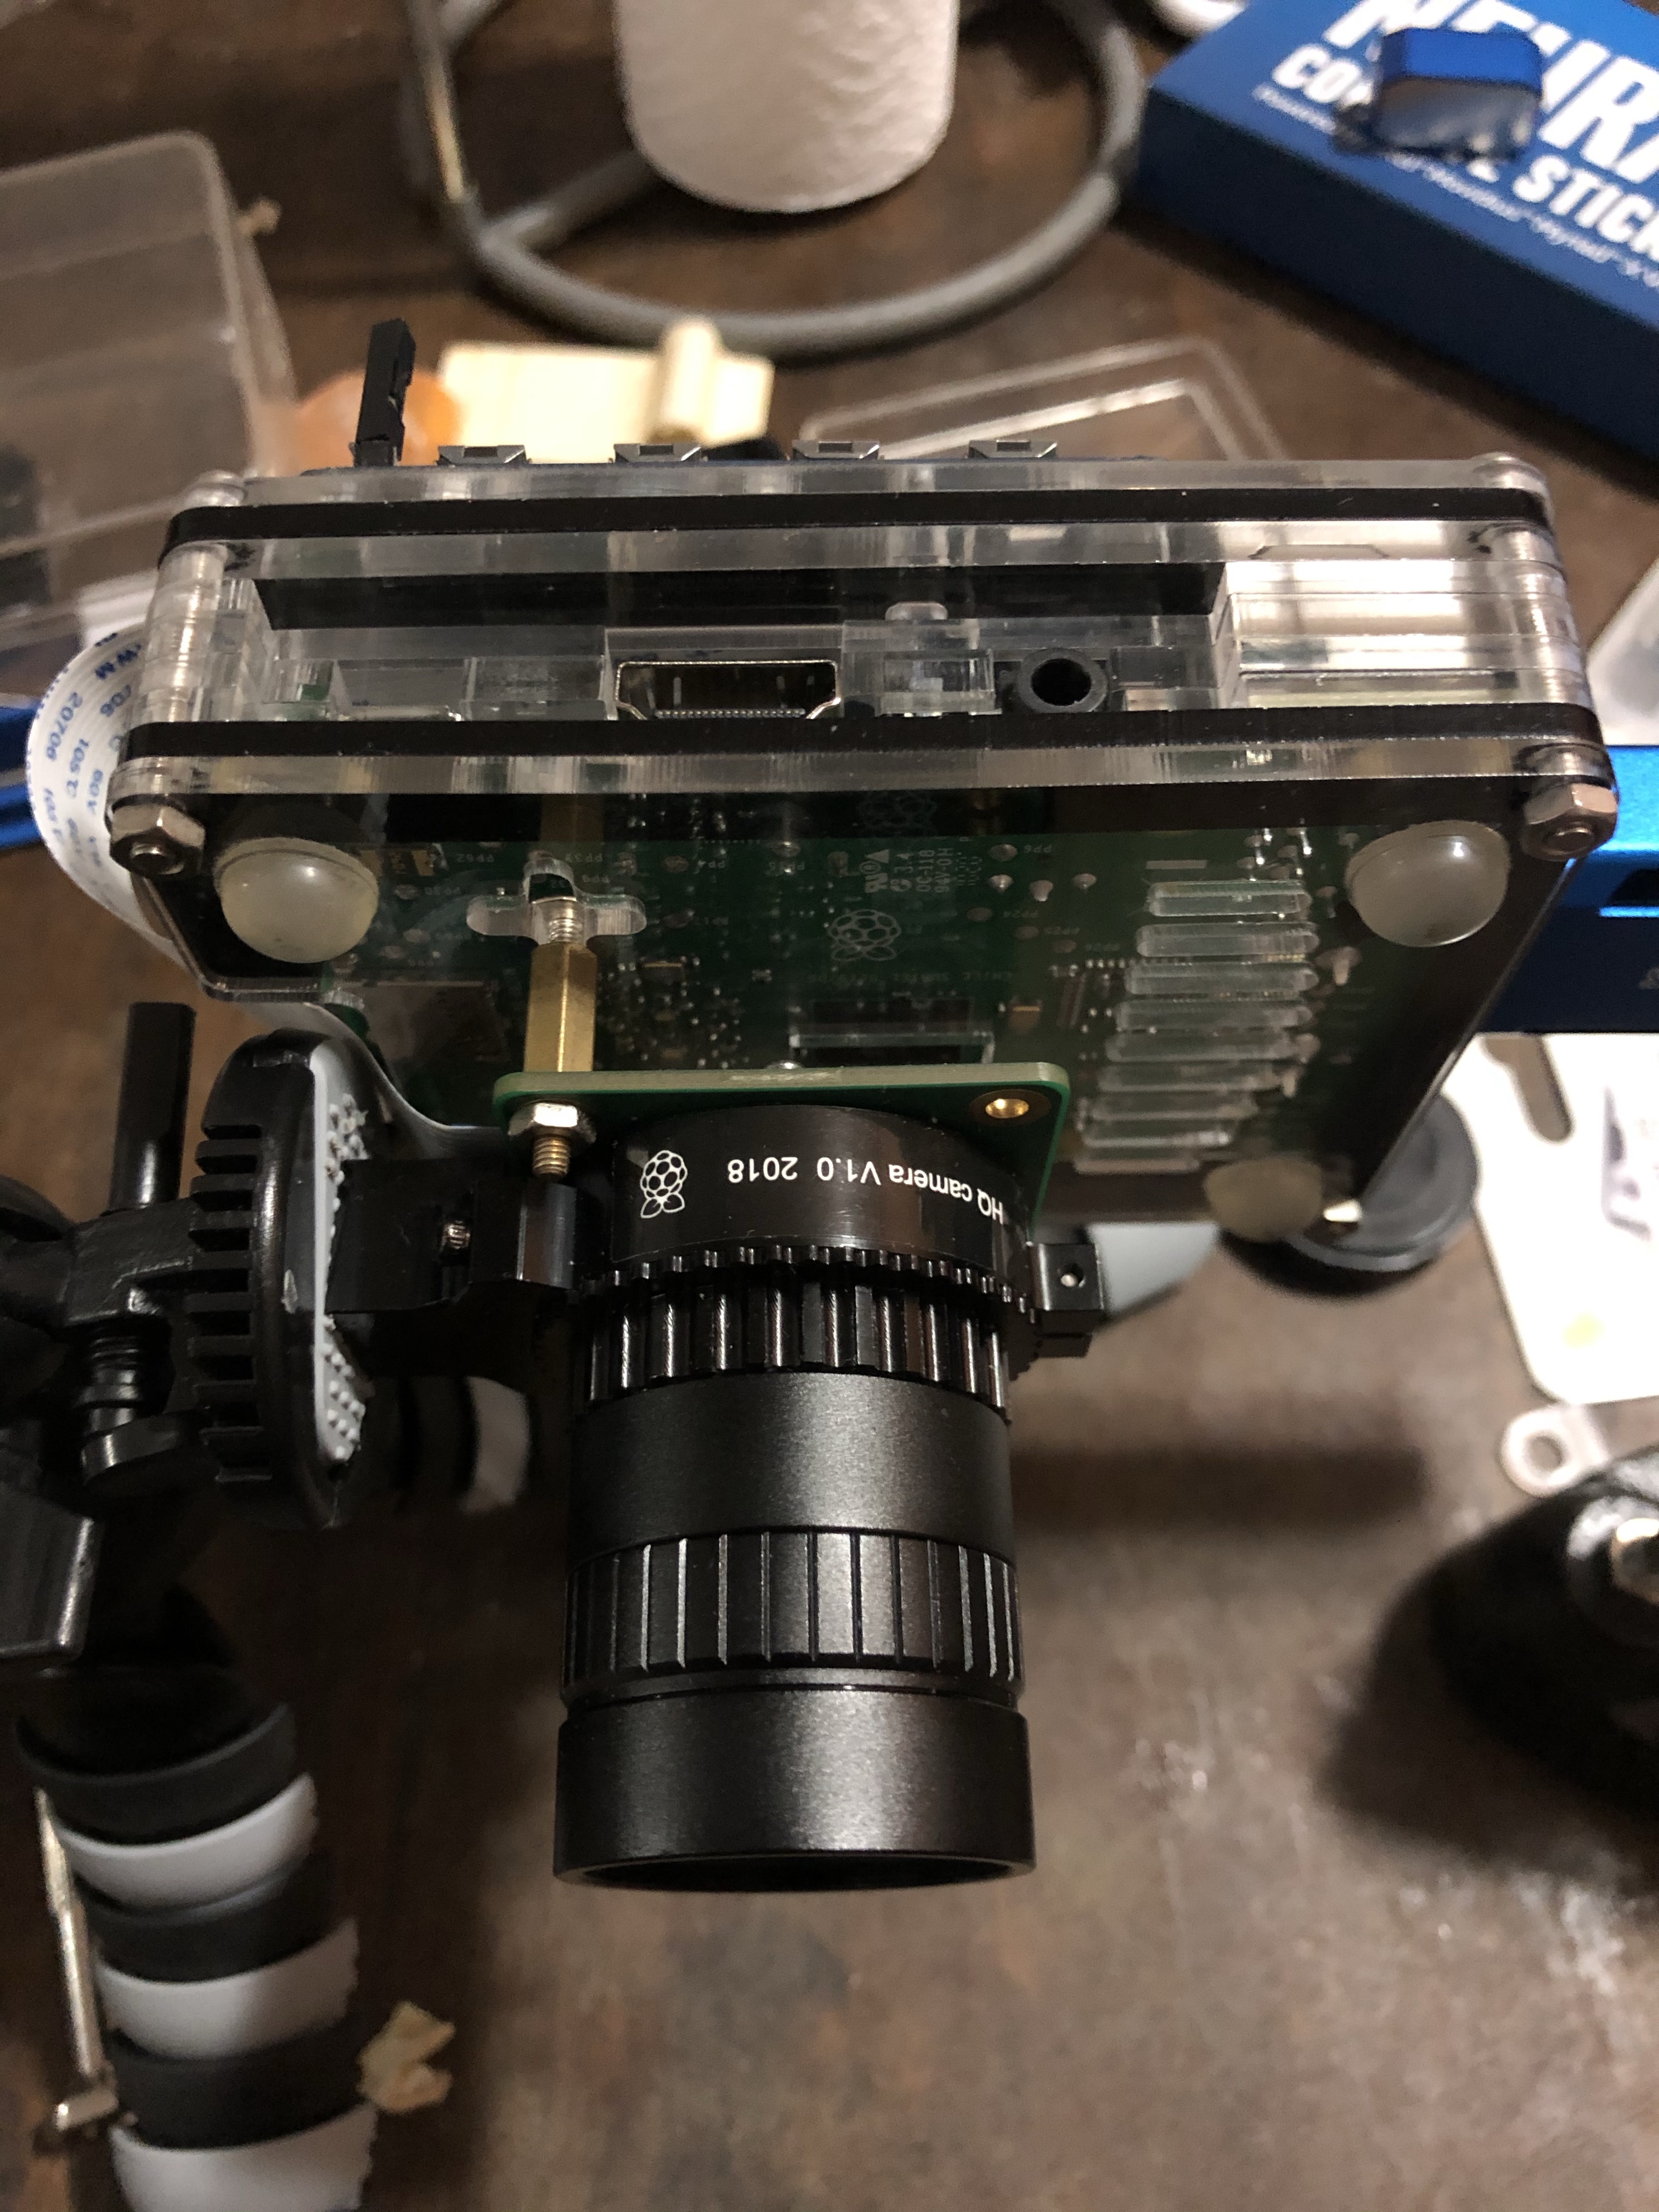
Big Blue to the Rescue (Intel Neural Compute Stick 2, Raspberry Pi 3 B+, Pi Camera HQ with Wide Angle Lens)
Months ago I submitted an entry to hackster.io for a chance to win an Intel Neural Compute Stick 2. All I had to do was write up an idea of what I wanted to do with it. I of course had a vast number of ideas ranging from impractical to just plain stupid. I put together a couple of use cases that explained how I needed a better inference chip to automate a Nerf blaster. I also added another project that would automate my daily check of has my son fixed the bed this morning. After feverishly writing up these proposed projects I then proceeded to forget about it for months.
A few weeks ago I noticed an email from hackster.io that they have been trying to contact me to provide my home address so they can ship me my NCS2 stick. It seems like I was one of the winners of their contest! Of course at this point they’ve been trying to contact me for over 2 months already and I was unlikely to get it. I emailed them hoping that they would still send me one. Surprisingly they replied and shipped it to me. This was good for me since that gave me a reason to actually go thru with my zany ideas and having a nice person from hackster.io reply and ship me one is probably the biggest commitment device for me to complete the promised project.


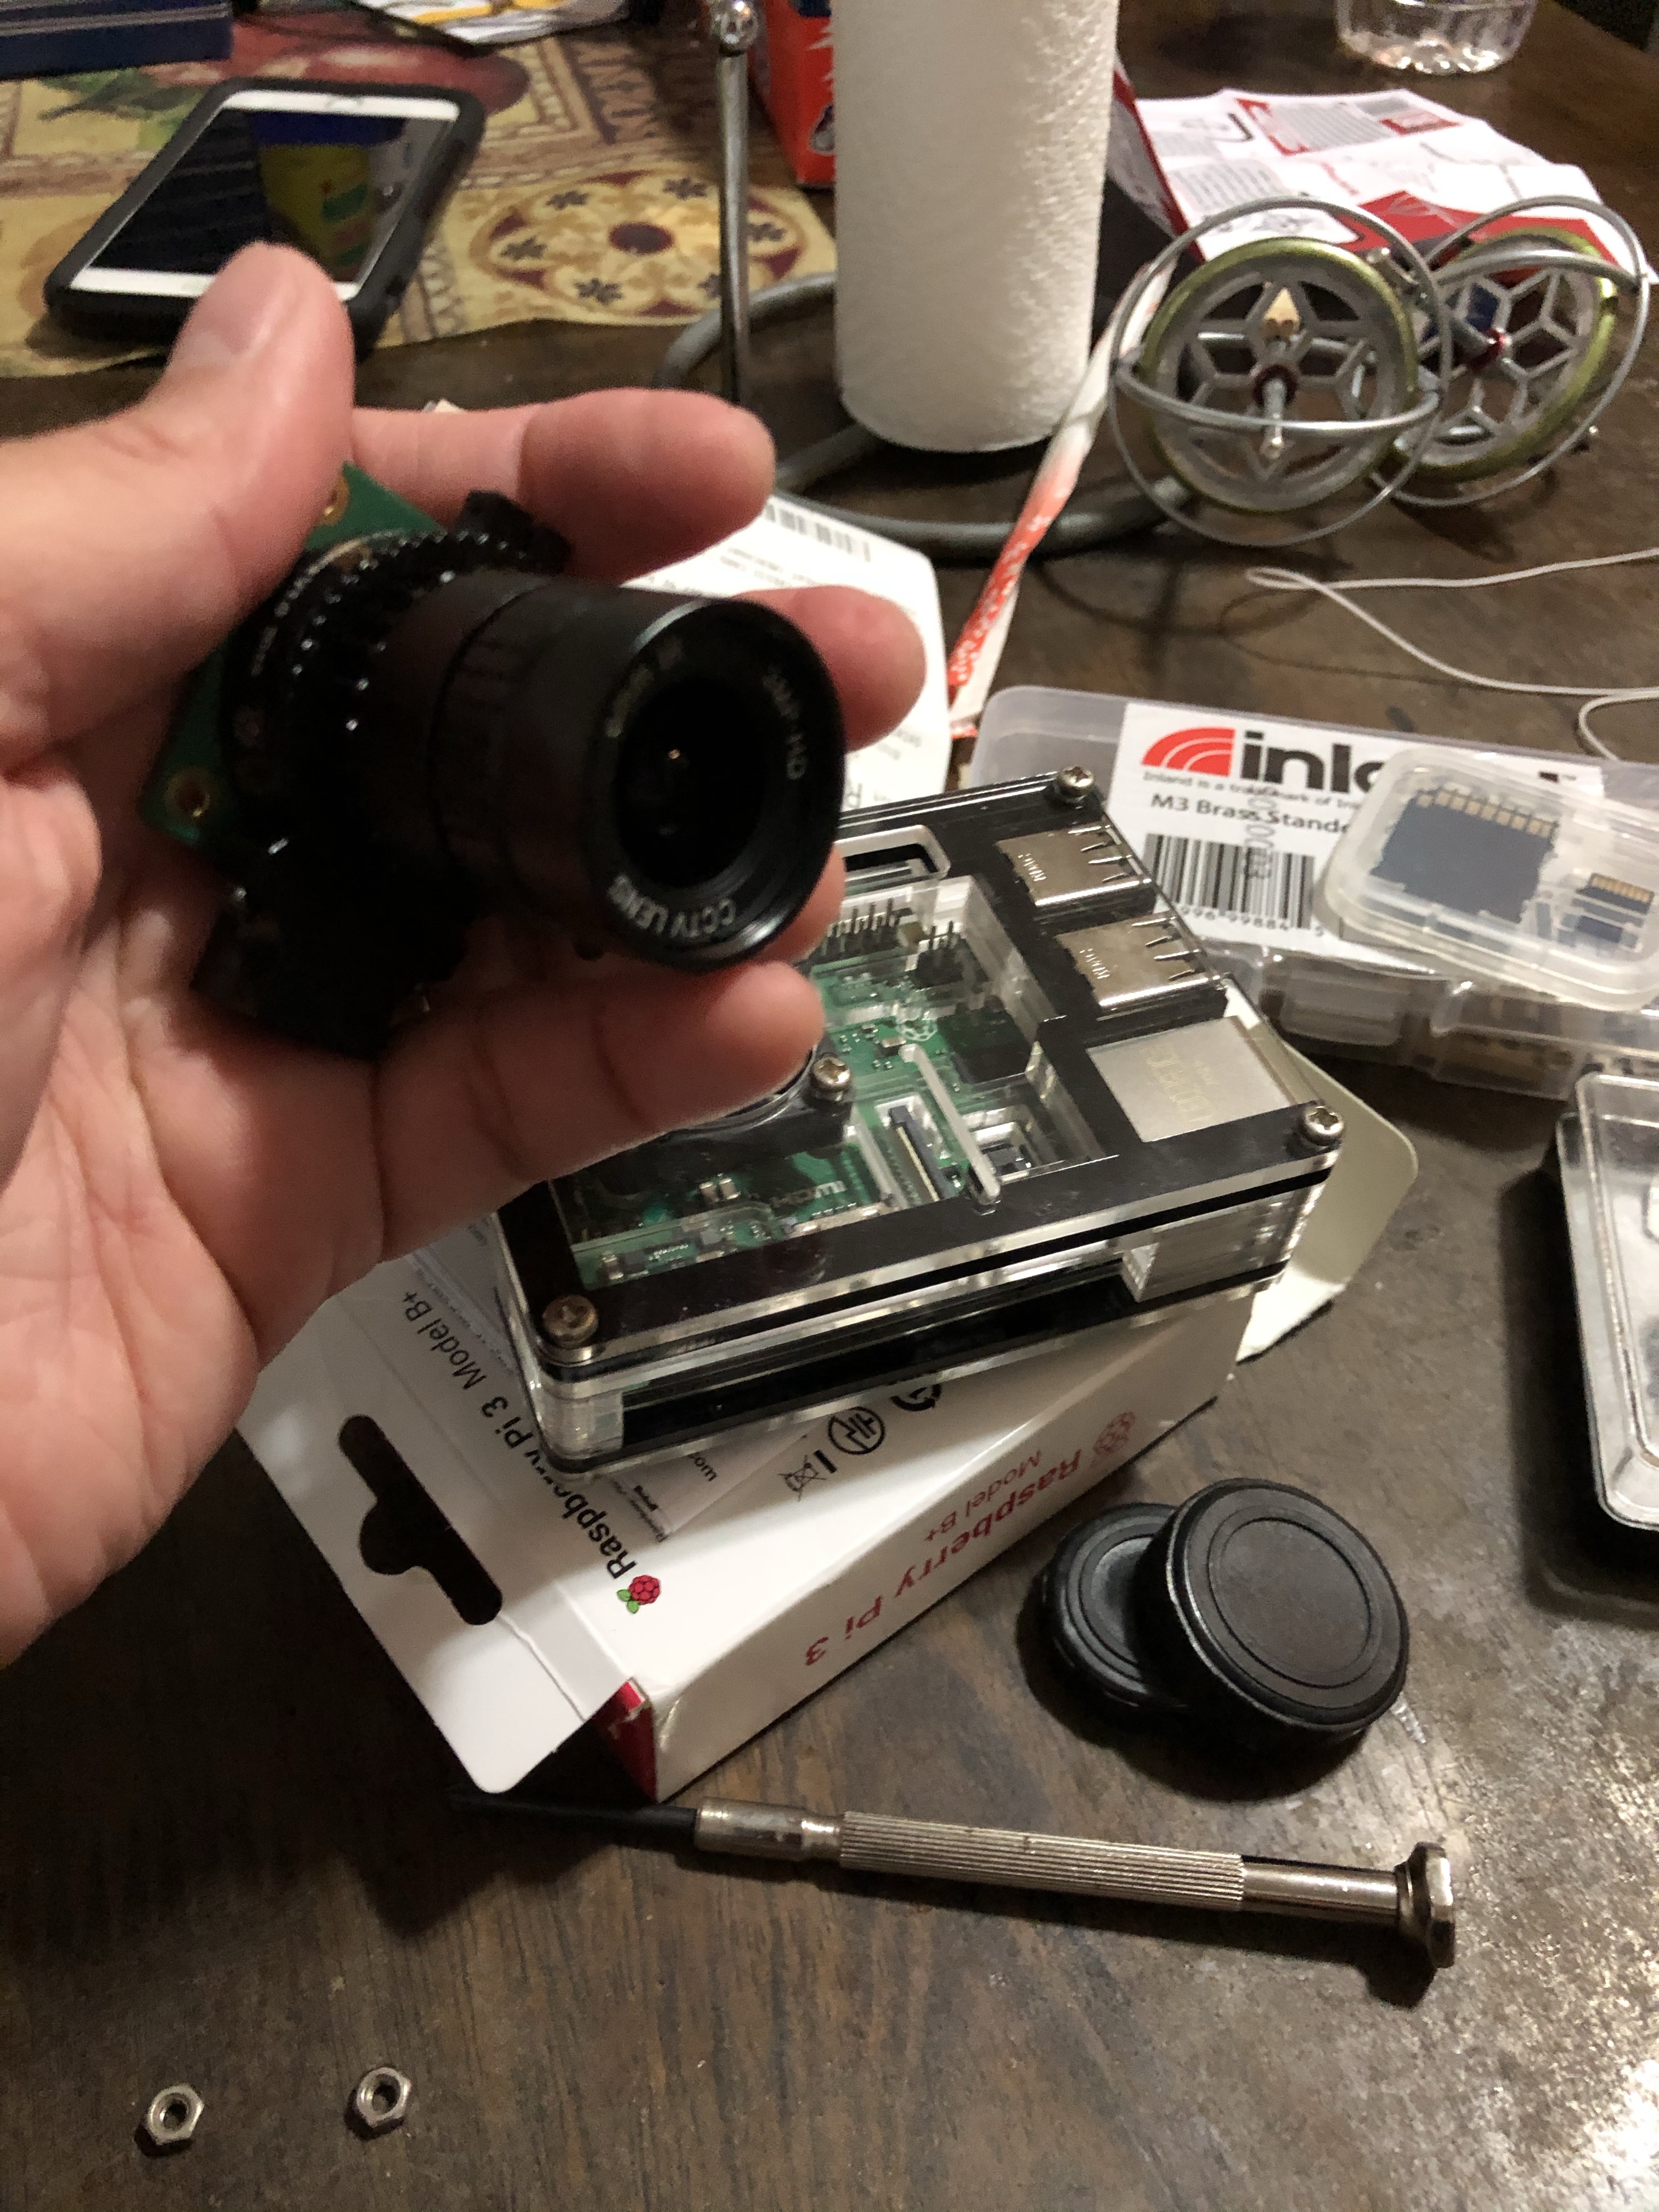
After receiving my NCS2, next order of business was to go shopping at my local Microcenter to pick up parts for the build. I wasn’t entirely sure what I needed to get for this build but I knew I needed an extra Raspberry Pi 3 B+ and a camera module. I debated getting a pi 4 but I had an extra pi 3 case lying around at home. I know a pi 4 would be a bit overkill for what I needed to do as all the computational power will be delegated to the NCS2 stick anyway. I will need to find another excuse to go back soon and get a pi 4!


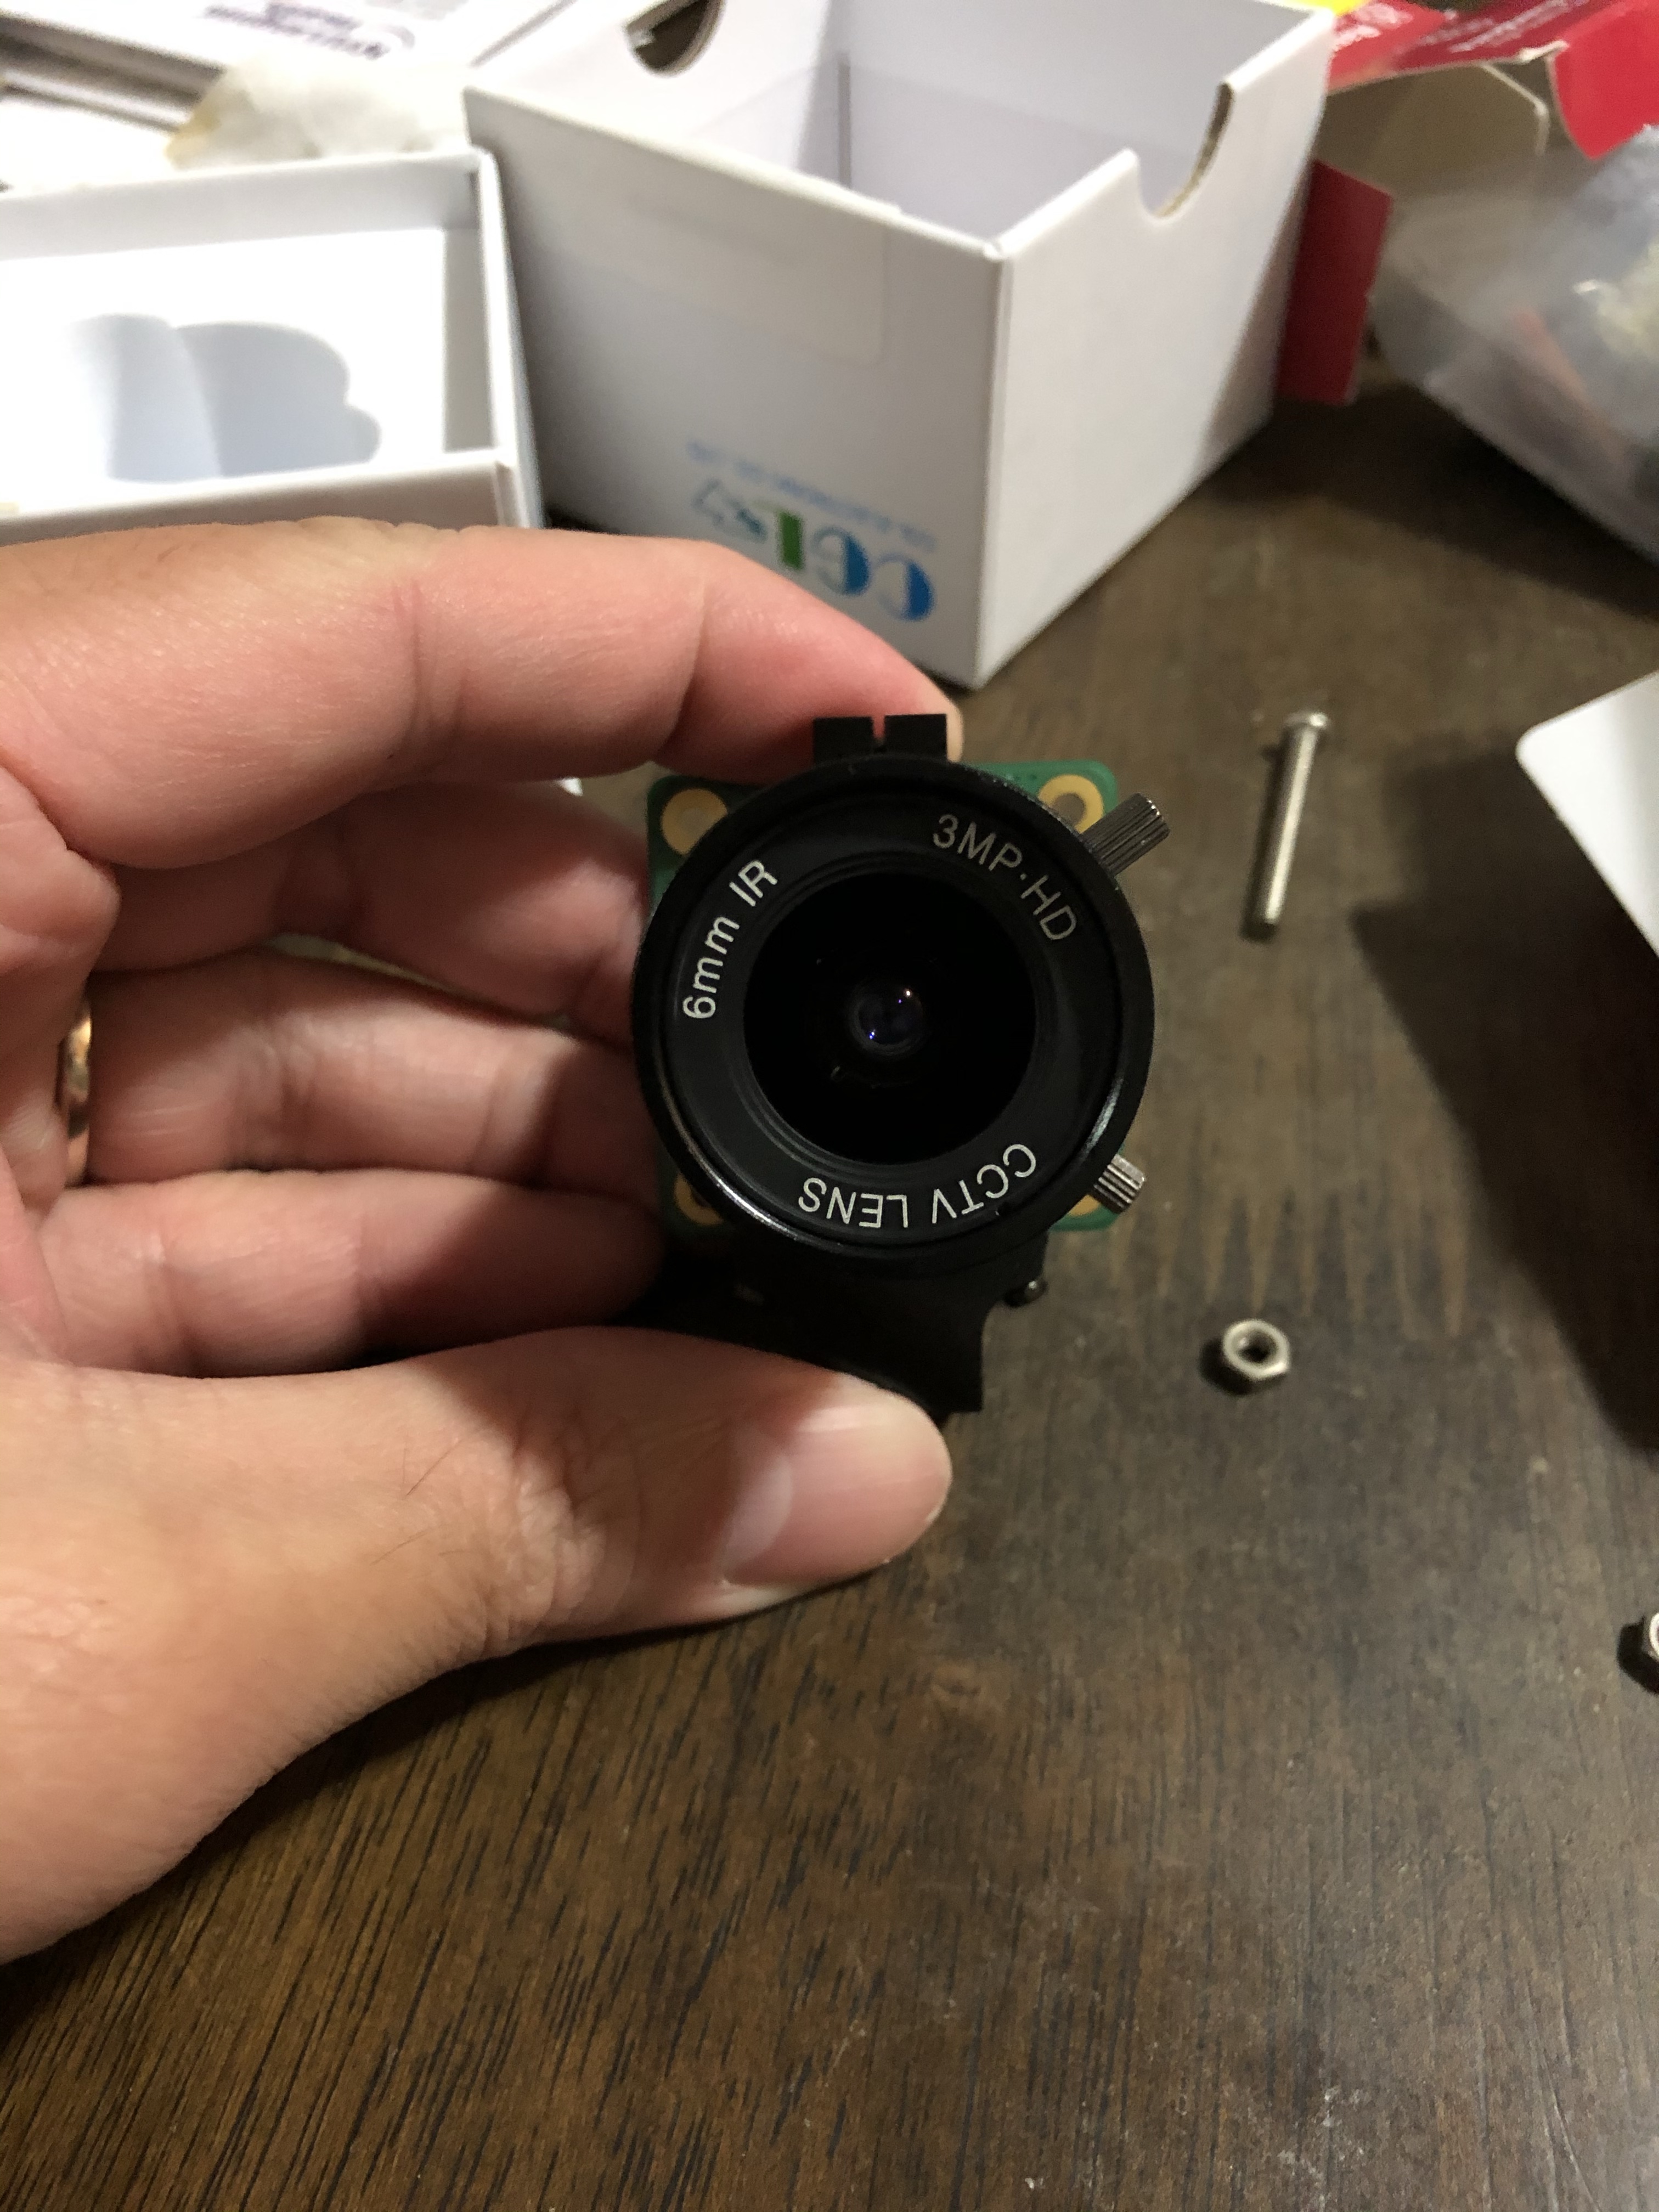
I did pick up a pi camera HQ module along with a wide angle lens. Slightly more expensive than a regular pi camera module but I thought the wide angle and higher resolution would help the object recognition. To be honest I didn’t really know if it would make a difference but it was a good excuse to get one! 😂


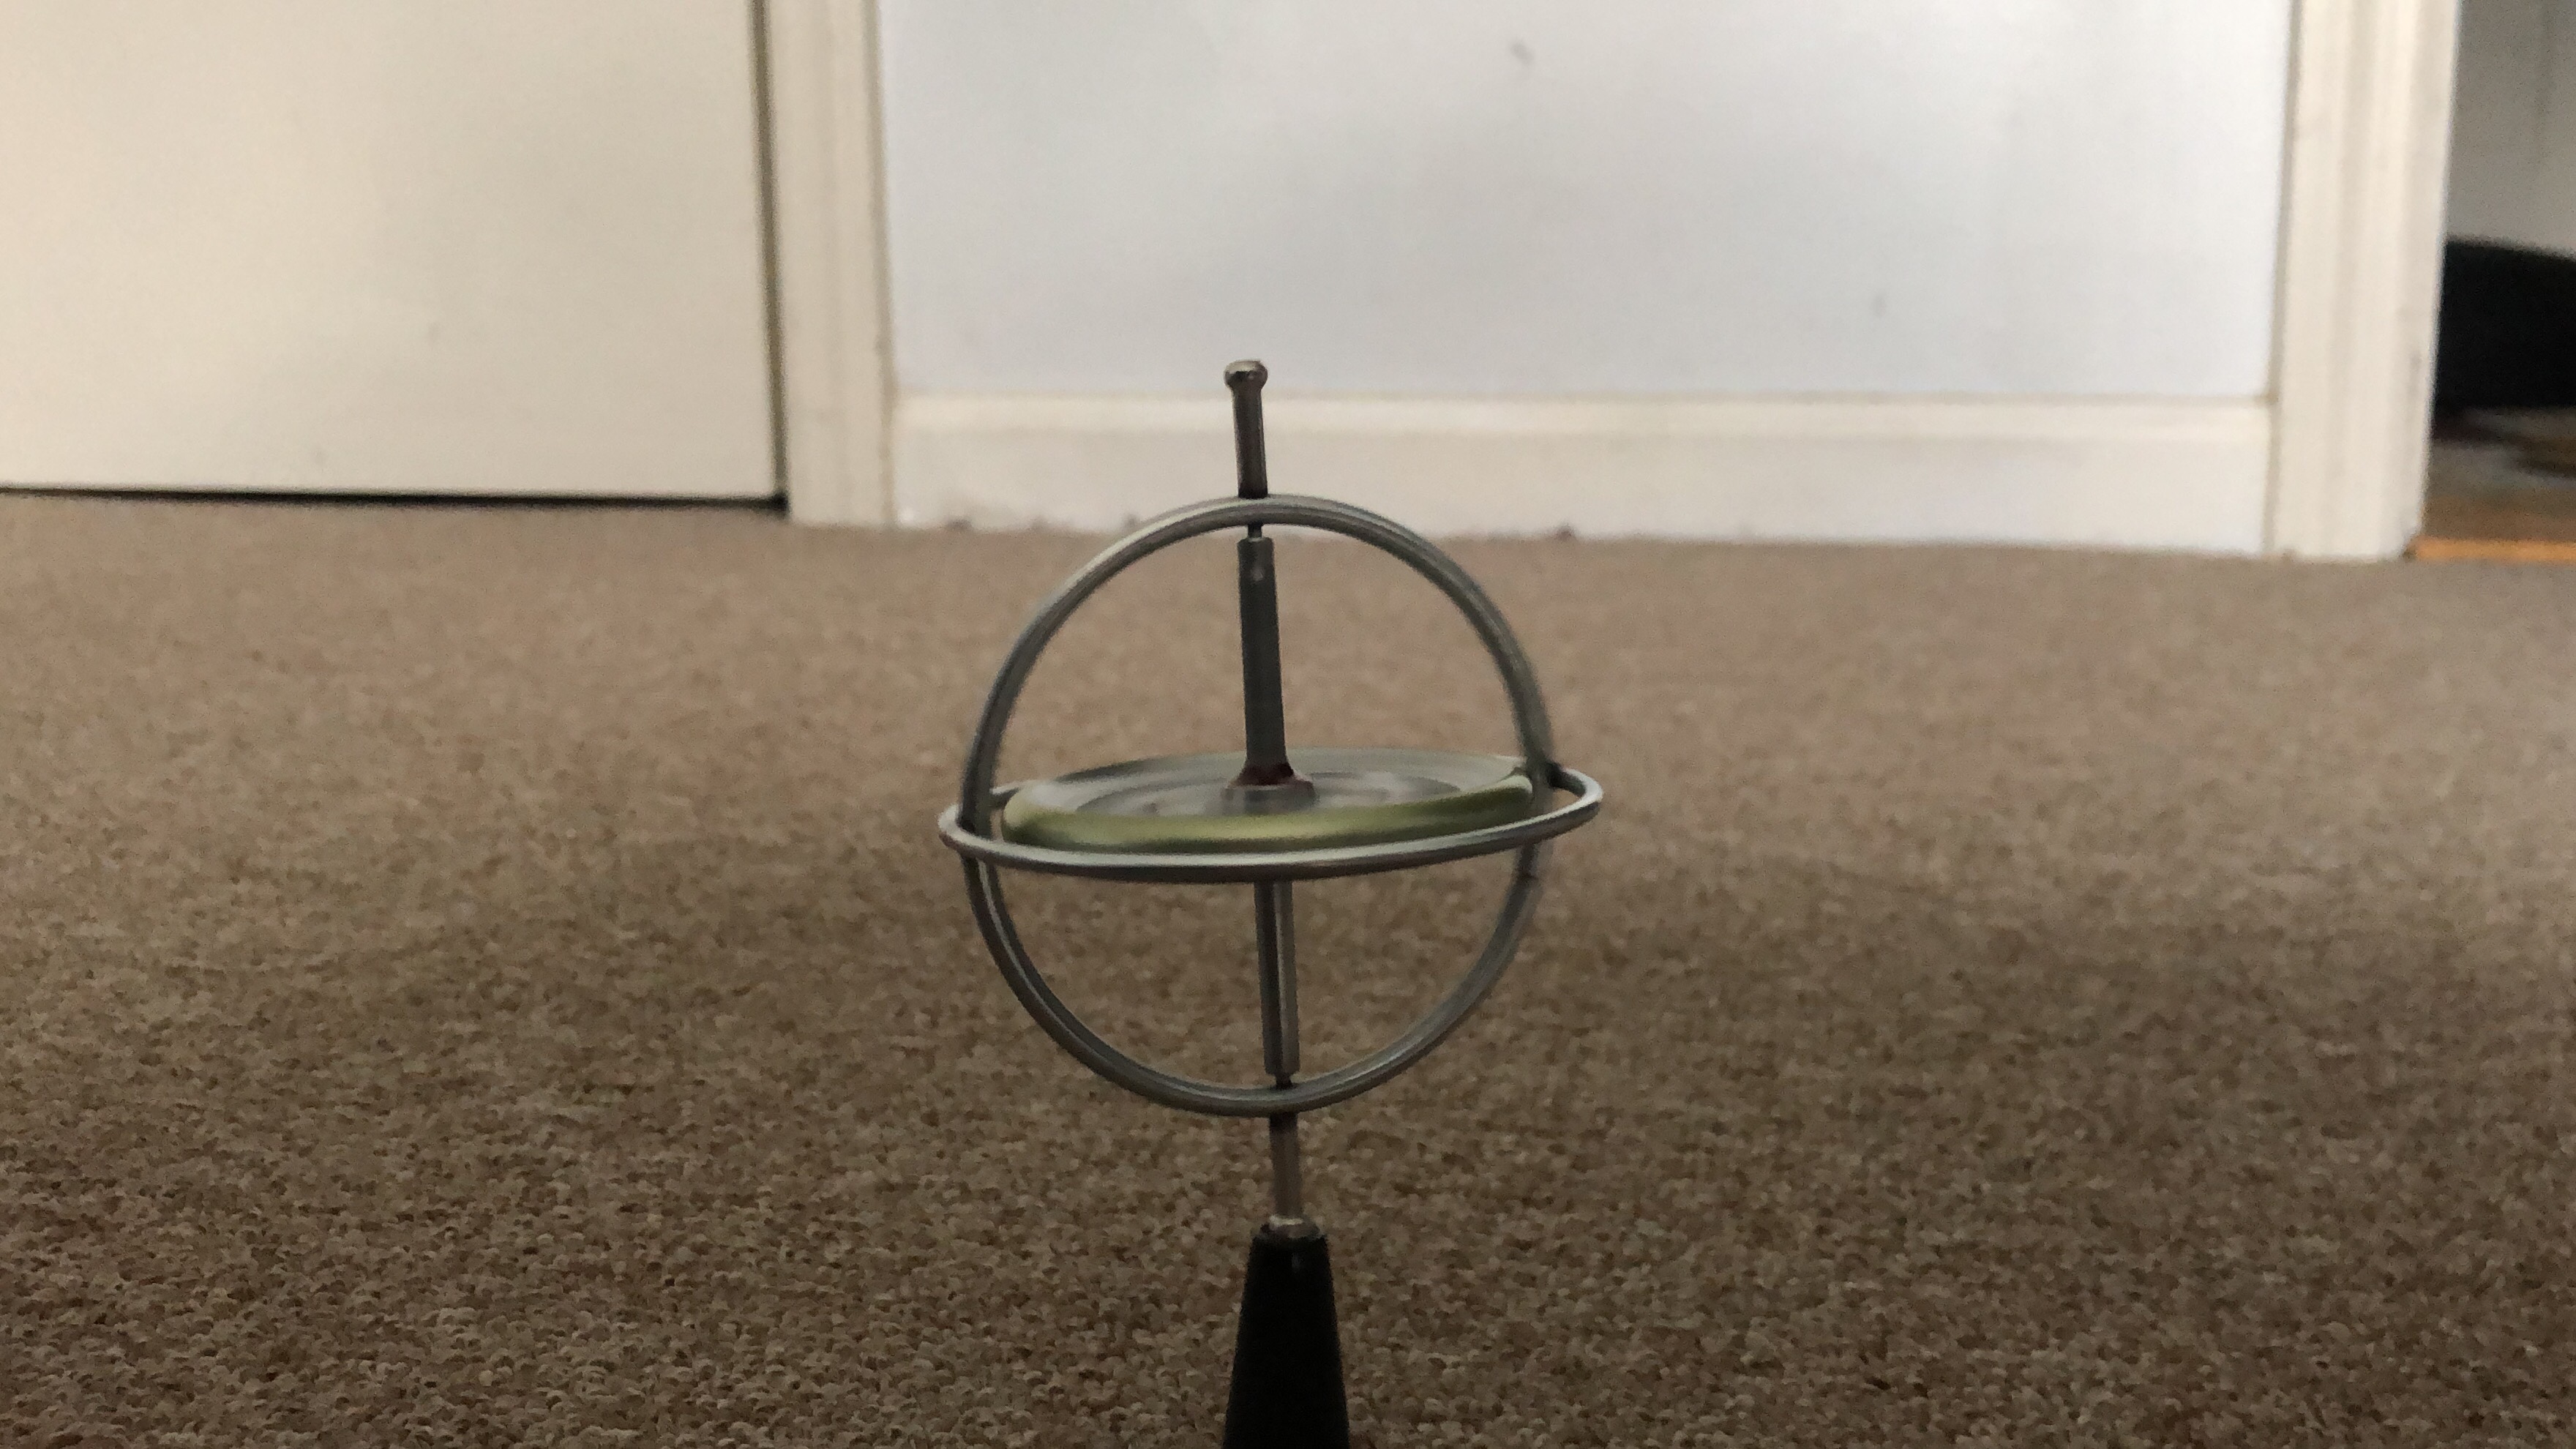
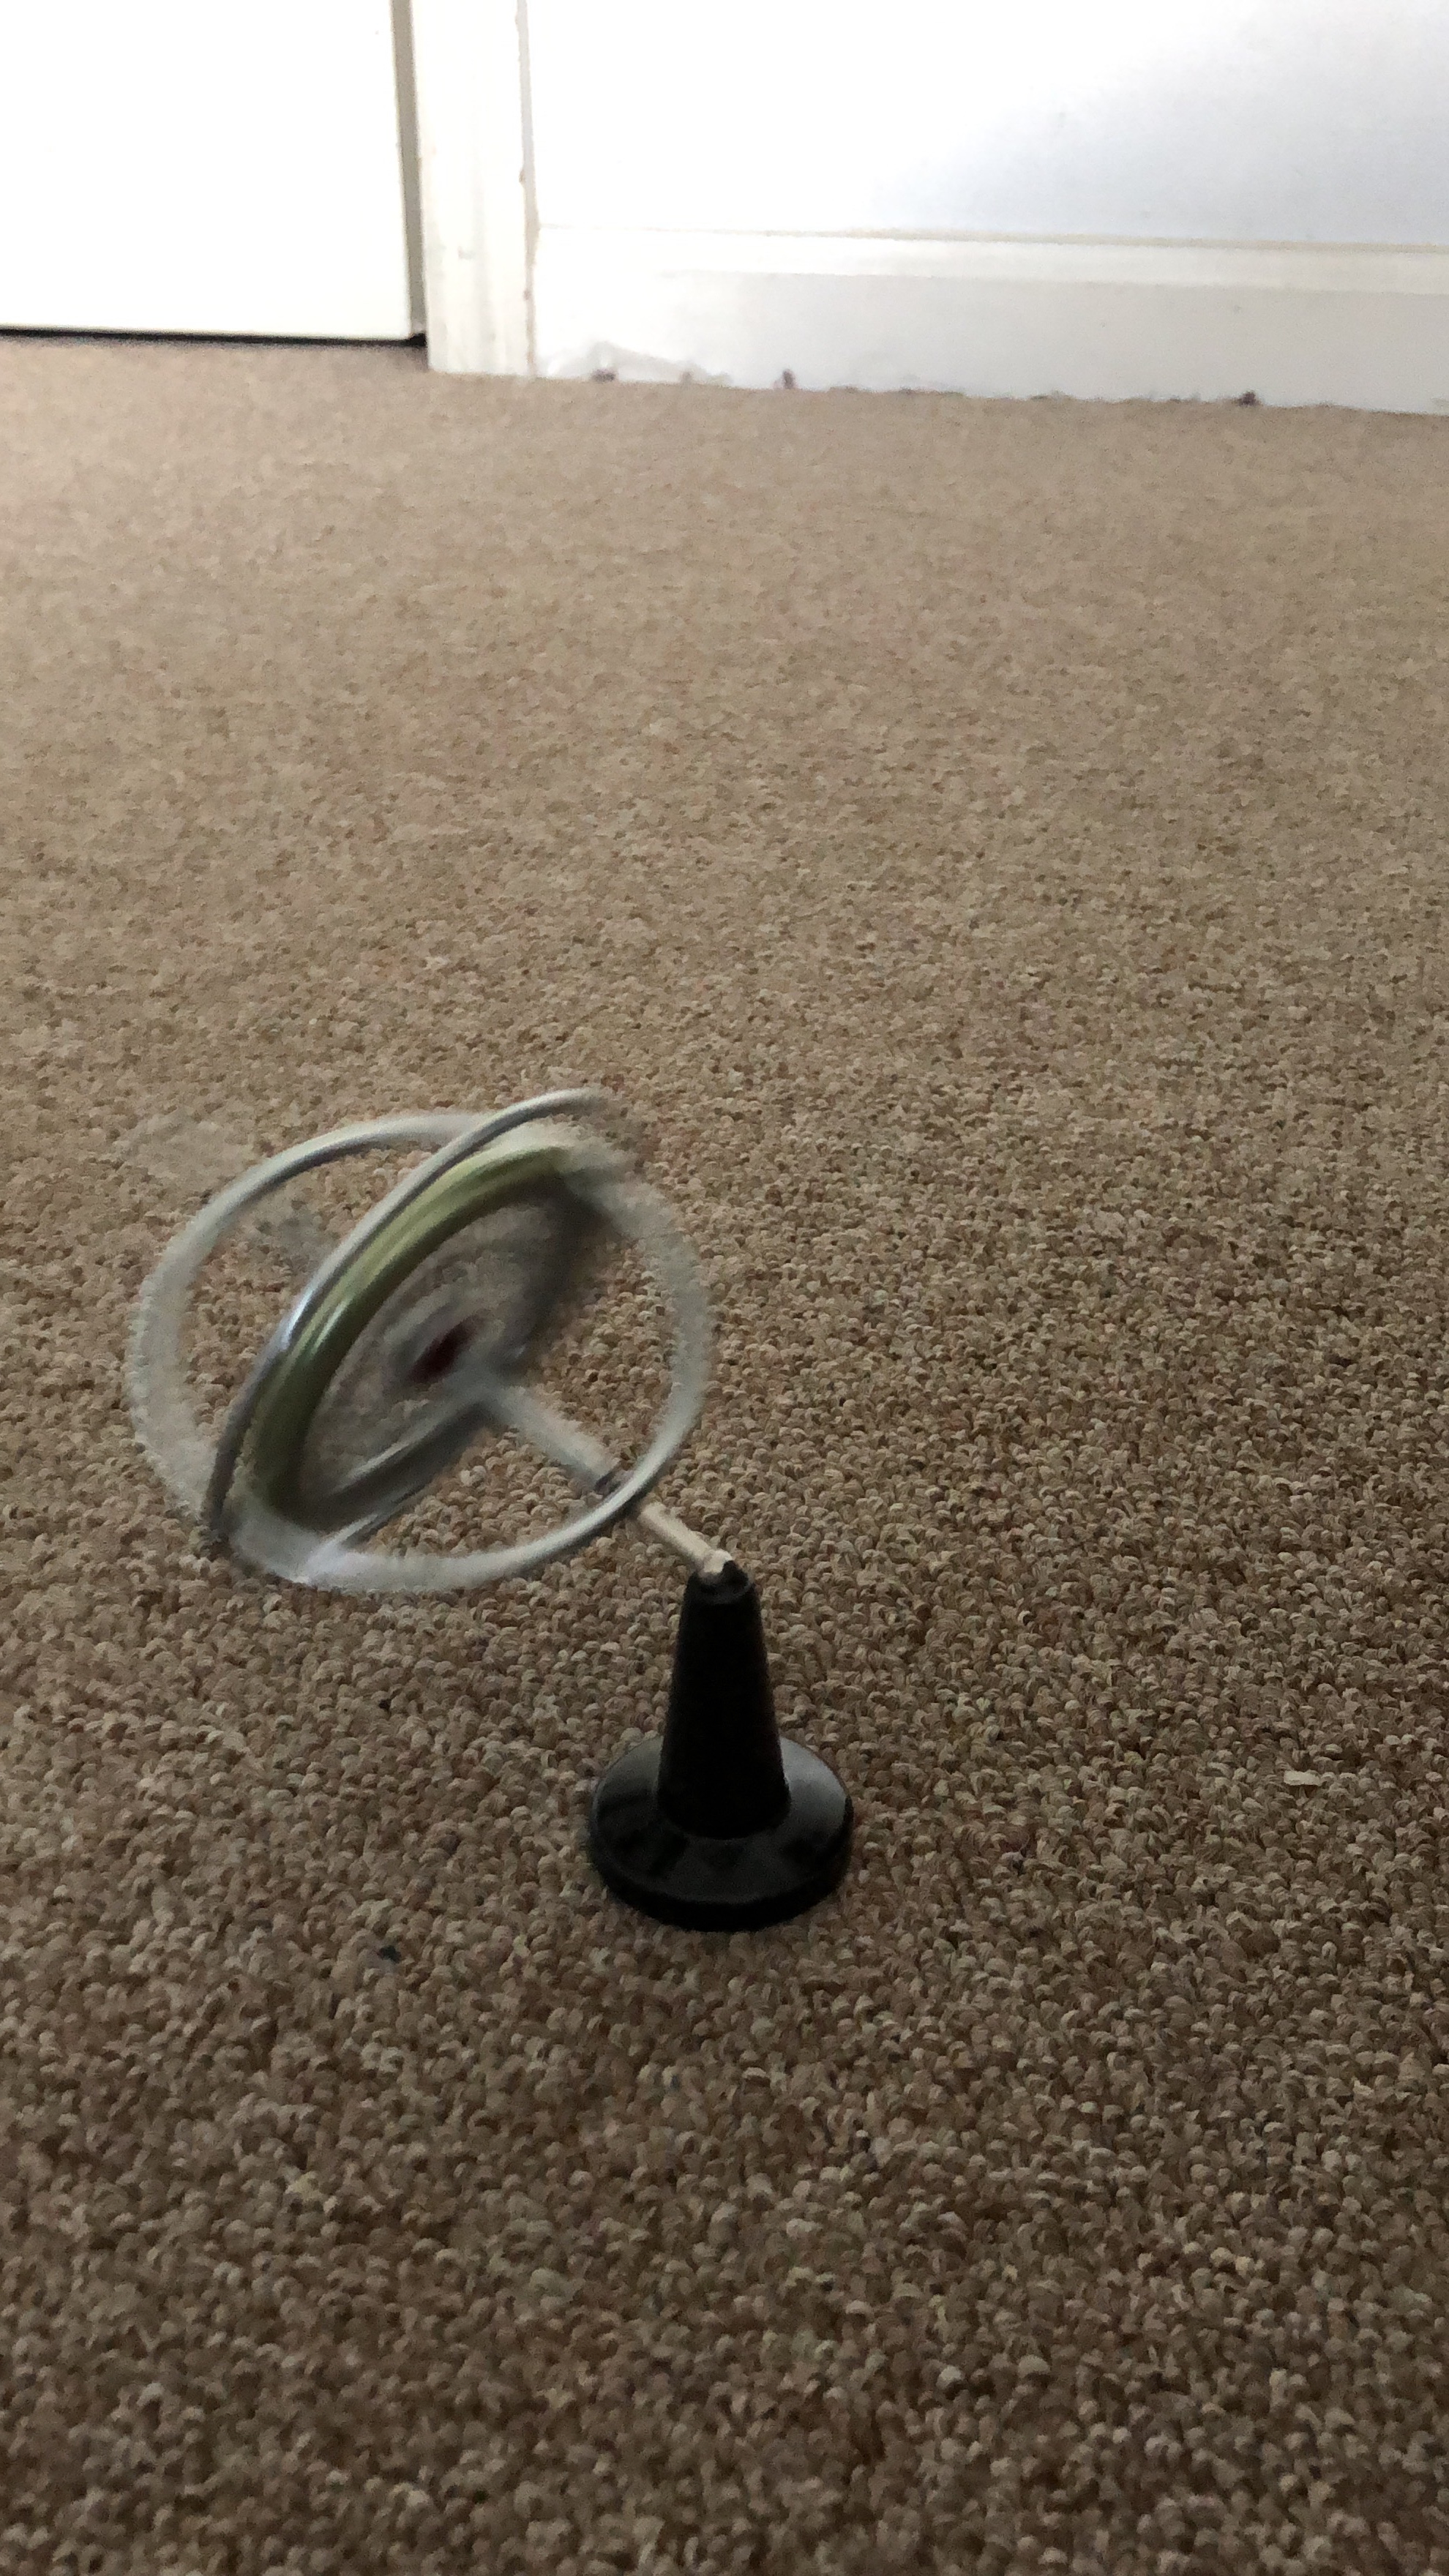
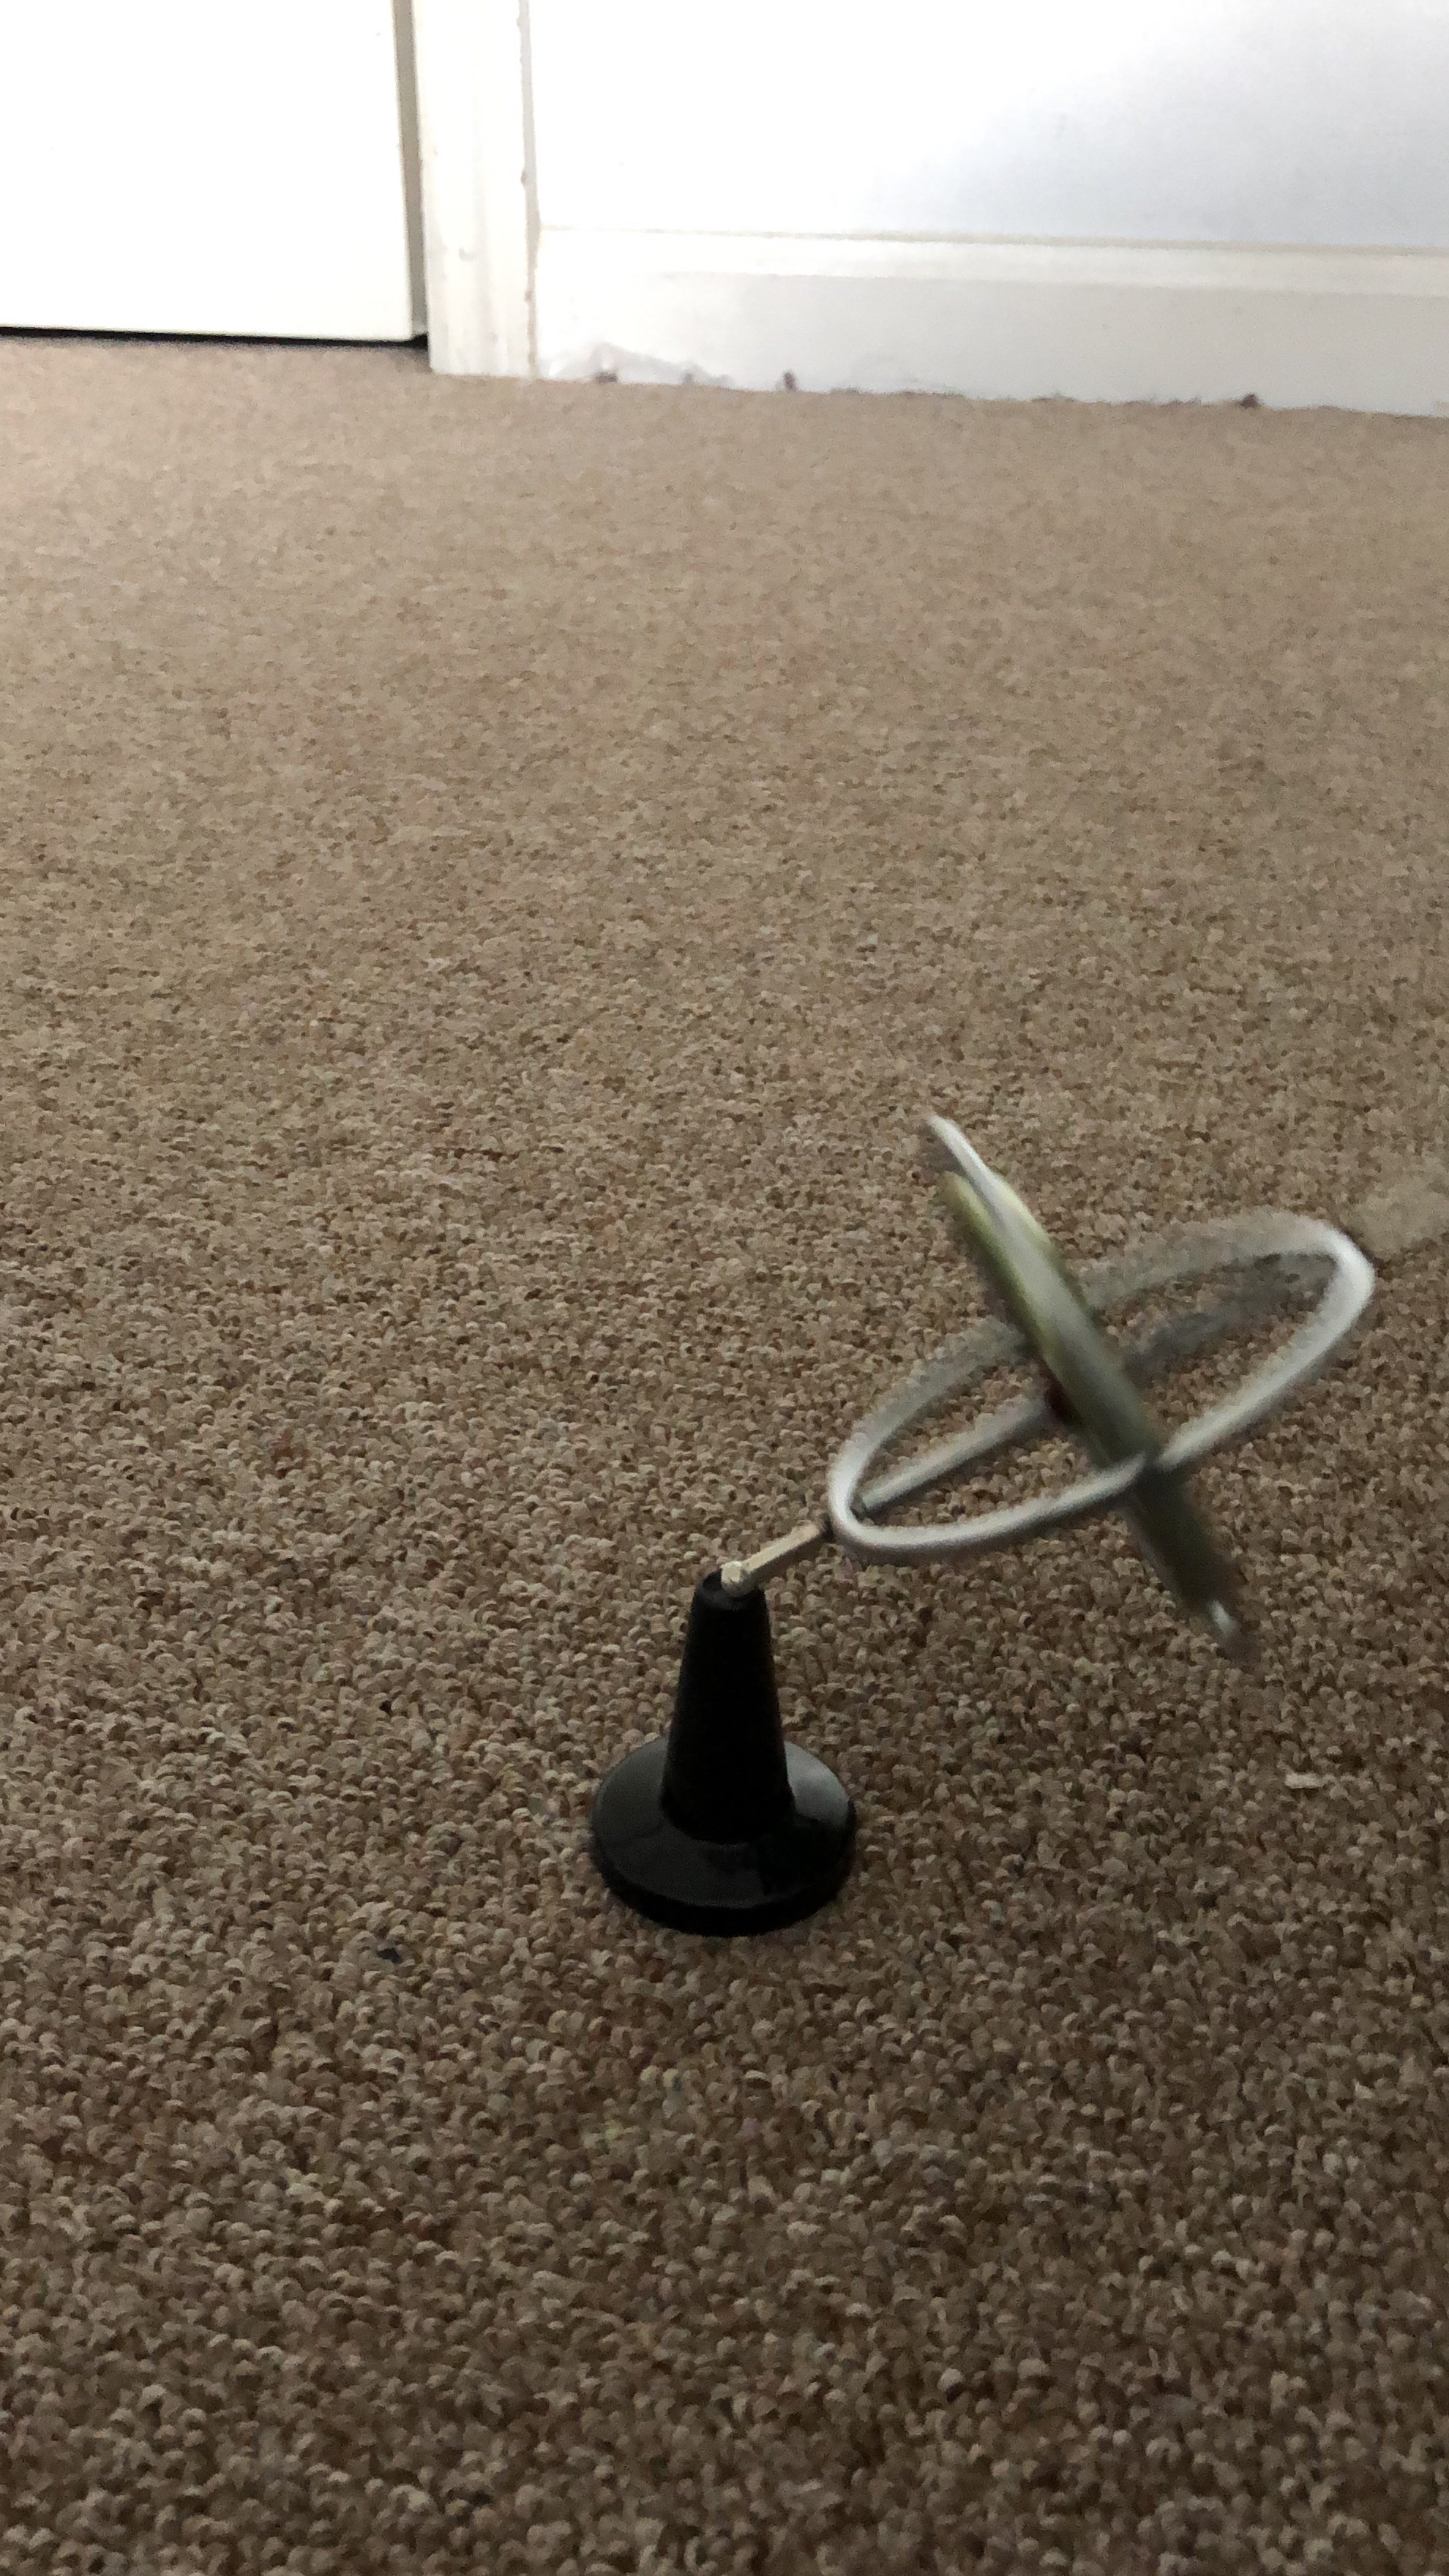
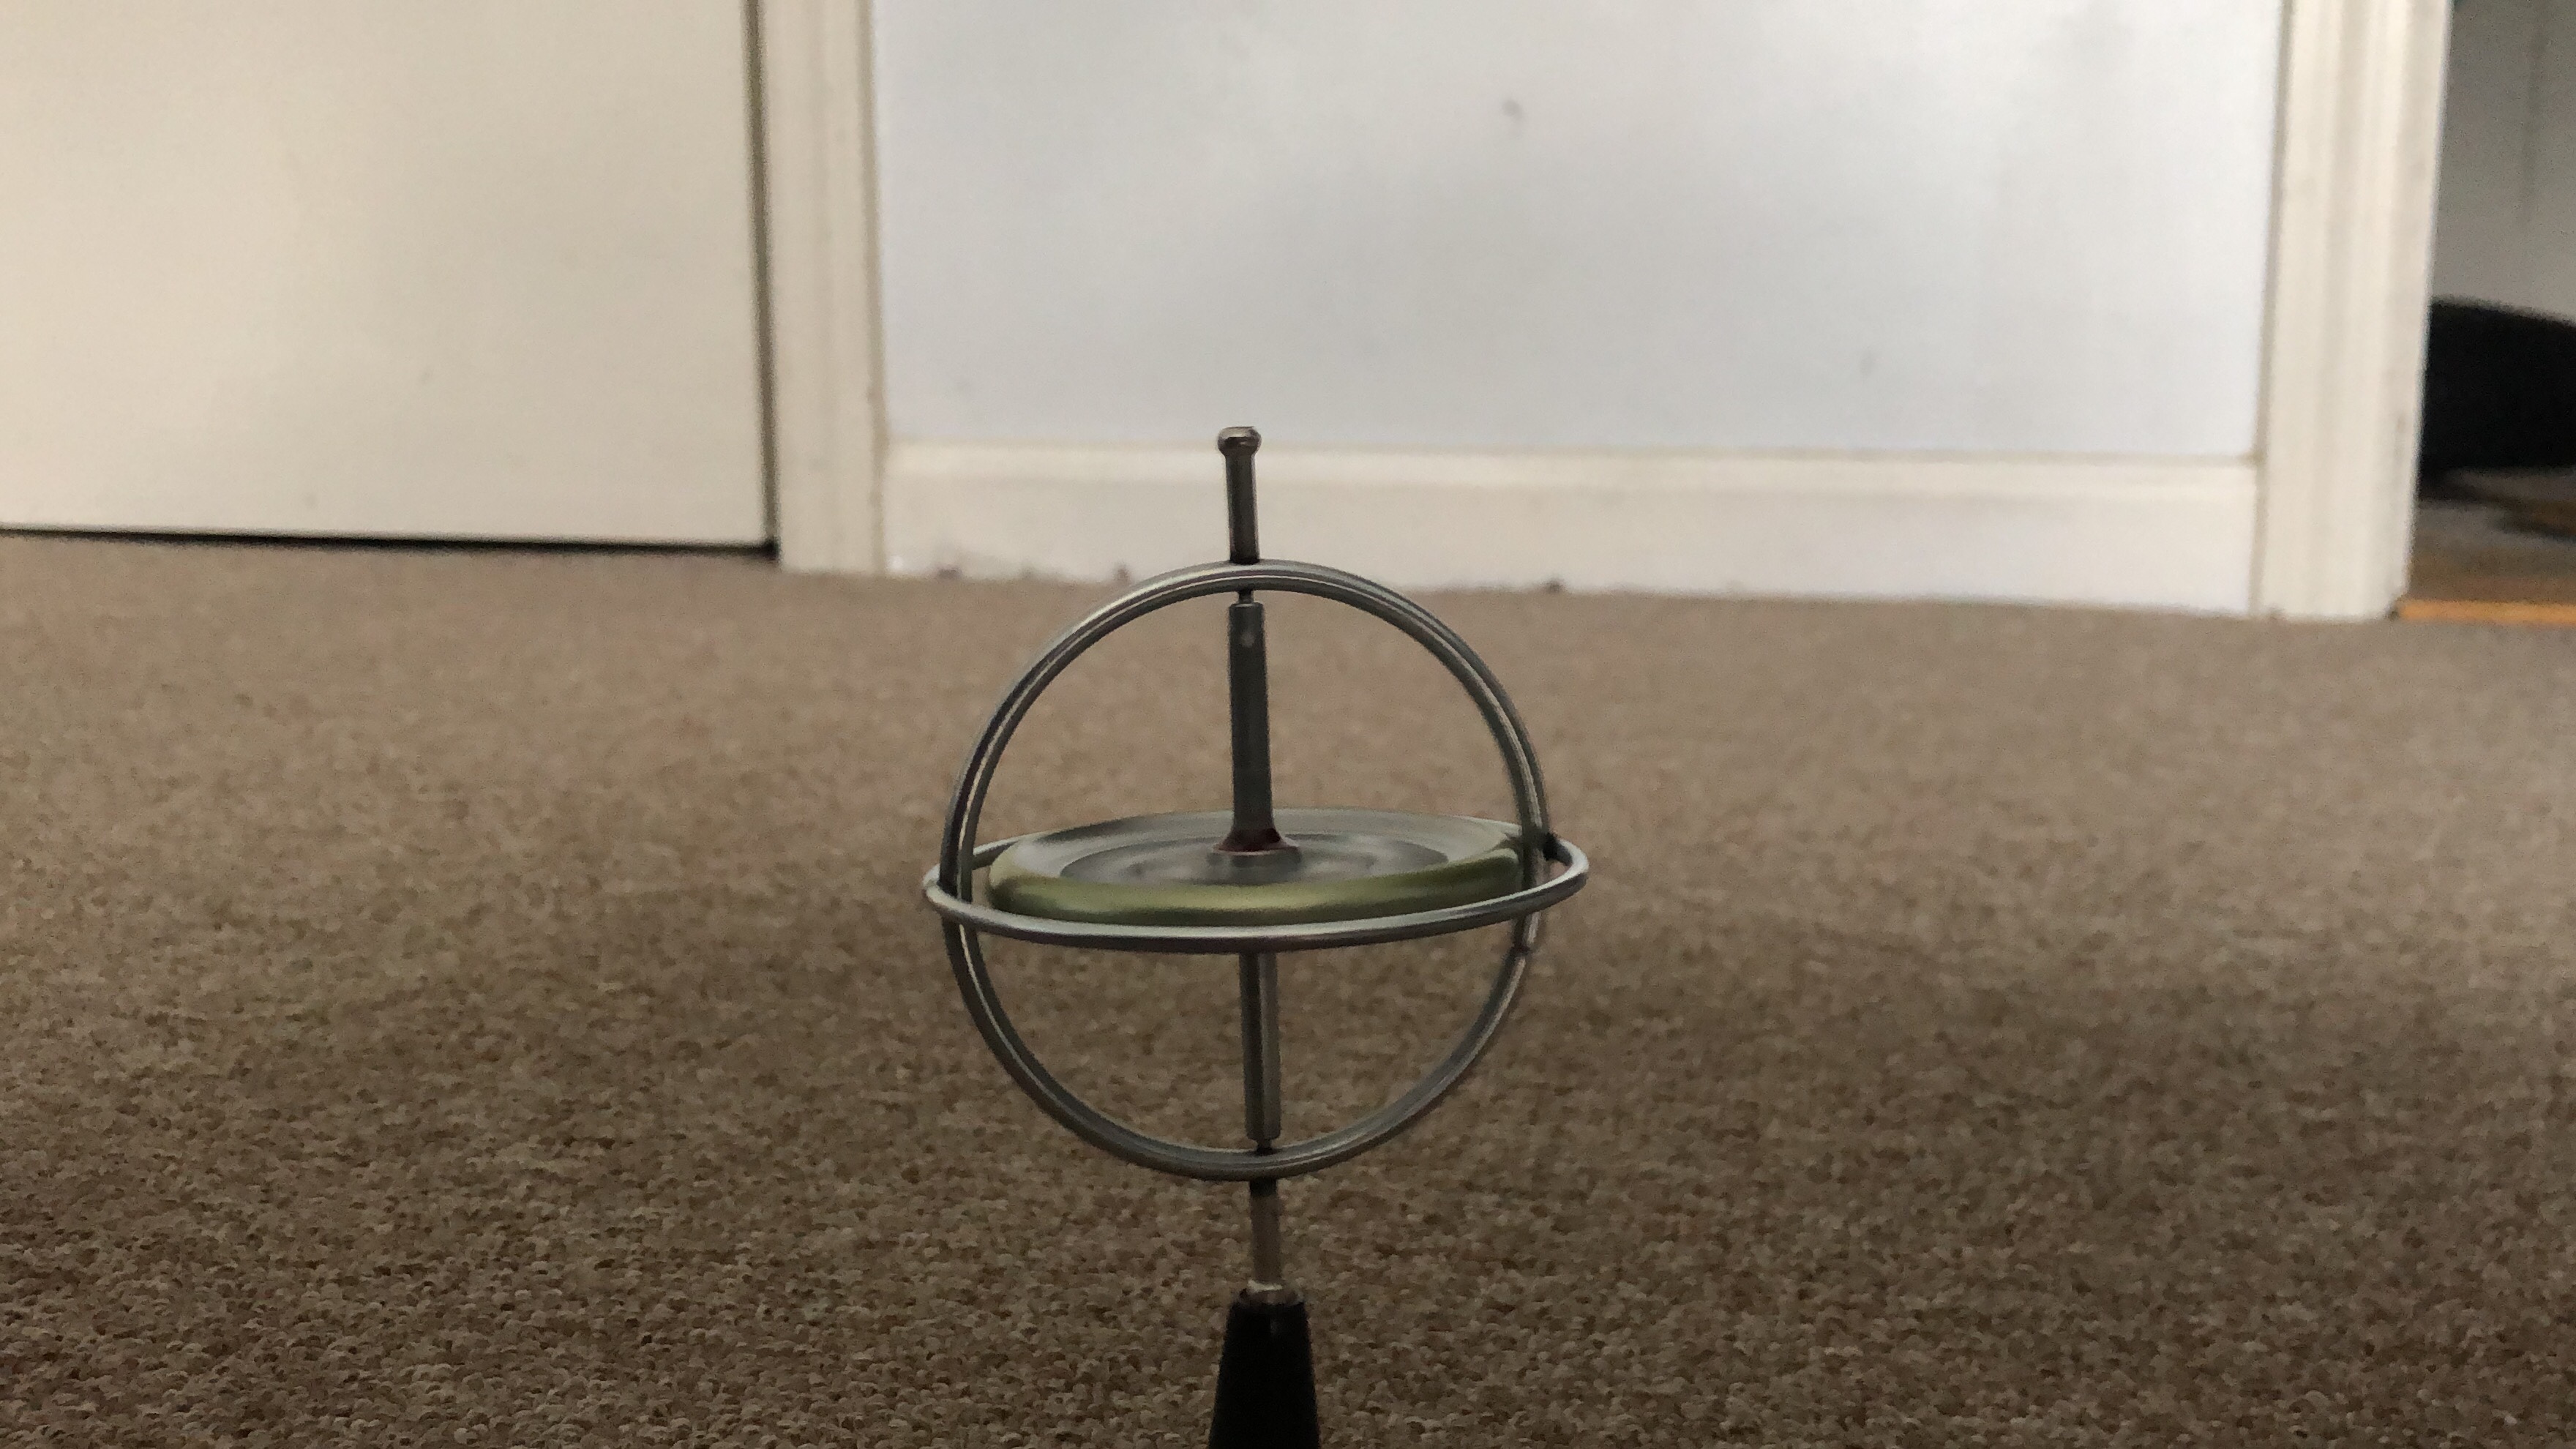
Gyroscopes: A $15 Lesson on Gyroscopic Precession
I also picked up a toy gyroscope for $15 which I thought would be an interesting lesson about gyroscopic precession for my son. Earlier in the week we were playing around with a small top to which I then proceeded to give an unsolicited lecture on how gyroscopes worked and how it made old timey ocean navigation and modern day GPS possible. There is a great 7 part lecture by Professor Eric Laithwaite of Imperial college in London about how gyroscopes work. Here is the first part of it. You are welcome and be prepared to go into a rabbit hole. It was so amazing to see how he is able to explain clearly thru demonstration how something can feel lighter without actually losing mass by using angular momentum. You can say he is able to make something heavy feel, uhhhmm, laithwaite! 🤣. You can’t make this stuff up! He also has a great lecture on magnetic levitation where he basically demonstrates how to build a rail gun.
You can say he is able to make something heavy feel, uhhhmm, laithwaite!
Mad Computer Scientist Ninja – “Dad Jokes volume 1”


All Night, Friday Night, Hack Party!
This is what my Friday evening looked like. Took out all the spare parts I have been stocking up for this project and just put them on the kitchen table. This is my very scientific and organized process of putting together a project. Just put as much parts on a table and try to see what you end up with in the morning. I swear, if you look at that table and squint hard enough you can see an AI powered, automated aiming, tripod based, Nerf blaster firing robot! Oh yes, this was going to be another awesome Friday all night party!
This is my very scientific and organized process of putting together a project. Just put as much parts on a table and try to see what you end up with in the morning.
Mad Computer Scientist Ninja
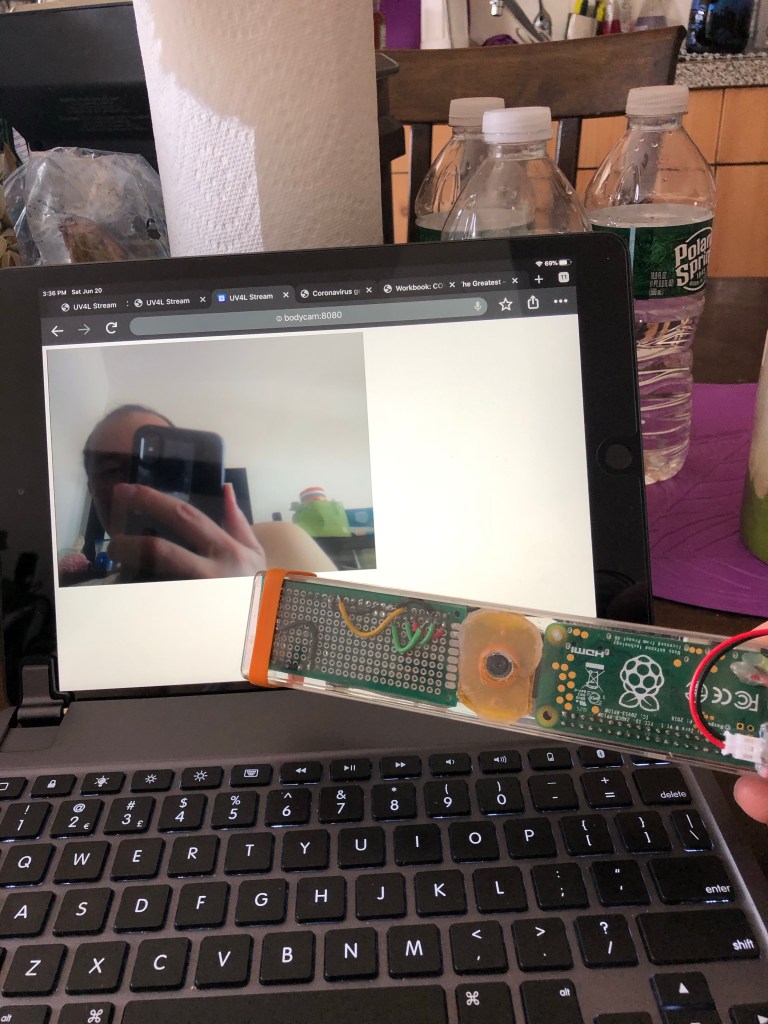
What’s a camera without a viewfinder? I took apart one of my old retro pie projects to reuse the Adafruit Pi TFT 2.2 LCD screen hat. I had to add some header extenders and some mounting nuts to make it stable on the pi case. There were also convenient holes on the case that I assume was for a battery or a wall mount that I used to screw the pi camera module and the wide angle lens on. I then put all of it on top of a little tripod to make it look like this.
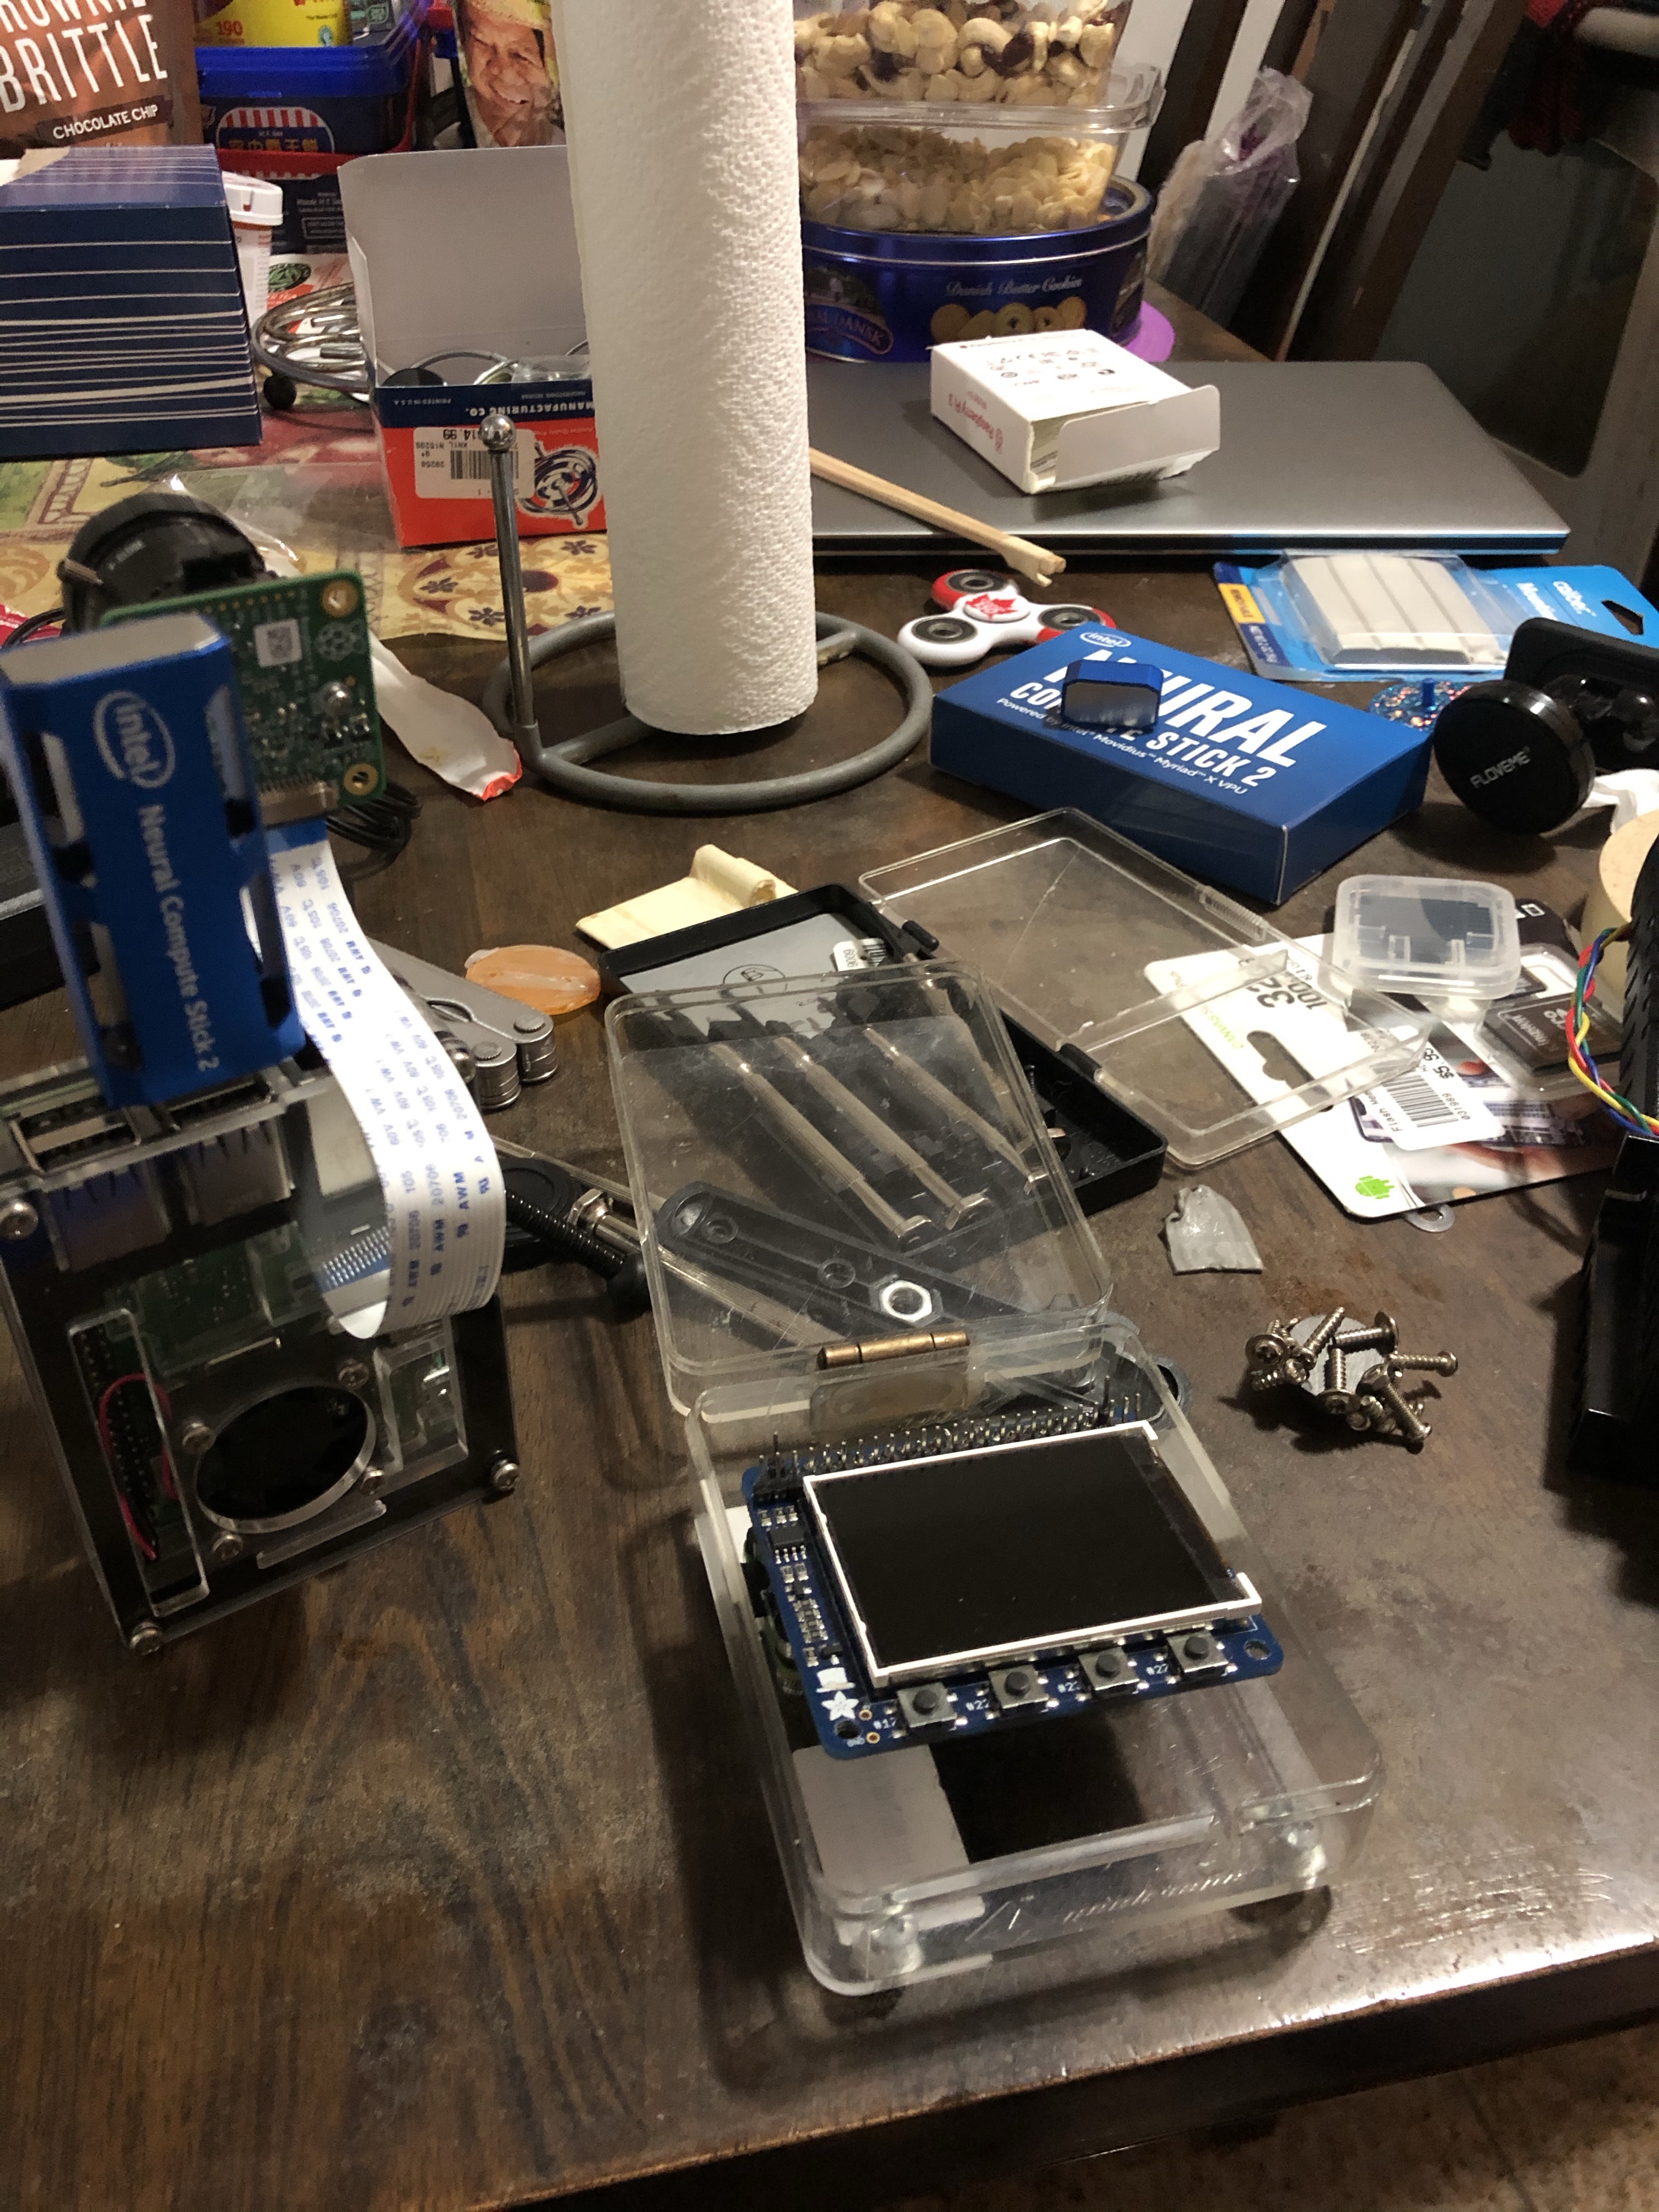


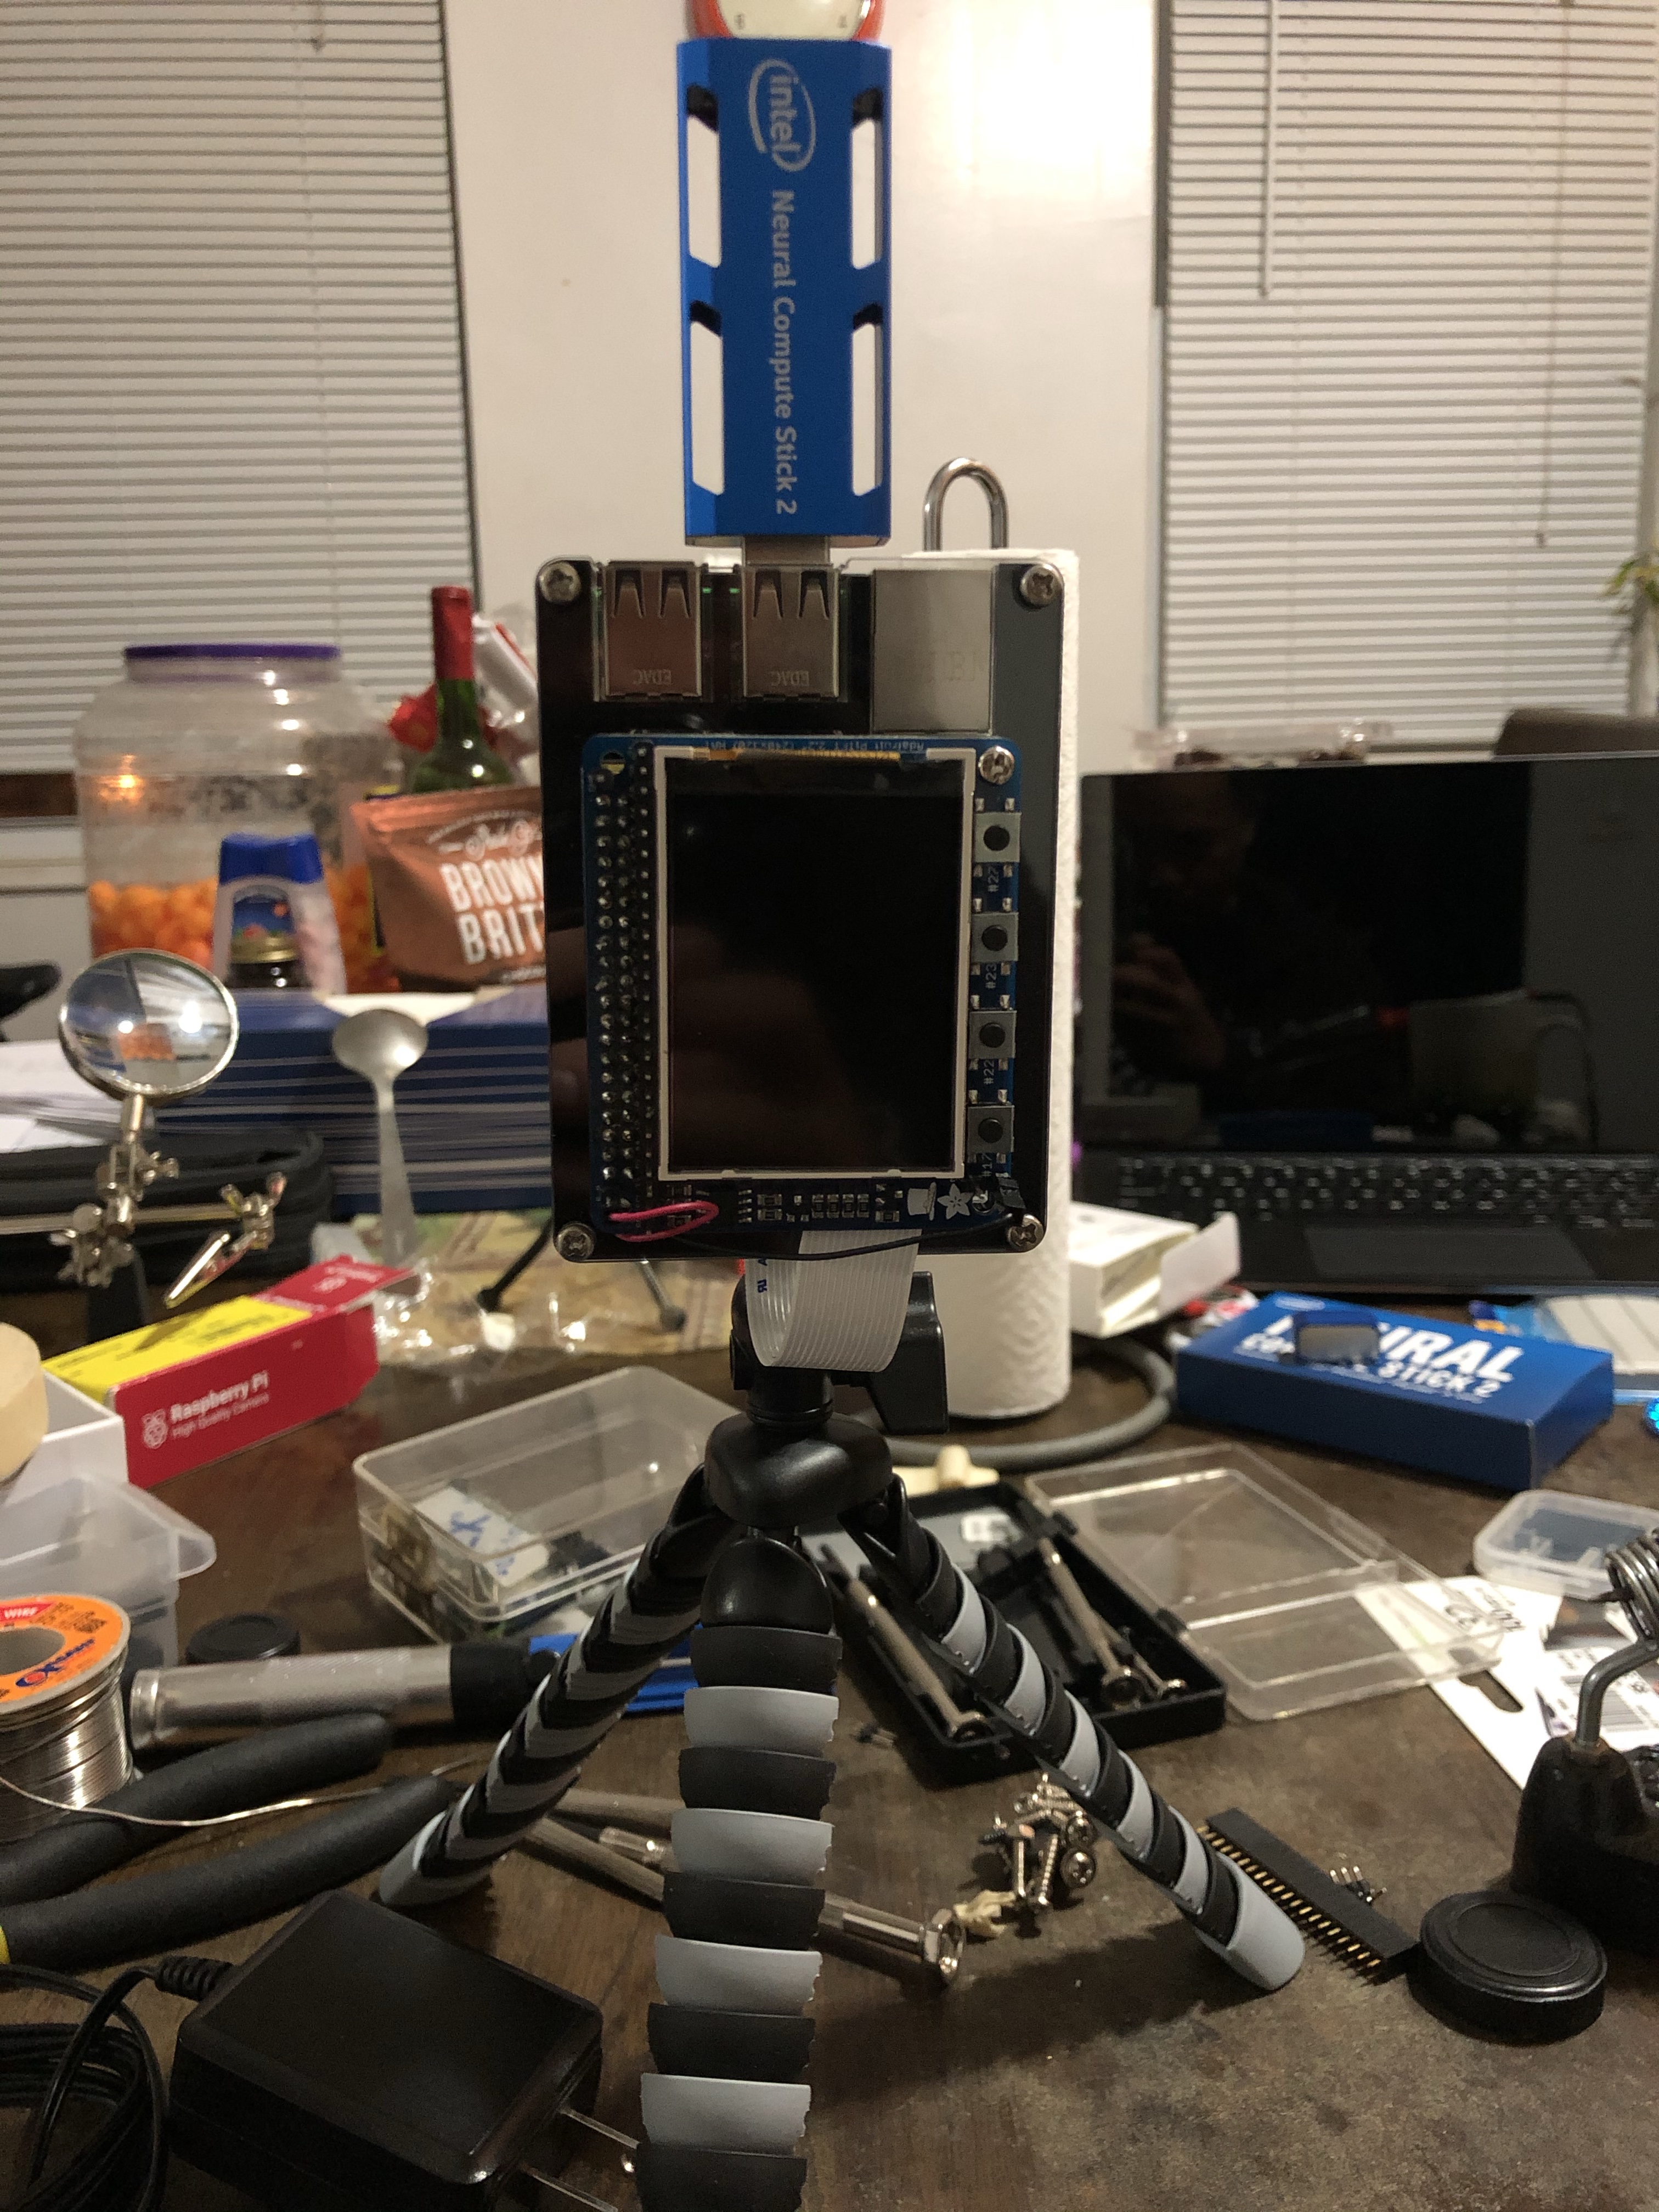

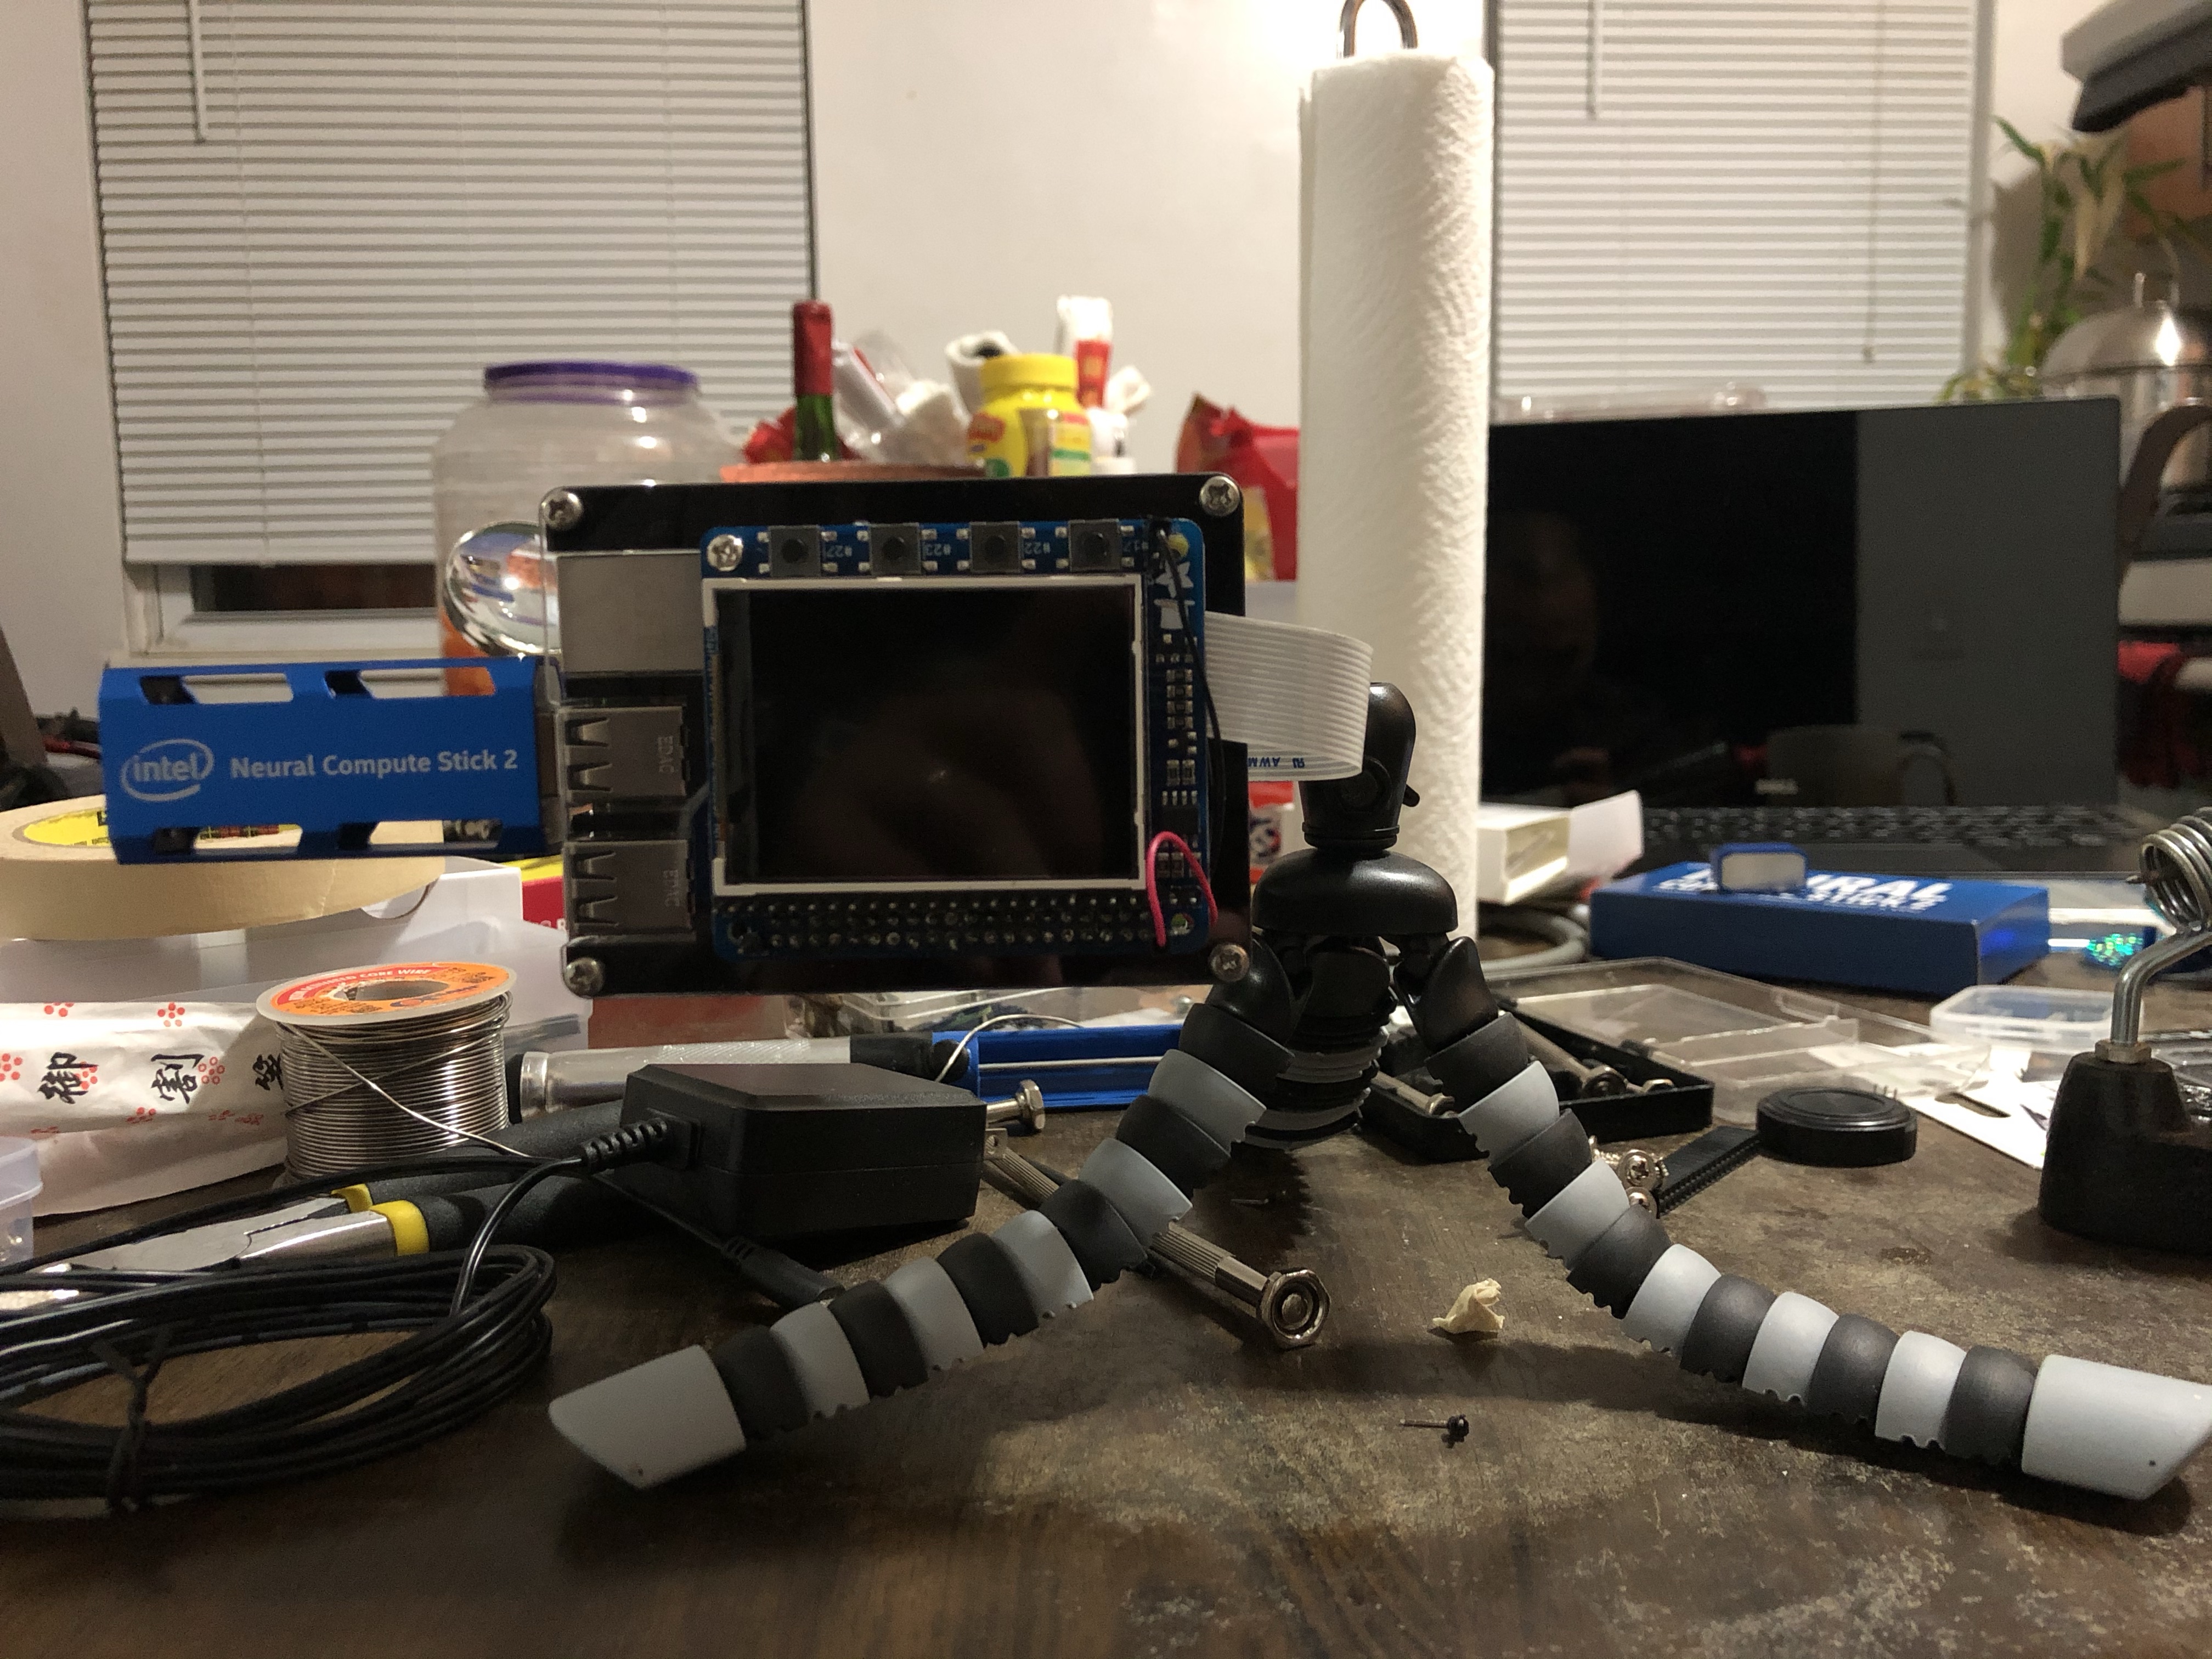

I installed UV4L on it so that I can stream the video feed from it and basically use it like a wireless webcam from the 90s for zoom calls.

Post Hack Party Results: Identipi is Born
So how much better is the upgraded version from the old one you ask? Here’s a couple of test shots my son and I did the next day to see how well it does at detecting faces.
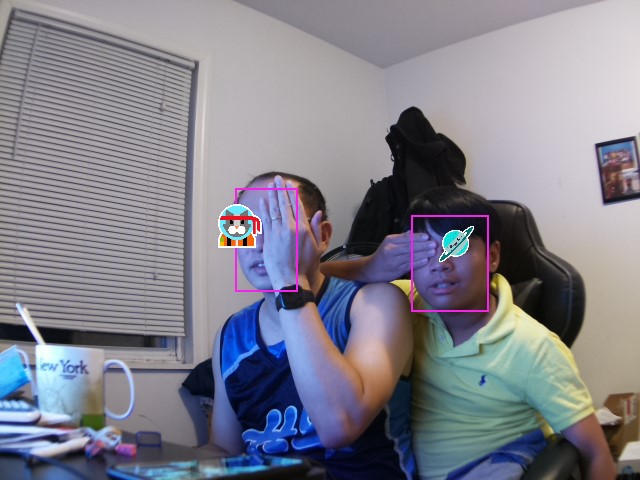


Dark Corner Alley Thug with Hoodie and Mask – FAILED
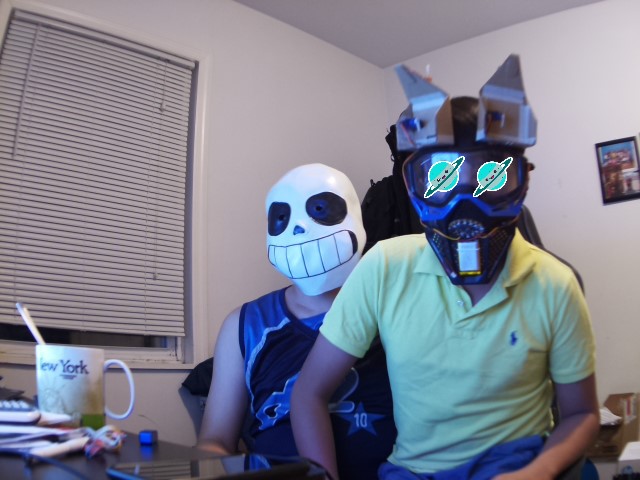
Sans from Undertale – FAILED (Well Sans isn’t technically human, so I guess this should be PASSED 😂)
This btw is happening real time with around 15 frames per second which is pretty impressive. This would definitely be enough to start working on a real time tracking mechanism that centers a slowly moving target. I used the openvino facial recognition model and I can tell that it does better predictions than the one I used with the Google AIY Vision kit. To be fair though, that might also have a lot to do with how much more powerful the Myriad X chip is in the NCS2 compared to the Myriad 2.
The adventure definitely does not end here. I still have a laundry list of projects I want to try out on the NCS2 stick. I plan to turn this build into a server based inferencing engine. That’s why I called it identipi. It would sit in the network and accept service requests from other pis to perform inferences on images and videos. I have a growing number of pis with cameras around my home and I plan to take all those different video feeds and analyze them with identipi. This would cut down the cost of having to buy an NCS2 stick for every pi camera setup I have. An Intel Neural Compute Stick 2 will cost you ~$70, if you can find them.
I would again like to thank hackster.io for the opportunity of having to play around with this technology. I just hope they don’t expect me to build anything sensible though unlike all these other great projects I’ve seen on their site 😊.

One Comment Add yours